
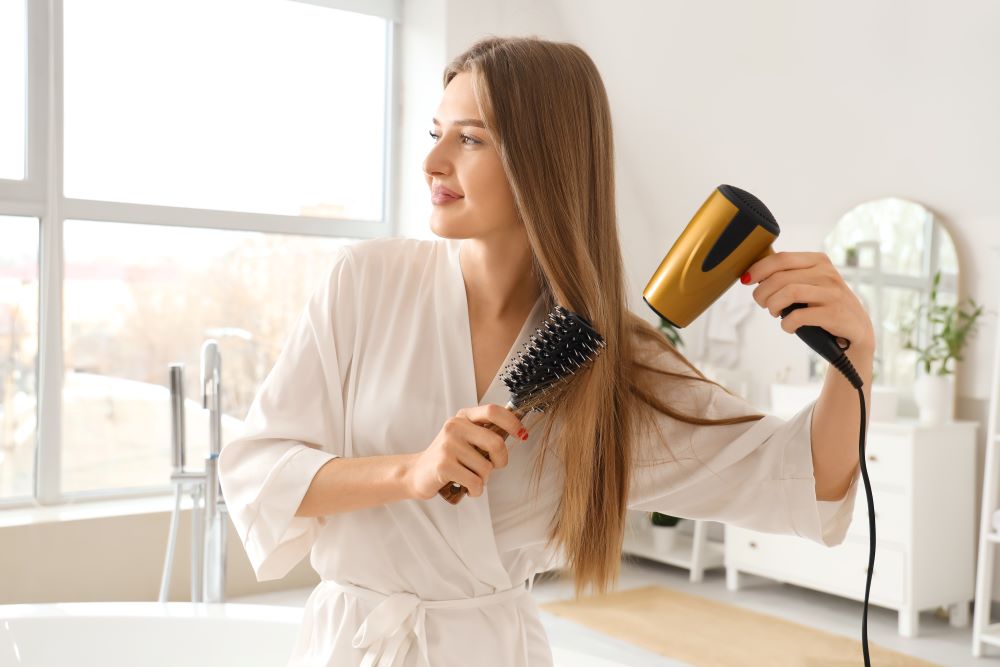
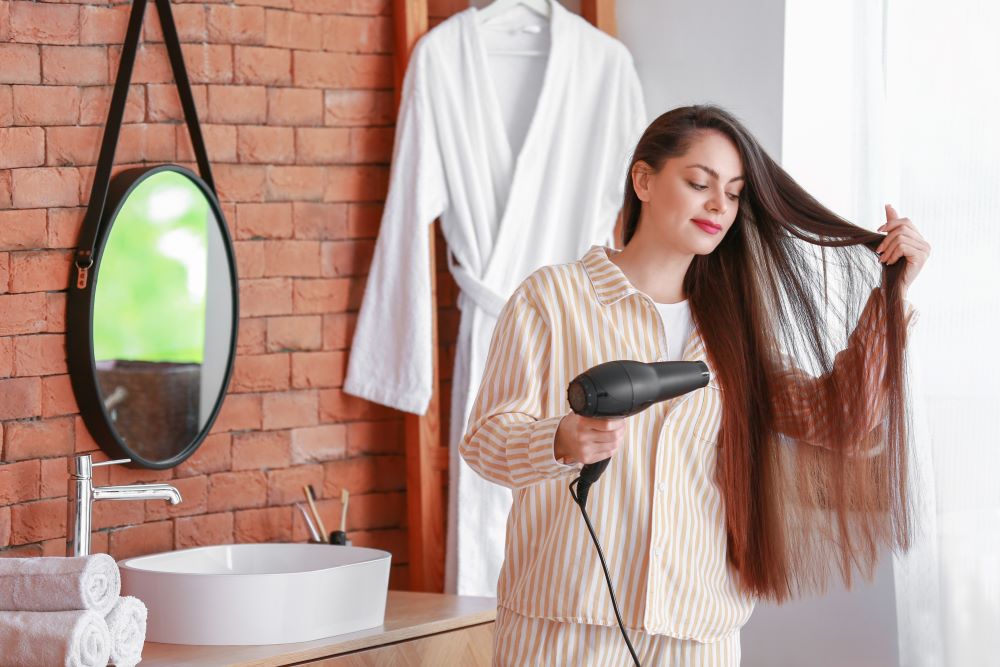
Hair dryers are indispensable tools in our daily beauty routine, helping us achieve the perfect hairstyle in minutes. However, like any other appliance, hair dryers require regular maintenance and cleaning to ensure they function efficiently and last longer. Proper upkeep not only extends the lifespan of your hair dryer but also enhances its performance, ensuring your hair remains healthy and shiny. In this comprehensive guide, we will walk you through the steps to maintain and clean your hair dryer effectively.
Why Maintenance and Cleaning Are Crucial
Before diving into the how-to, let’s understand why it’s essential to maintain and clean your hair dryer.
Performance: Over time, hair dryers can accumulate dust, lint, and hair in their filters, reducing airflow and causing the motor to overheat. This can lead to decreased performance and potential damage to the device.
Safety: A clogged hair dryer can overheat and pose a fire hazard. Regular cleaning helps prevent such risks, ensuring safe operation.
Longevity: Proper maintenance can significantly extend the life of your hair dryer, saving you money in the long run.
Hygiene: A dirty hair dryer can harbor bacteria and mold, which can transfer to your hair and scalp, leading to potential health issues.
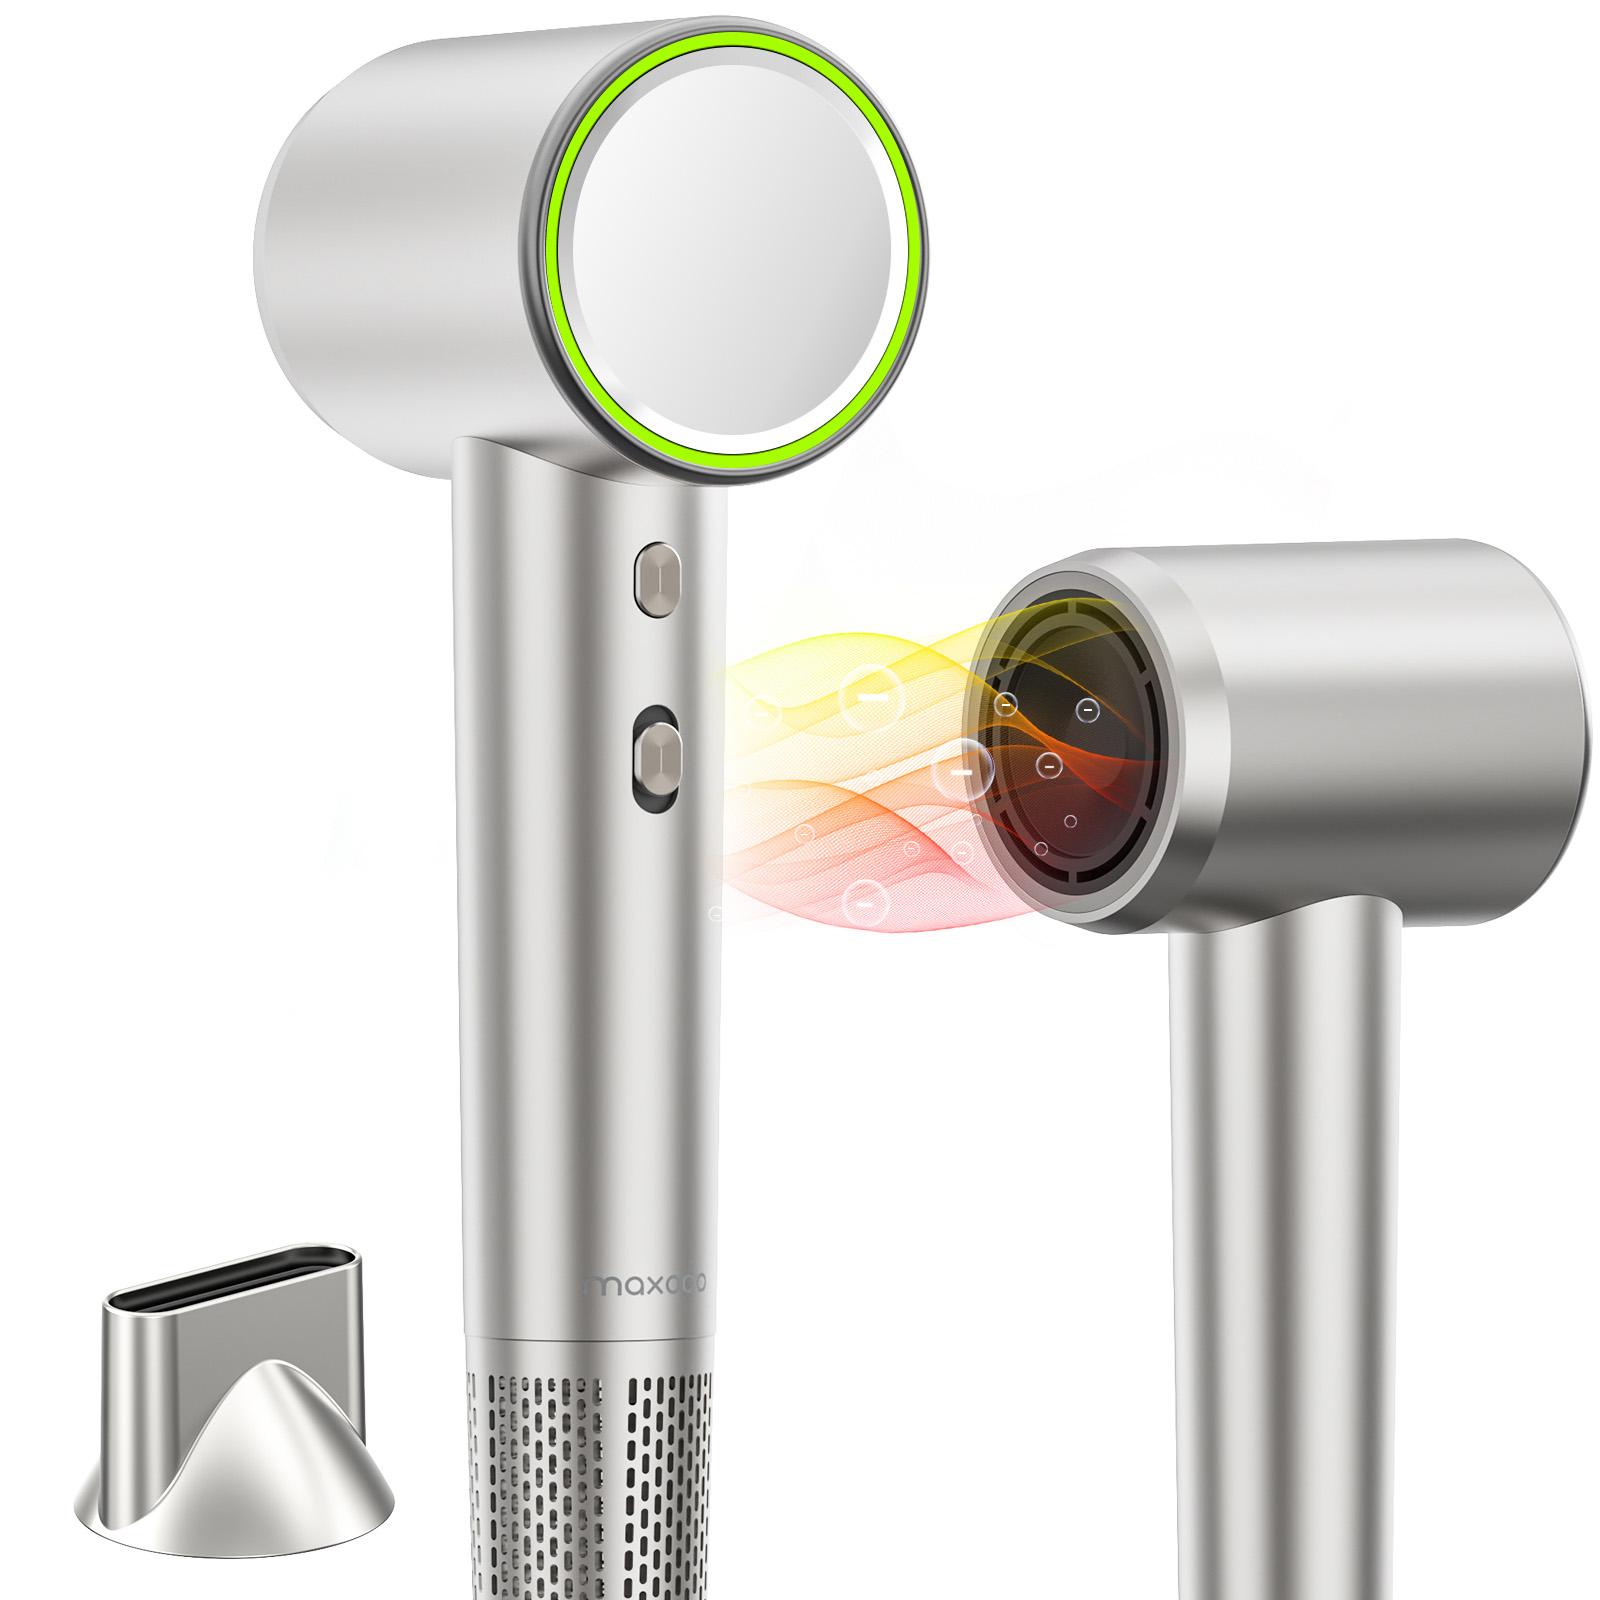
Tools and Materials You’ll Need
Soft cloth or microfiber cloth
Small brush (toothbrush or makeup brush)
Vacuum cleaner with a brush attachment
Cotton swabs
Isopropyl alcohol
Screwdriver (if needed to open the hair dryer)
Compressed air canister (optional)
Step-by-Step Guide to Maintaining and Cleaning Your Hair Dryer
1. Unplug and Cool Down
Always ensure your hair dryer is unplugged and completely cooled down before you start any maintenance or cleaning. This step is crucial for your safety.
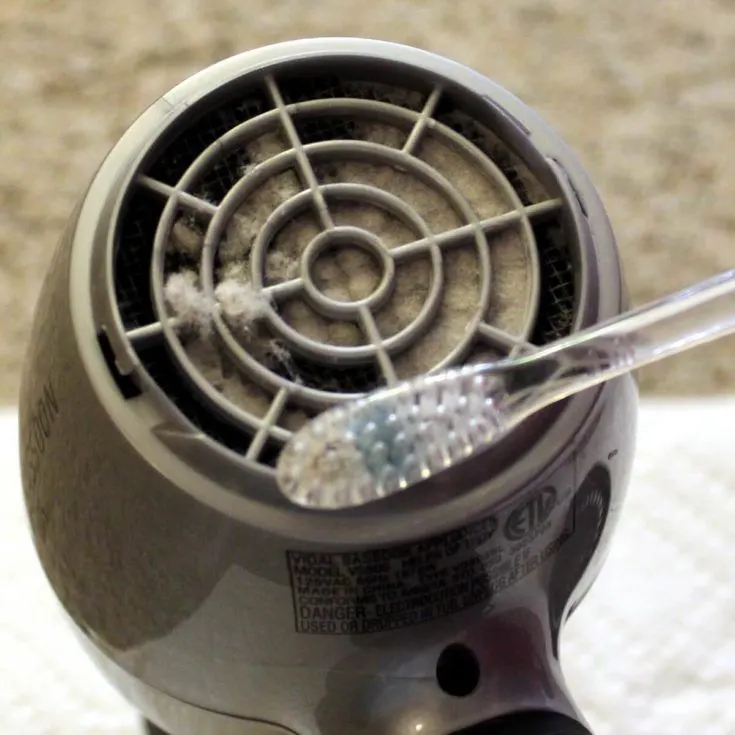
2. Remove and Clean the Filter
Most hair dryers have a removable filter located at the back. The filter is designed to catch dust, lint, and hair, preventing them from entering the motor.
Locate the Filter: Check the manufacturer’s instructions to find the filter. It is usually located at the rear end of the dryer.
Remove the Filter: Twist or pull off the filter cover, depending on your model.
Clean the Filter: Use a small brush or toothbrush to gently remove the debris from the filter. If the filter is particularly dirty, you can wash it with warm, soapy water. Make sure it is completely dry before reinstalling it.
3. Clean the Air Vents
The air vents on your hair dryer are prone to dust and lint buildup, which can obstruct airflow and cause overheating.
Brush Off the Dust: Use a small brush or toothbrush to clean the air vents. Gently brush away any dust or lint that has accumulated.
Vacuum the Vents: For a more thorough cleaning, use a vacuum cleaner with a brush attachment to remove any remaining debris from the vents.
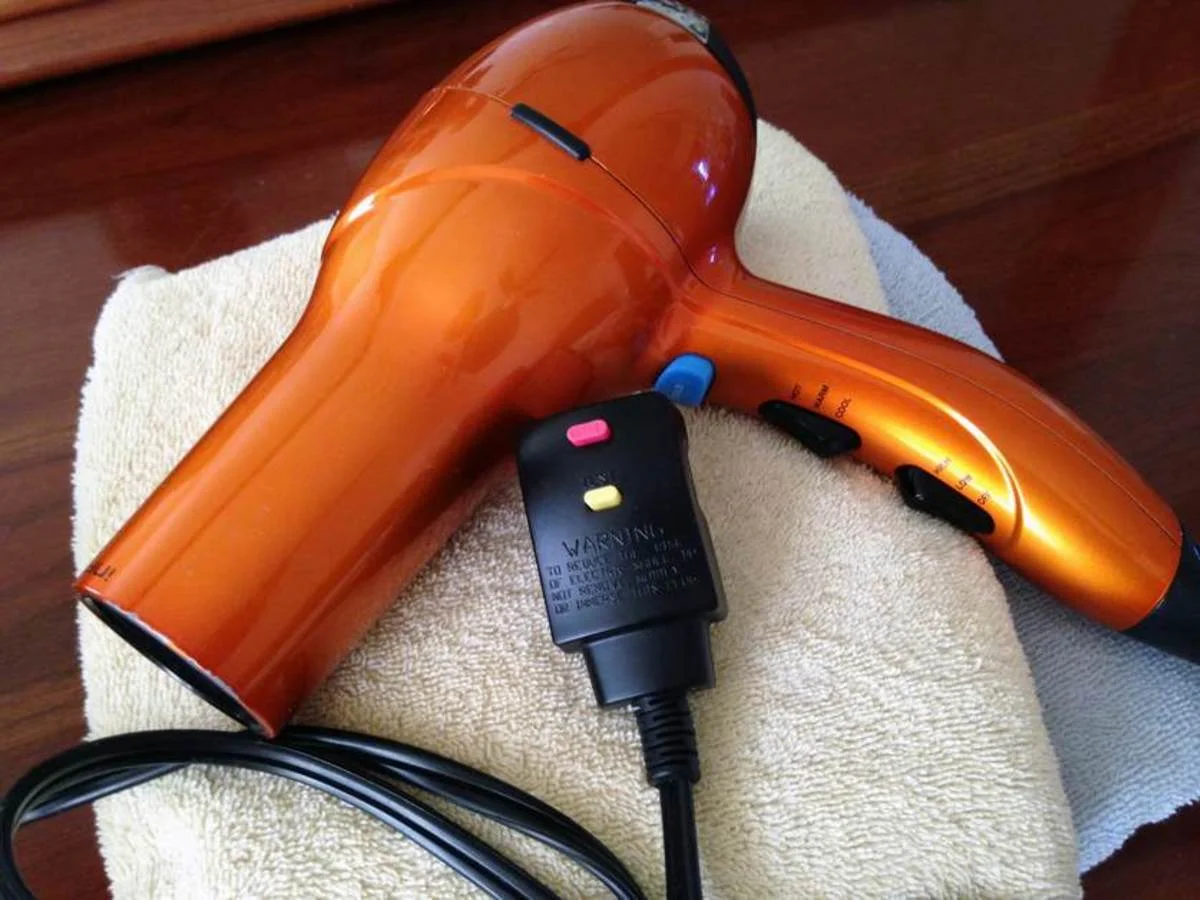
4. Wipe Down the Exterior
Keeping the exterior of your hair dryer clean not only makes it look good but also prevents dirt from entering the device.
Use a Soft Cloth: Dampen a soft cloth or microfiber cloth with a small amount of water or isopropyl alcohol.
Wipe Down: Gently wipe down the entire exterior of the hair dryer, paying special attention to the handle and buttons. Avoid getting water or alcohol into the vents or motor.
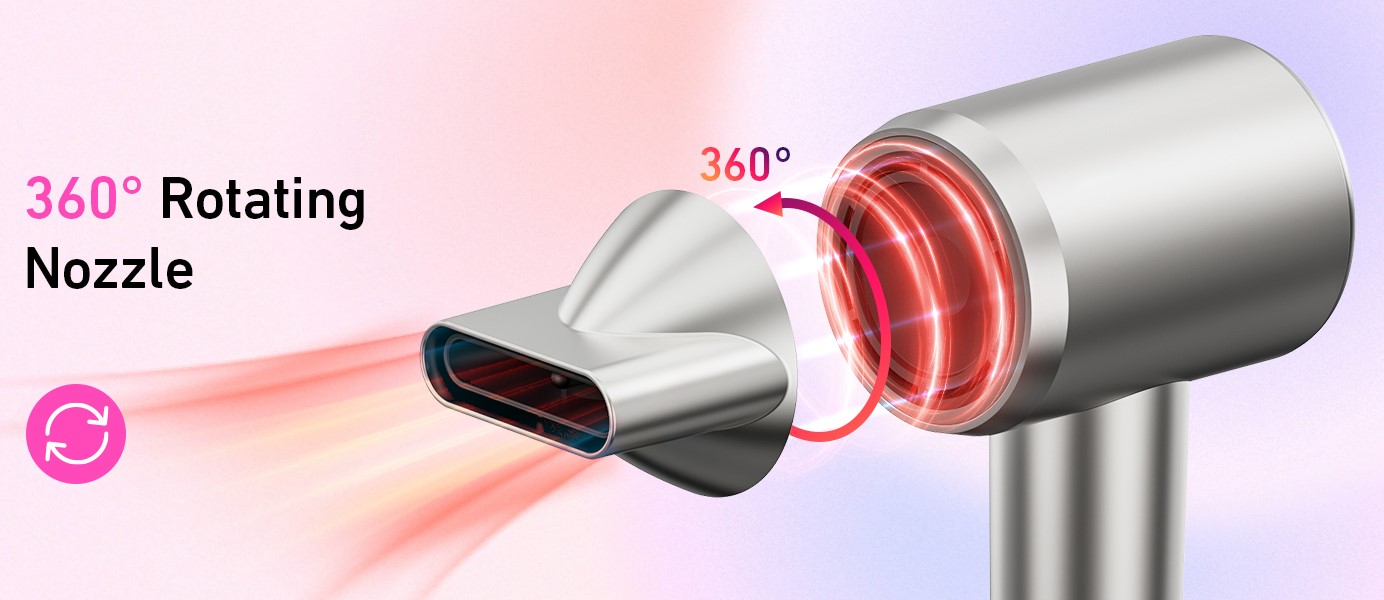
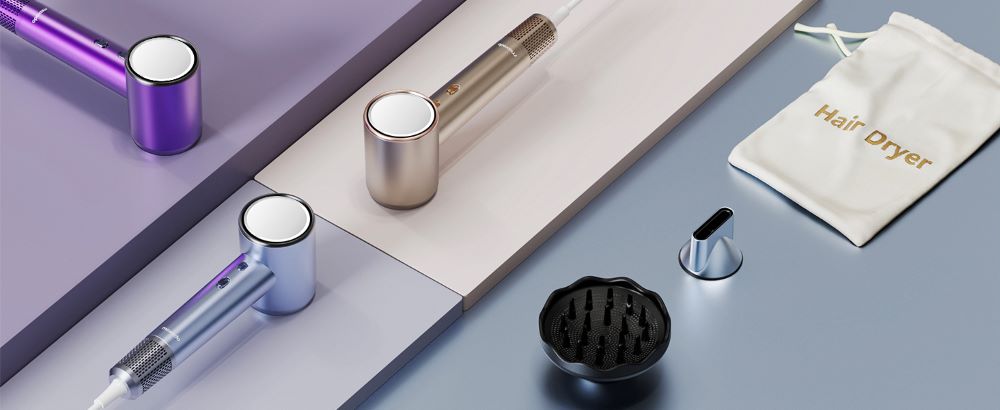
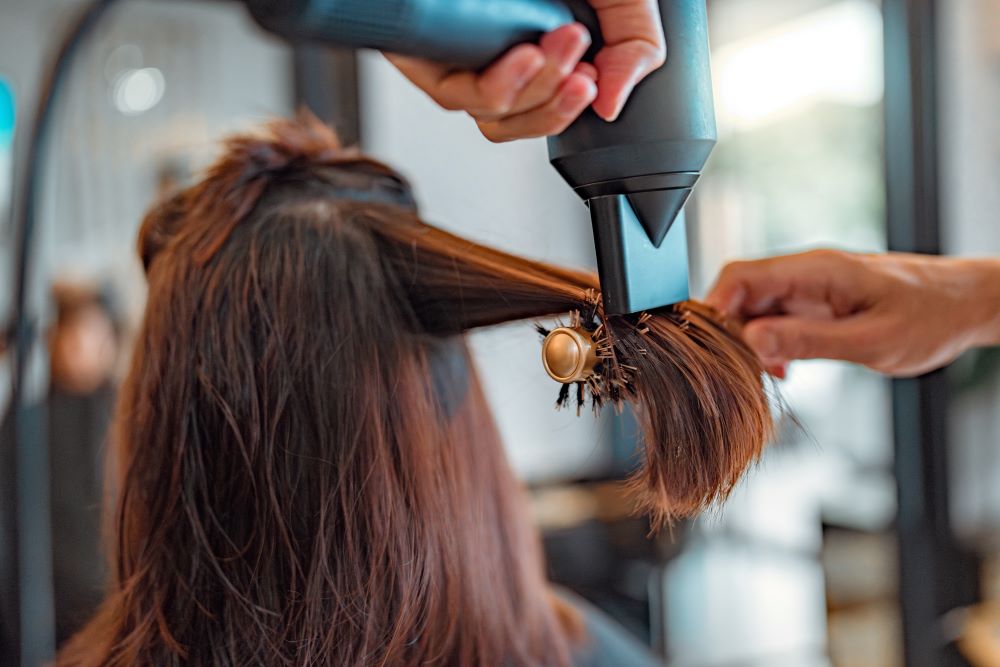
5. Clean the Nozzles and Attachments
If your hair dryer comes with nozzles or other attachments, these should also be cleaned regularly.
Remove the Attachments: Take off any nozzles or diffusers attached to the hair dryer.
Wash Them: Wash the attachments with warm, soapy water and let them air dry completely.
Inspect for Damage: Check the attachments for any signs of wear or damage. Replace them if necessary.
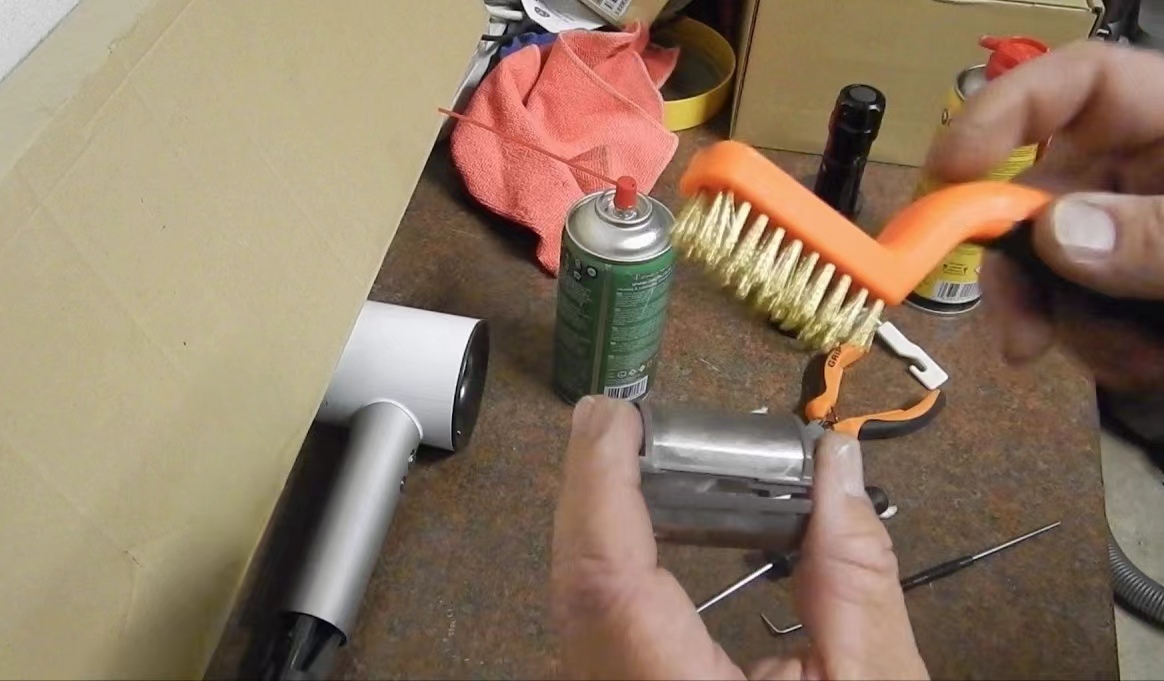
6. Deep Cleaning (Optional)
For a more thorough cleaning, you can disassemble your hair dryer. This step is optional and should only be done if you’re comfortable with it and if the manufacturer’s instructions allow.
Disassemble the Hair Dryer: Use a screwdriver to carefully open the hair dryer casing. Note: Not all hair dryers are designed to be disassembled, and doing so may void the warranty.
Clean the Interior: Use a soft brush and compressed air to clean the interior components, including the motor and heating elements. Be very gentle to avoid damaging any parts.
Reassemble: Carefully reassemble the hair dryer, ensuring all parts are securely in place.
7. Regular Maintenance Tips
Frequency: Clean the filter and air vents at least once a month, or more frequently if you use your hair dryer daily.
Storage: Store your hair dryer in a cool, dry place. Avoid wrapping the cord tightly around the dryer, as this can cause damage to the cord over time.
Inspect the Cord: Regularly check the power cord for any signs of wear or damage. If you notice any fraying or exposed wires, stop using the hair dryer immediately and have it repaired or replaced.
Troubleshooting Common Hair Dryer Issues
Despite regular maintenance, you may encounter some common issues with your hair dryer. Here’s how to troubleshoot them:
Hair Dryer Overheating
Check the Filter: A clogged filter can cause the hair dryer to overheat. Clean the filter as described above.
Air Vents: Ensure the air vents are not blocked and are free from dust and lint.
Usage Time: Avoid using the hair dryer for extended periods without breaks. Let it cool down between uses.
Unusual Noises
Loose Parts: Check for any loose parts inside the hair dryer. Tighten screws and ensure all components are securely in place.
Motor Issues: If the noise persists, there may be an issue with the motor. In this case, it’s best to contact the manufacturer or a professional repair service.
Hair Dryer Not Turning On
Power Source: Ensure the hair dryer is properly plugged in and the outlet is functioning.
Reset Button: Some hair dryers have a reset button. Press it to see if the dryer powers on.
Fuse: Check if the fuse inside the plug has blown. Replace it if necessary.
When to Replace Your Hair Dryer
Even with the best care, hair dryers don’t last forever. Here are some signs that it might be time to invest in a new one:
Age: Most hair dryers last between 3 to 5 years, depending on usage and maintenance.
Performance: If your hair dryer no longer performs as well as it used to, it might be time for a replacement.
Damage: Visible damage to the casing, cord, or attachments is a clear sign that you need a new hair dryer.
Overheating: Frequent overheating despite regular cleaning indicates that the hair dryer’s internal components may be wearing out.
Choosing a New Hair Dryer
When it’s time to buy a new hair dryer, consider the following factors to ensure you get the best one for your needs:
1. Wattage
Higher wattage means more power and faster drying times. Look for a hair dryer with at least 1800 watts for optimal performance.
2. Ionic Technology
Ionic hair dryers emit negative ions that break down water molecules, reducing drying time and minimizing frizz. This technology is especially beneficial for those with frizzy or curly hair.
3. Heat and Speed Settings
Multiple heat and speed settings allow you to customize the drying process according to your hair type and desired style. Look for a dryer with at least three heat settings and two-speed settings.
4. Cool Shot Button
A cool shot button helps set your hairstyle by releasing a burst of cool air. This feature is great for adding volume and reducing frizz.
5. Attachments
Consider the attachments that come with the hair dryer. A concentrator nozzle is ideal for straightening hair, while a diffuser is perfect for enhancing curls.
6. Weight and Ergonomics
A lightweight and ergonomically designed hair dryer is easier to handle and reduces strain on your arm and wrist during use.
7. Brand Reputation and Reviews
Research the brand and read customer reviews to ensure you’re investing in a reliable and high-quality hair dryer.
Conclusion
Maintaining and cleaning your hair dryer is essential for its performance, safety, and longevity. By following the steps outlined in this guide, you can keep your hair dryer in top condition, ensuring it delivers the best results every time you use it. Remember to clean the filter and air vents regularly, wipe down the exterior, and inspect the attachments for any signs of damage. Additionally, know when it’s time to replace your hair dryer and what to look for in a new one. With proper care, your hair dryer will continue to be a valuable tool in your hair care routine for years to come.
By following these tips, you can ensure that your hair dryer not only lasts longer but also continues to perform at its best, keeping your hair looking fabulous with every use.
Ultimate Guide to Using a Hair Dryer with Nozzle for Styling
Discover the benefits of using a hair dryer with nozzle for faster drying, frizz reduction, and salon-quality styling at home.
Read More
The Benefits of Using a Hair Dryer with a Diffuser
Discover how a diffuser hair dryer reduces frizz, protects hair, defines curls, and adds volume for healthier, natural styling.
Read More
Ultimate Hair Dryer Guide for Every Life Scenario
Find the perfect hair dryer for travel, gym, salon, or home. Maxodo offers fast-dry, quiet, and versatile all-in-one solutions.
Read More