- Home
- Hair Dryer
- How to Fix a Car Dent Using a Hair Dryer
How to Fix a Car Dent Using a Hair Dryer
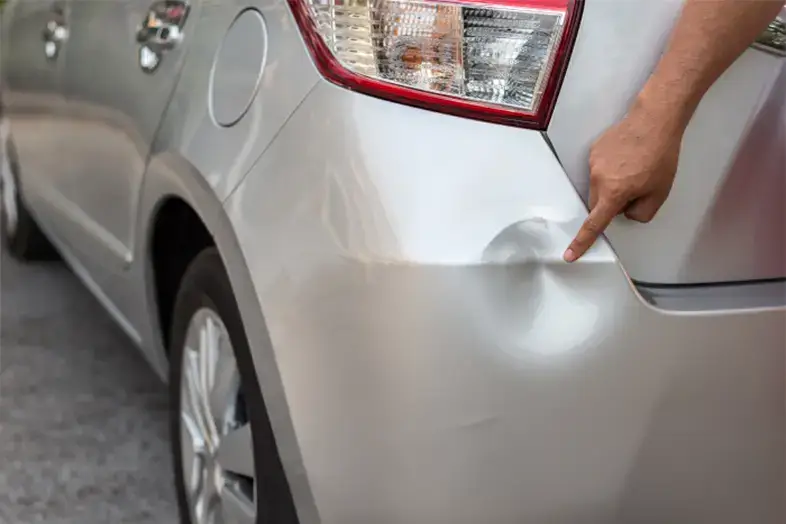
Removing a dent from your car might seem like a task for professionals, but there’s a surprisingly simple technique using something many of us have at home: a hair dryer. This method involves heating the dented area to expand the metal, then cooling it rapidly to contract it, potentially popping the dent out without the need for expensive tools or professional intervention.
Importance of Addressing Car Dents
Car dents, beyond being unsightly, can lead to more serious problems if left unattended. Moisture can accumulate, leading to rust and further damage. Moreover, the presence of dents can significantly lower the resale value of your vehicle. Addressing them promptly can save money and maintain your car’s aesthetic appeal.
What You Need to Know Before You Start
Assessing the Dent: Size, Location, and Severity
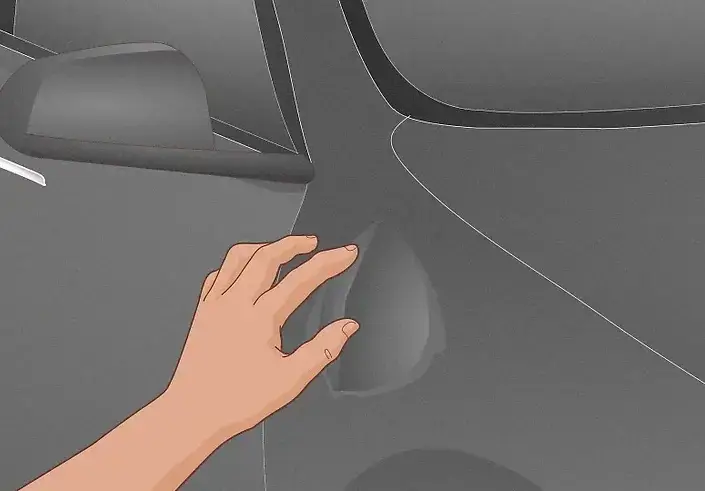
Before attempting to remove a dent, it’s crucial to assess its size, location, and severity. Small to medium-sized dents on flat, accessible panels are ideal candidates. Dents near the edge of panels or on curved surfaces may require professional tools or techniques.
Safety Precautions and Considerations
When using a hair dryer on your car’s exterior, keep the device at least a few inches away from the paint to avoid overheating and damaging the paint. Ensure the area is dry and clean to prevent any incidental damage during the process.
Tools and Materials Needed
List of Required Items
Hair Dryer: The primary tool for heating the dented area.
Gloves: To protect your hands from the heat.
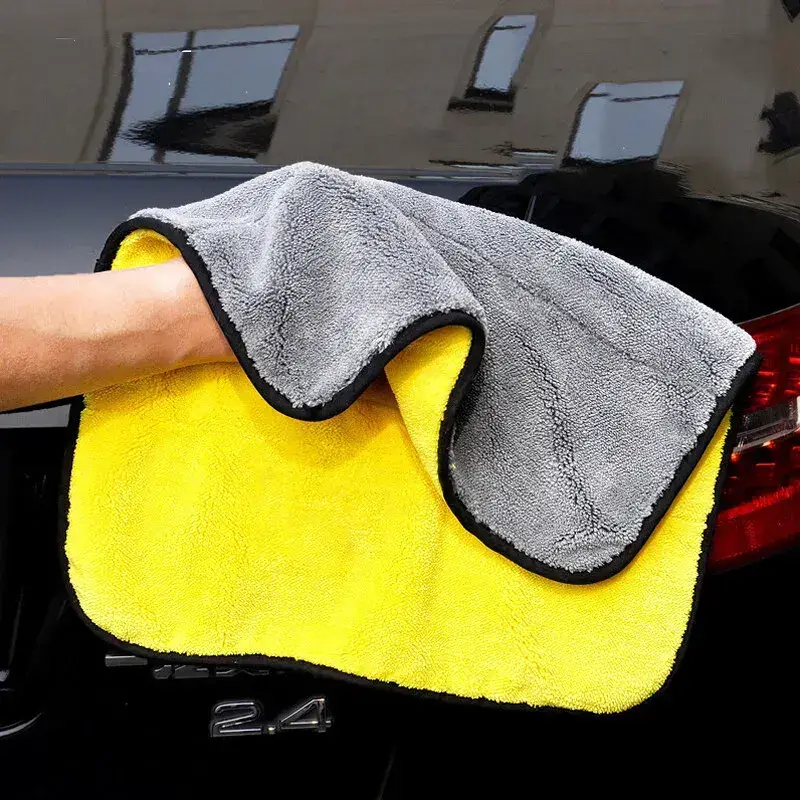
Microfiber Cloth: For cleaning the area before and after the procedure.
Optional Tools for Enhanced Results
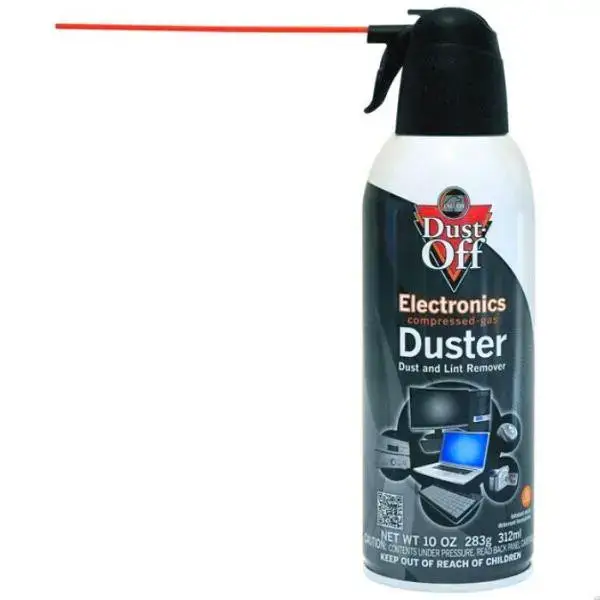
Compressed Air Can: Used for rapid cooling after heating the dent.
Soft Cloth: Useful for applying gentle pressure to the dent.
Step-by-Step Guide: Removing a Dent With a Hair Dryer
Step 1: Preparing the Affected Area
Clean the dented area thoroughly with a microfiber cloth to remove any dirt or debris. Ensuring the surface is clean prevents scratching and allows for more efficient heating.
Step 2: Heating the Dent
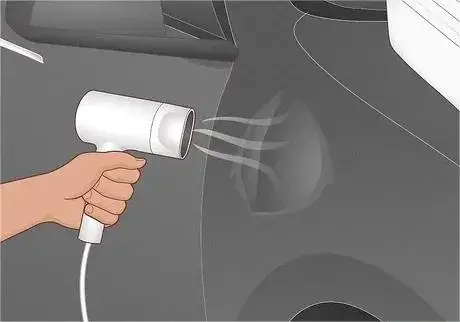
Turn the hair dryer to its highest setting and heat the dent directly, keeping the dryer about 5-7 inches away from the car’s surface. Move the dryer around the area to avoid overheating any single spot. Continue this process for about 2-3 minutes or until the metal feels warm to the touch.
Step 3: Applying Pressure to Pop Out the Dent
Immediately after heating, if you’re using compressed air, hold the can upside down and spray the area to rapidly cool it, potentially causing the dent to pop out due to the metal contracting. If not using compressed air, you can also try gently pushing the dent out from the underside, wearing gloves to protect your hands from the heat.
Step 4: Cooling Down the Area
Allow the area to cool down naturally for a few minutes. If the dent has improved but not completely disappeared, you can repeat the process a few more times. However, be cautious not to overheat the paint.
Additional Tips for Success
Do’s and Don’ts When Using a Hair Dryer on Car Paint
Do:
Use a hair dryer at a moderate temperature to avoid overheating the paint.
Keep the hair dryer moving in a constant motion to distribute heat evenly.
Allow the car’s surface to cool down before touching or applying any pressure.
Don’t:
Do not focus the hair dryer on one spot for too long to prevent paint damage.
Avoid using the hair dryer in extremely hot conditions to prevent further damage to the car’s exterior.
Never use the hair dryer too close to the car’s surface; maintain a safe distance to avoid direct heat damage.
How to Avoid Causing Further Damage
Test the method on a small, inconspicuous area of your car first.
Ensure that the car’s surface is clean and dry to avoid scratching the paint.
If you’re unsure about the dent’s severity, consult with a professional before attempting DIY repairs.
Alternative Methods for Dent Removal
Comparison with Other DIY Methods (e.g., Plunger, Vacuum Cleaner)
Plunger Method: Effective for larger, shallow dents. It uses suction to pop the dent out. However, it might not work well for small or sharp dents.
Vacuum Cleaner and Bucket Method: Similar to the plunger method, this DIY solution can create a strong suction to remove dents but requires more setup and might not be as effective for complex dents.
When to Consider Professional Dent Removal Services
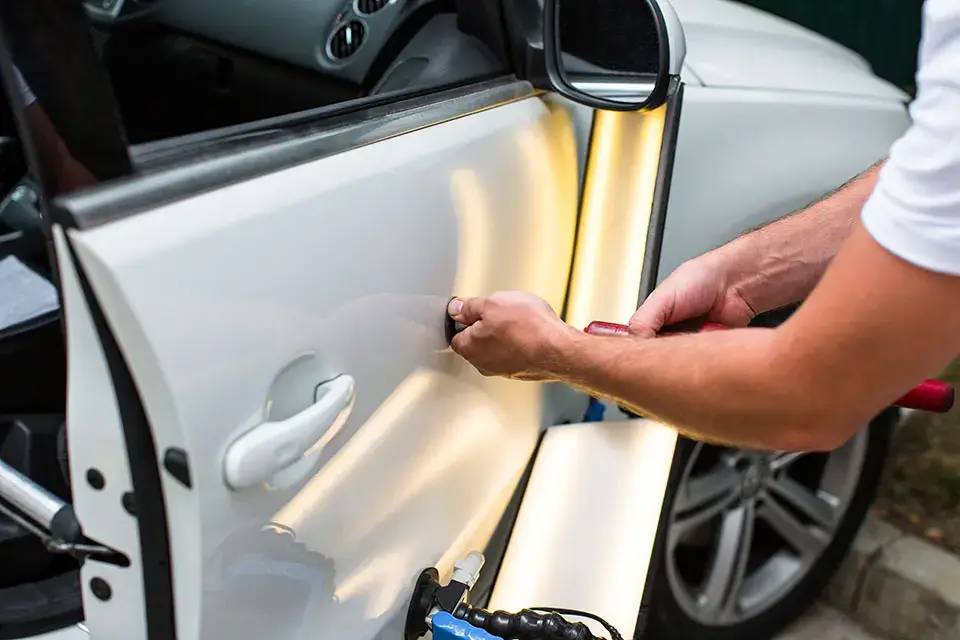
When the dent has sharp edges or is located near the edge of a panel.
If the paint has been cracked or chipped, as this can lead to rust.
For large or complex dents where DIY methods have failed.
Maintaining Your Car Post-Repair
Tips for Protecting Your Car’s Exterior
Regularly wash and wax your car to protect the paint.
Park in shaded areas or use a car cover to protect against sun and heat damage.
Avoid parking too close to other vehicles to minimize the risk of dents from doors.
Routine Checks to Avoid Future Dents and Damages
Regularly inspect your car’s body for any signs of damage.
Be mindful of potential hazards, such as low-hanging branches or flying debris on the road.
Consider using paint protection film on areas prone to dents and scratches.
Conclusion
This guide has walked you through the innovative method of using a hair dryer to remove dents from your car, highlighting its simplicity and effectiveness. While not every dent can be fixed at home, this method offers a promising solution for minor damages without incurring the cost of professional repairs.
We encourage you to try this method, keeping in mind the additional tips for success to ensure the best possible outcome. However, if you’re facing a more complex dent or damage, seeking professional help is advisable to maintain your car’s integrity and appearance.
FAQs
Answering Common Questions About the Dent Removal Process
Q: Can the hair dryer method damage my car’s paint?
A: If done carefully, following the recommended distance and temperature settings, the risk of damaging your car’s paint is minimal.
Q: How effective is this method on large dents?
A: This method works best on small to medium-sized dents. Large dents or dents with sharp creases may require professional attention.
Popular Post

Ultimate Guide to Using a Hair Dryer with Nozzle for Styling
The Benefits of Using a Hair Dryer with a Diffuser


