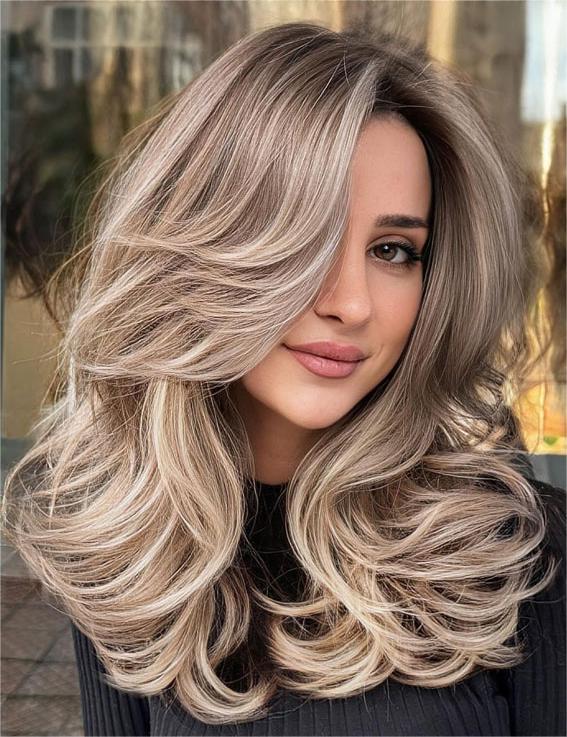
Achieving a salon-quality blowout at home may seem challenging, but it’s possible with the right tools and practice. By using proper techniques and high-quality products, you can create a look similar to a professional blowout. Blowouts offer the perfect blend of volume, shine, and smoothness, just like at a salon. With a little practice, you can master the art of creating a fresh, polished look yourself. This guide will show you all the essentials to achieve that luxurious, salon-style blowout at home.
Understanding the Basics: What is a Blowout?
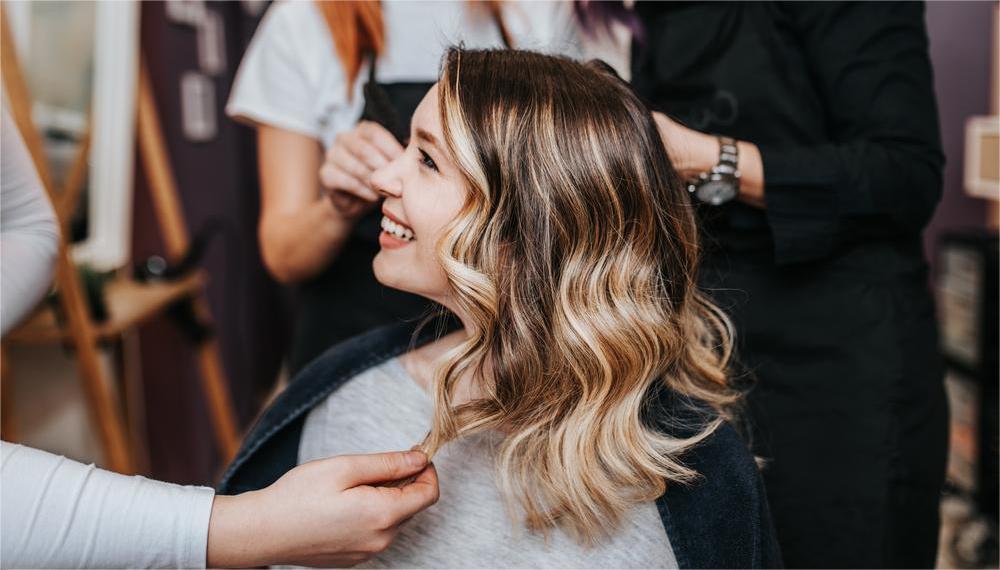
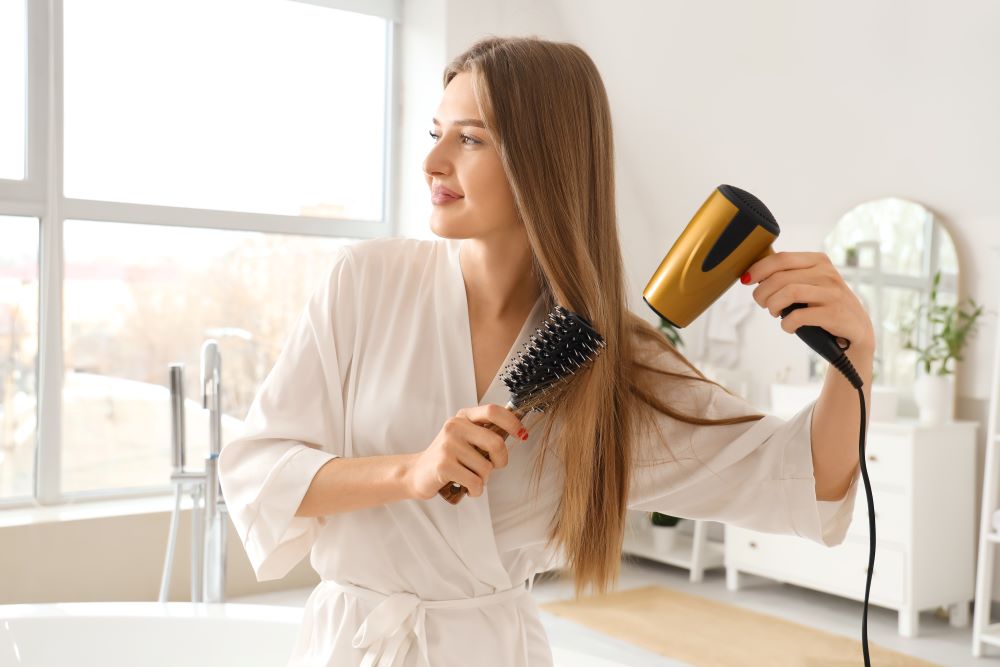
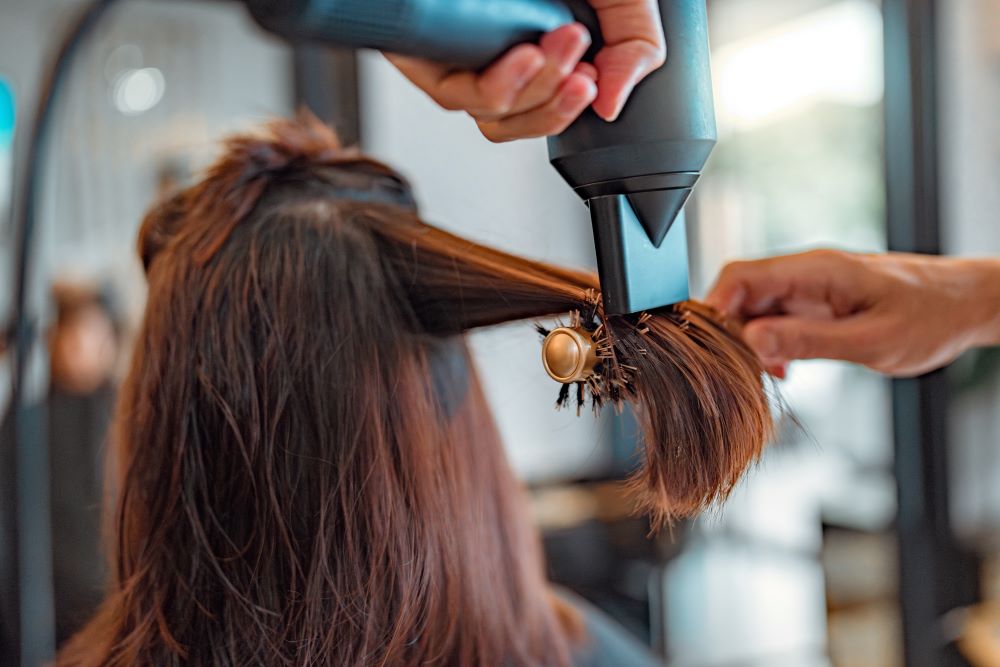
A blowout is a styling technique that uses heat, a hairdryer, and a round brush to smooth and shape the hair. It typically leaves the hair with a voluminous, smooth finish that enhances natural body and bounce. A salon blowout often includes a thorough shampoo and conditioning treatment to prepare the hair, followed by sectioned blow-drying for precise control over the final style. Achieving a similar result at home requires attention to detail, quality products, and the right tools.
Tools You’ll Need for a Salon-Quality Blowout
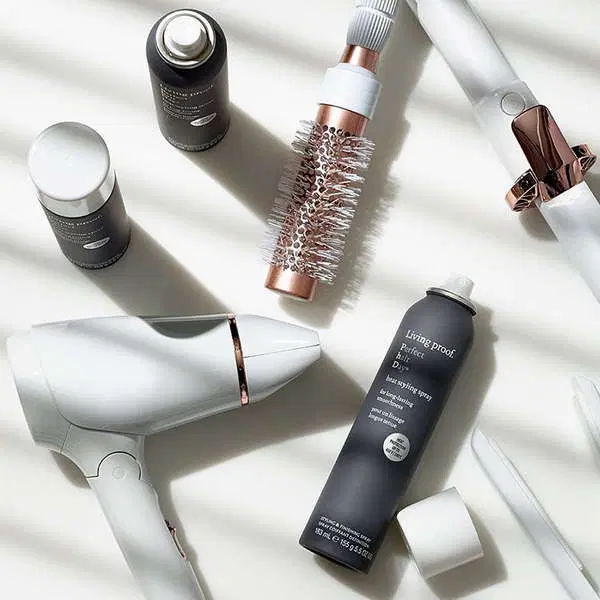
1. A High-Quality Hair Dryer
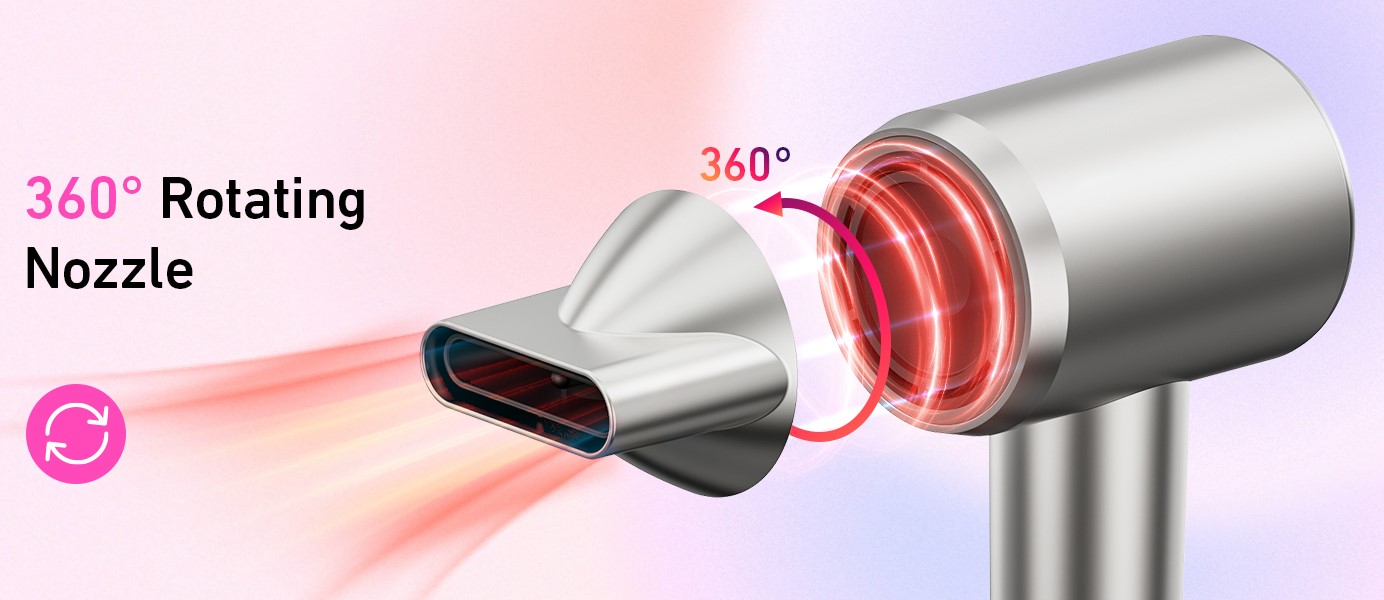
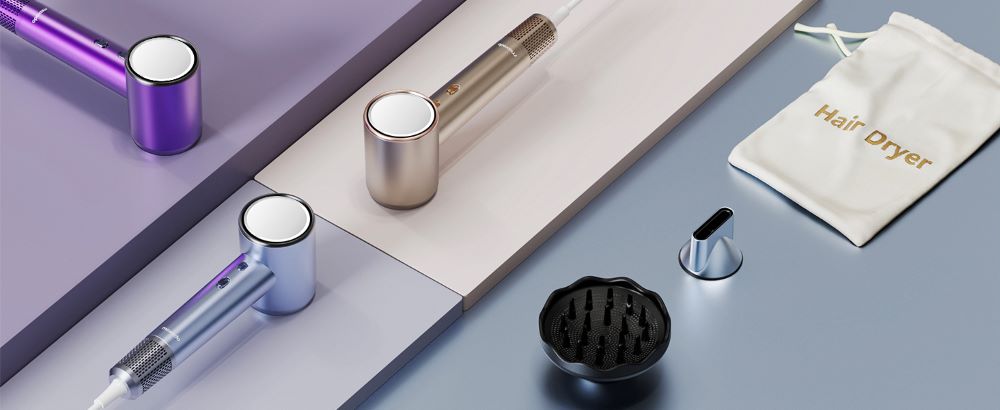
Not all hair dryers are created equal, and for a salon-quality blowout, a high-speed ionic hair dryer is crucial. Hair dryers with advanced ionic technology, like the Maxodo High-Speed Hair Dryer, release millions of negative ions, which help reduce frizz and enhance shine by breaking down water molecules more effectively.
When choosing a hair dryer, look for one with the following features:
High-speed brushless motor: For faster drying times and more precision.
Multiple heat and speed settings: To customize the airflow for your hair type.
Cool shot button: To lock in your style and add shine.
Concentrator and diffuser attachments: For targeting specific areas and managing curls or waves.
2. Round Brush
A round brush is essential for creating volume and smoothness. Brushes come in various materials and sizes, and the choice largely depends on your hair type and the result you’re aiming for:
Ceramic or tourmaline-coated brushes: Help distribute heat evenly and add shine.
Boar bristle brushes: Reduce frizz and are ideal for fine to medium hair.
Metal brushes: Heat up quickly and work well for thicker hair.
Smaller barrel sizes create tighter curls and more volume, while larger barrels are better for smooth, straight styles with subtle movement.
3. Sectioning Clips
Dividing your hair into sections ensures that you dry and style each part thoroughly. Professional stylists always section the hair before beginning a blowout because it allows for greater control and a more polished result.
4. Heat Protectant Spray
Heat protection is crucial for preventing damage caused by the high temperatures used during a blowout. Look for heat protectant sprays that offer protection up to 450°F, reduce frizz, and boost shine. Opt for formulas that match your hair type, whether you need lightweight options for fine hair or more conditioning sprays for thicker hair.
Step-by-Step Guide to Achieving the Perfect Blowout
Step 1: Start with a Clean Slate
A clean scalp and hair are the foundation of any good blowout. Begin by thoroughly washing your hair with a shampoo and conditioner tailored to your hair type. The right cleansing and conditioning products will set the stage for your blowout, ensuring long-lasting results with volume, shine, and smoothness.
For fine hair: Use a volumizing shampoo to add body and lift without weighing your hair down. Fine hair tends to fall flat quickly, so using products that enhance volume at the roots can help create a fuller look.
For frizzy or textured hair: Opt for a smoothing shampoo and conditioner to tame frizz and provide a sleek base. Textured or curly hair can benefit from moisture-rich formulas that help soften and control the natural curl pattern, making blow-drying more manageable.
After shampooing, apply a conditioner to the mid-lengths and ends of your hair, avoiding the roots, as conditioner here can make the hair look greasy and flat. Be sure to rinse thoroughly to remove all product residue—any leftover product can weigh the hair down and shorten the lifespan of your blowout.
Step 2: Towel Dry Gently
After washing, don’t rush into blow-drying with soaking wet hair. Use a microfiber towel to gently squeeze out excess water. Microfiber is superior to traditional cotton towels because it helps minimize friction, reducing frizz and breakage. It’s gentler on the hair cuticle, which is especially important if you’re aiming for a smooth blowout.
Avoid rubbing your hair with the towel, as this can rough up the cuticle, leading to more frizz and making it harder to achieve that sleek, salon-quality finish. Instead, gently pat and squeeze the water out.
Step 3: Apply Heat Protectant and Styling Products
Before reaching for your blow dryer, it’s essential to protect your hair from heat damage. Heat protectant sprays are formulated to shield your strands from the high temperatures used during blow-drying, minimizing the risk of breakage and split ends. Choose a heat protectant that suits your hair type:
Lightweight sprays for fine hair to avoid adding too much weight.
Cream-based heat protectants for thick or coarse hair, which need extra moisture and smoothing properties.
After applying the heat protectant, incorporate styling products based on the look you’re aiming to achieve:
Volumizing mousse: Apply to the roots to add lift and fullness. This is particularly beneficial for fine or limp hair that needs extra body.
Smoothing serum: Use a small amount on the mid-lengths and ends if you want a sleek, frizz-free finish. This is especially useful for those with thick, coarse, or frizz-prone hair.
Texturizing spray: If you’re going for a more relaxed, tousled blowout, spritz a bit of texturizing spray before you start blow-drying. This helps to create a casual, undone look with movement and texture.
Distribute the product evenly through your hair using your fingers or a wide-tooth comb to ensure every strand is coated and ready for blow-drying.
Step 4: Section Your Hair
Sectioning your hair is a professional secret to a perfect blowout. When you work with smaller sections, you have better control over the drying and styling process, which leads to a more polished result. Use sectioning clips to divide your hair into four to six sections:
Two sections at the crown.
Two sections at the sides.
Two sections at the back.
This breakdown allows you to focus on smaller parts of the hair, ensuring each section gets the attention it needs for smoothness and volume. By working in sections, you can easily manipulate the round brush and direct the heat from the blow dryer, avoiding the frustration of missing areas or creating uneven textures.
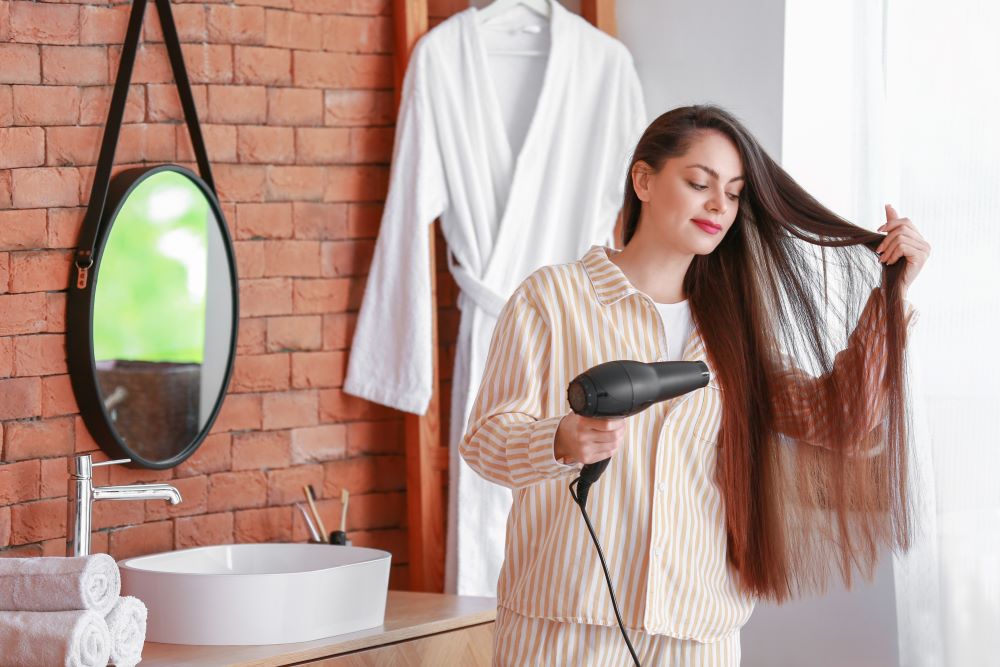
Step 5: Start Blow-Drying
Now it’s time for the main event—blow-drying. Proper technique is essential for creating a salon-quality finish. Start by holding the blow dryer about six inches away from your hair to avoid overheating any section. Focus first on drying the roots to create lift and volume, especially if you have fine hair. Always direct the dryer nozzle downward along the hair shaft—this helps smooth the cuticle, resulting in shinier, smoother hair.
For the best results, use these tips:
Concentrator attachment: Attach this to your blow dryer for a more targeted airflow, which is key to controlling frizz and creating a smooth finish. Without it, the heat and air are too diffused, which can cause flyaways and an uneven texture.
Work in small sections: Take a small section of hair, wrap it around the round brush, and pull it either upward for volume or downward for a sleeker look as you direct the heat along the hair.
Keep the dryer moving: Never hold the blow dryer in one spot for too long. This not only risks heat damage but also creates uneven drying. By keeping the dryer moving, you distribute the heat evenly for a more polished finish.
For added volume at the roots, you can lift the hair upward with your round brush while blow-drying. Once the roots are dry, move toward the ends of your hair, continuing to direct the nozzle down the hair shaft to ensure a smooth, frizz-free finish.
Step 6: Lock in the Style with a Cool Shot
The cool shot button on your blow dryer isn’t just a gimmick—it’s a crucial step in locking in your blowout and adding shine. Once you’ve dried a section of hair, blast it with a shot of cool air to seal the cuticle and set the style. The cool air helps lock in the volume and smoothness you’ve just created while adding a final dose of shine to the hair.
Use the cool shot after each section to maintain the shape and longevity of your blowout. This is especially helpful for those with frizz-prone hair or for people in humid climates, as it helps to prevent the style from collapsing.
Step 7: Finish with Hair Products
Now that your blowout is complete, it’s time to finish with the right products to enhance shine, smoothness, and hold. Here are a few final touches:
Lightweight hair oil or shine serum: Apply a few drops to the ends of your hair to add extra gloss and smooth any remaining flyaways. Be cautious not to over-apply, as too much product can weigh down your hair, especially if you have fine strands.
Hairspray: If you want your blowout to last all day, a light mist of flexible hold hairspray can help keep your style in place without making it stiff or crunchy. Choose a formula that offers movement and flexibility while still providing control.
By finishing with the right products, you ensure that your blowout lasts longer, stays shiny, and maintains its shape throughout the day. Depending on your preference, you can go for a sleek and polished look or a more voluminous and textured style.
Tips for a Long-Lasting Blowout
Achieving a salon-quality blowout is only half the battle; keeping it looking fresh for days is the next challenge. Here are a few tips to extend the life of your blowout:
Use dry shampoo: This helps absorb excess oil at the roots and refreshes your hair between washes.
Sleep on a silk pillowcase: Silk reduces friction, helping to prevent frizz and preserve your blowout overnight.
Avoid moisture: Humidity and sweat can ruin a blowout. If you’re in a humid environment or exercising, consider wrapping your hair in a silk scarf or using a shower cap to protect it from moisture.
Blowout Variations for Different Hair Types
Your hair type plays a significant role in how you approach a blowout. Tailoring your technique and products to your hair type can significantly impact the results.
Blowouts for Fine Hair
Fine hair can benefit from volumizing products like mousse or lightweight sprays. Use a smaller round brush to create lift at the roots and avoid overloading your hair with heavy products that can weigh it down.
Blowouts for Thick or Coarse Hair
Thicker hair requires more heat and control, so using a high-speed dryer with multiple heat settings is essential. A boar-bristle round brush helps smooth and detangle without pulling too hard. Opt for smoothing creams or serums to control frizz and keep your blowout sleek.
Blowouts for Curly or Textured Hair
Curly and textured hair often requires a more moisturizing approach. Start by applying a leave-in conditioner or serum to maintain moisture and use a diffuser attachment to preserve natural curls or waves. If you’re going for a sleek blowout, section the hair into smaller parts and focus on drying thoroughly to prevent frizz.
Common Blowout Mistakes to Avoid
Even with the best tools and techniques, a few common mistakes can derail your blowout. Here’s what to watch out for:
Not using enough heat protectant: This can lead to damage and breakage, especially if you frequently blow-dry your hair.
Using too much product: Overloading your hair with products can weigh it down and reduce the longevity of your blowout.
Skipping sections: Failing to section your hair properly can result in uneven drying, frizz, and a less polished final look.
The Benefits of At-Home Blowouts
Blowouts not only give your hair a polished, professional look but also offer several benefits:
Longevity: A well-executed blowout can last for several days, reducing the need for daily heat styling.
Versatility: Whether you’re aiming for voluminous curls, sleek straight hair, or soft waves, a blowout can be adapted to suit various styles.
Cost-Effective: Regular salon blowouts can be expensive. Learning to do it at home allows you to achieve the same results without the cost.
Conclusion: Mastering the At-Home Blowout
With the right tools, products, and techniques, you can achieve a salon-quality blowout at home. Follow this step-by-step guide, and tailor your blowout to your hair type for the best results. Using professional-quality tools like the Maxodo High-Speed Hair Dryer will give you smooth, voluminous, and shiny hair at home.
Ultimate Guide to Using a Hair Dryer with Nozzle for Styling
Discover the benefits of using a hair dryer with nozzle for faster drying, frizz reduction, and salon-quality styling at home.
Read More
The Benefits of Using a Hair Dryer with a Diffuser
Discover how a diffuser hair dryer reduces frizz, protects hair, defines curls, and adds volume for healthier, natural styling.
Read More
Ultimate Hair Dryer Guide for Every Life Scenario
Find the perfect hair dryer for travel, gym, salon, or home. Maxodo offers fast-dry, quiet, and versatile all-in-one solutions.
Read More