- Home
- Hair Dryer
- Hair Care Tips
- How to Achieve Versatile Hairstyles Using a Hair Dryer
How to Achieve Versatile Hairstyles Using a Hair Dryer
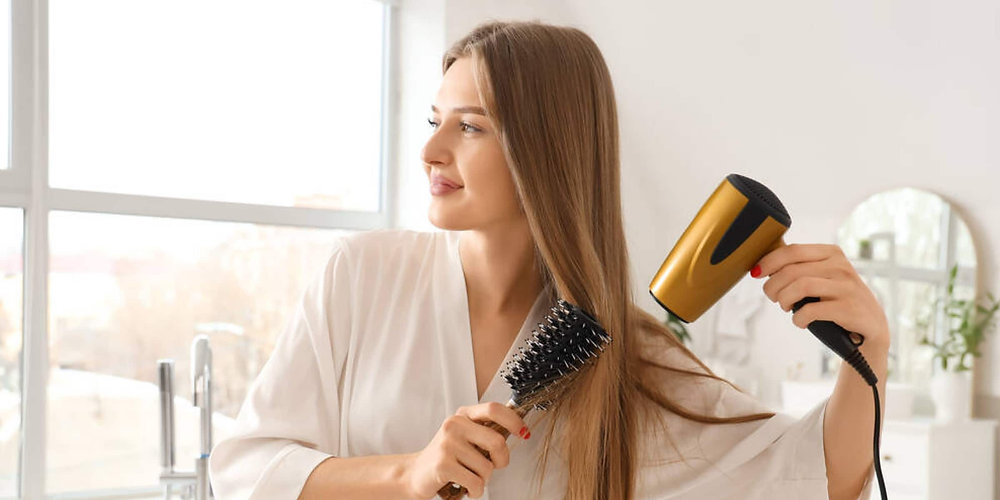
Achieving salon-quality hairstyles from the comfort of your home is possible with the right tools and techniques. A hair dryer is a versatile tool that can help you create various hairstyles ranging from sleek, straight hair to voluminous curls and waves. However, mastering different styling methods depends on understanding your hair type and using the proper accessories and settings. This comprehensive guide will walk you through achieving a range of versatile hairstyles using a hair dryer.
Whether you have straight, wavy, curly, or fine hair, this guide will explain the steps to take and the best techniques to create stunning hairstyles with minimal damage.
Understanding Your Hair Type: The Foundation of Styling
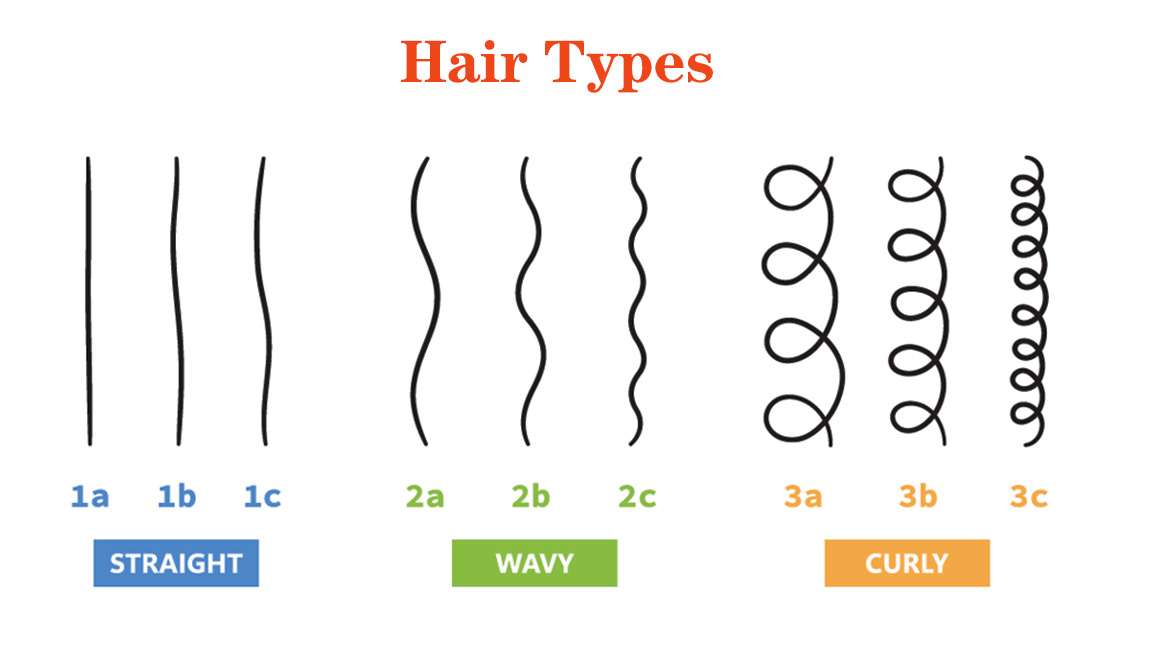
Before diving into the techniques, it’s crucial to understand your hair type. Different hair textures require different approaches, heat settings, and products to achieve the desired look while maintaining hair health.
Straight Hair: Generally smooth and easy to manage, but it can lack volume. Focus on lifting at the roots and adding waves for more dimension.
Wavy Hair: Naturally textured, but prone to frizz. Diffuse drying with products that enhance waves will give you a polished, beachy look.
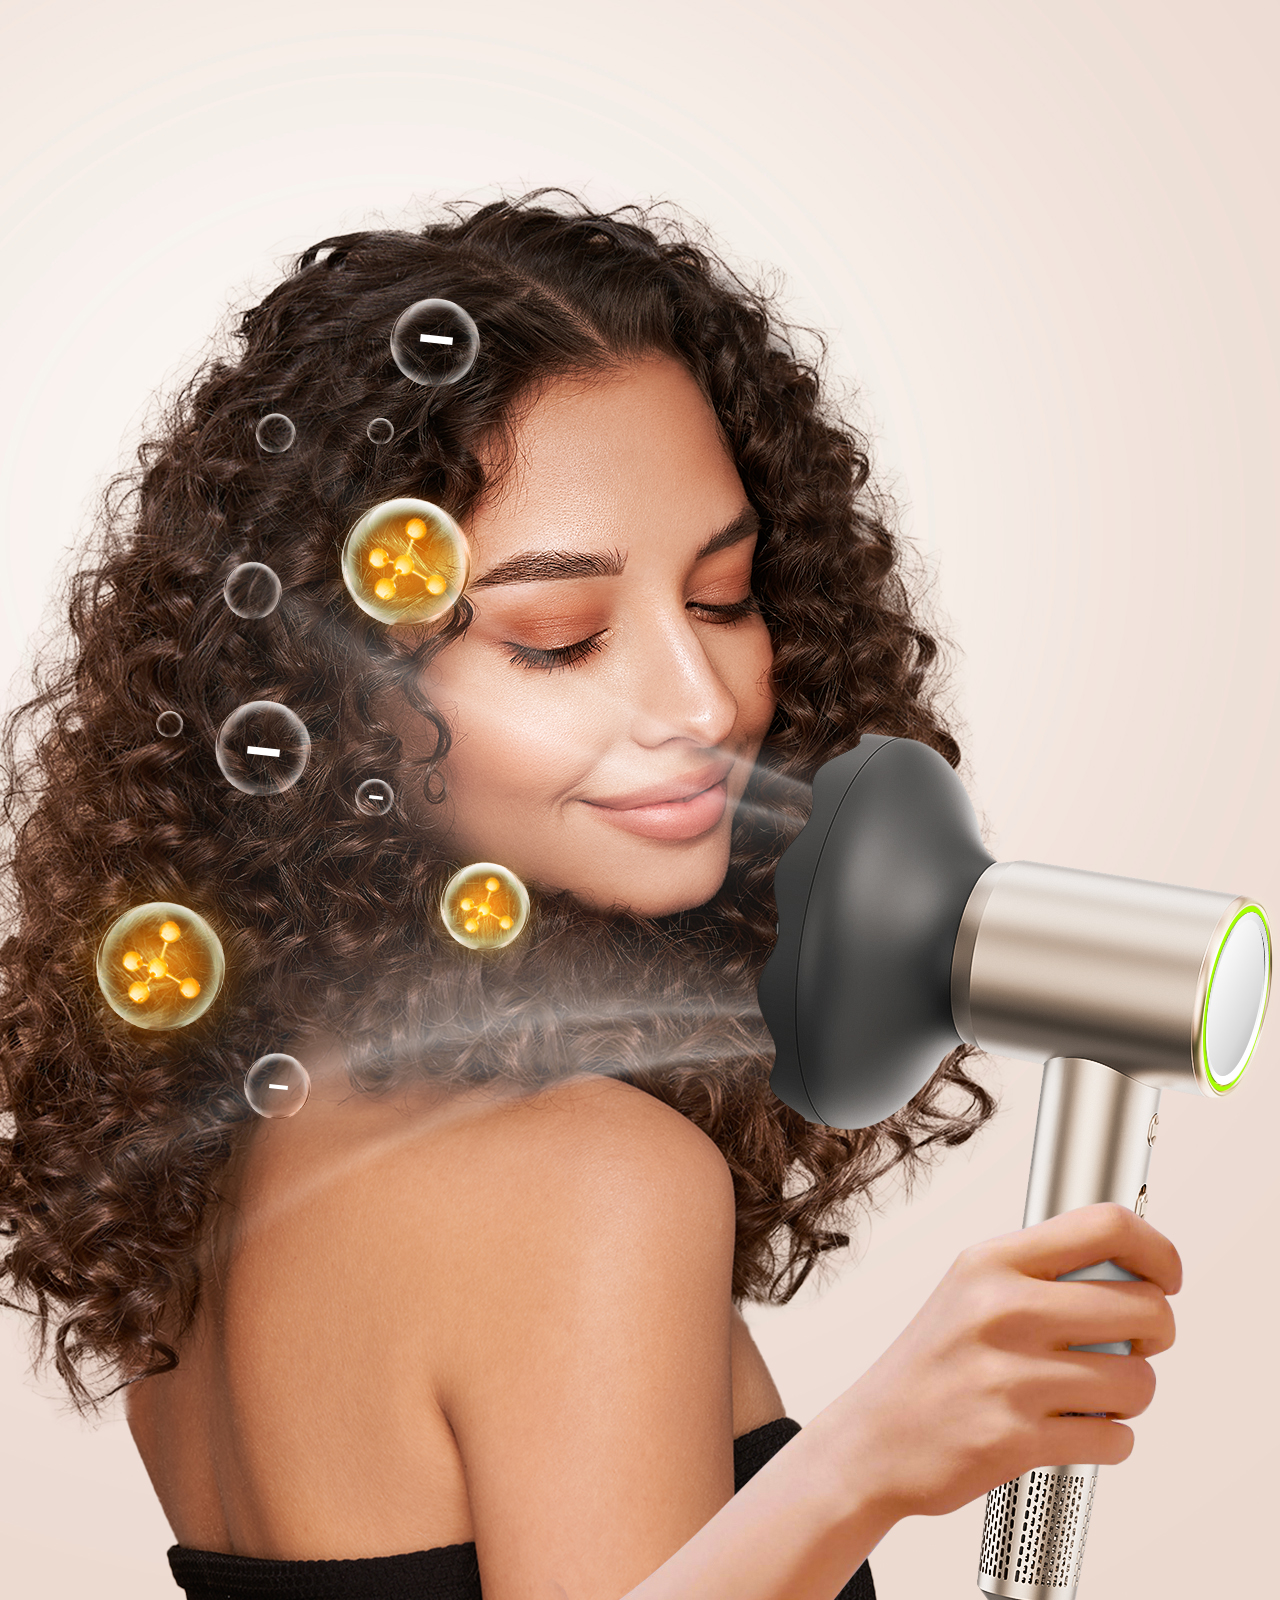
Curly Hair: Prone to dryness and frizz, curls need moisture and gentle handling. Using a diffuser attachment and ionic hair dryers can help lock in moisture and define curls.
Fine Hair: Lightweight and prone to oiliness, fine hair benefits from low heat and volumizing products to avoid flattening.
Understanding your hair type allows you to choose the right heat settings and tools, ensuring the best results while maintaining healthy, shiny hair.
Essential Tools for Versatile Styling
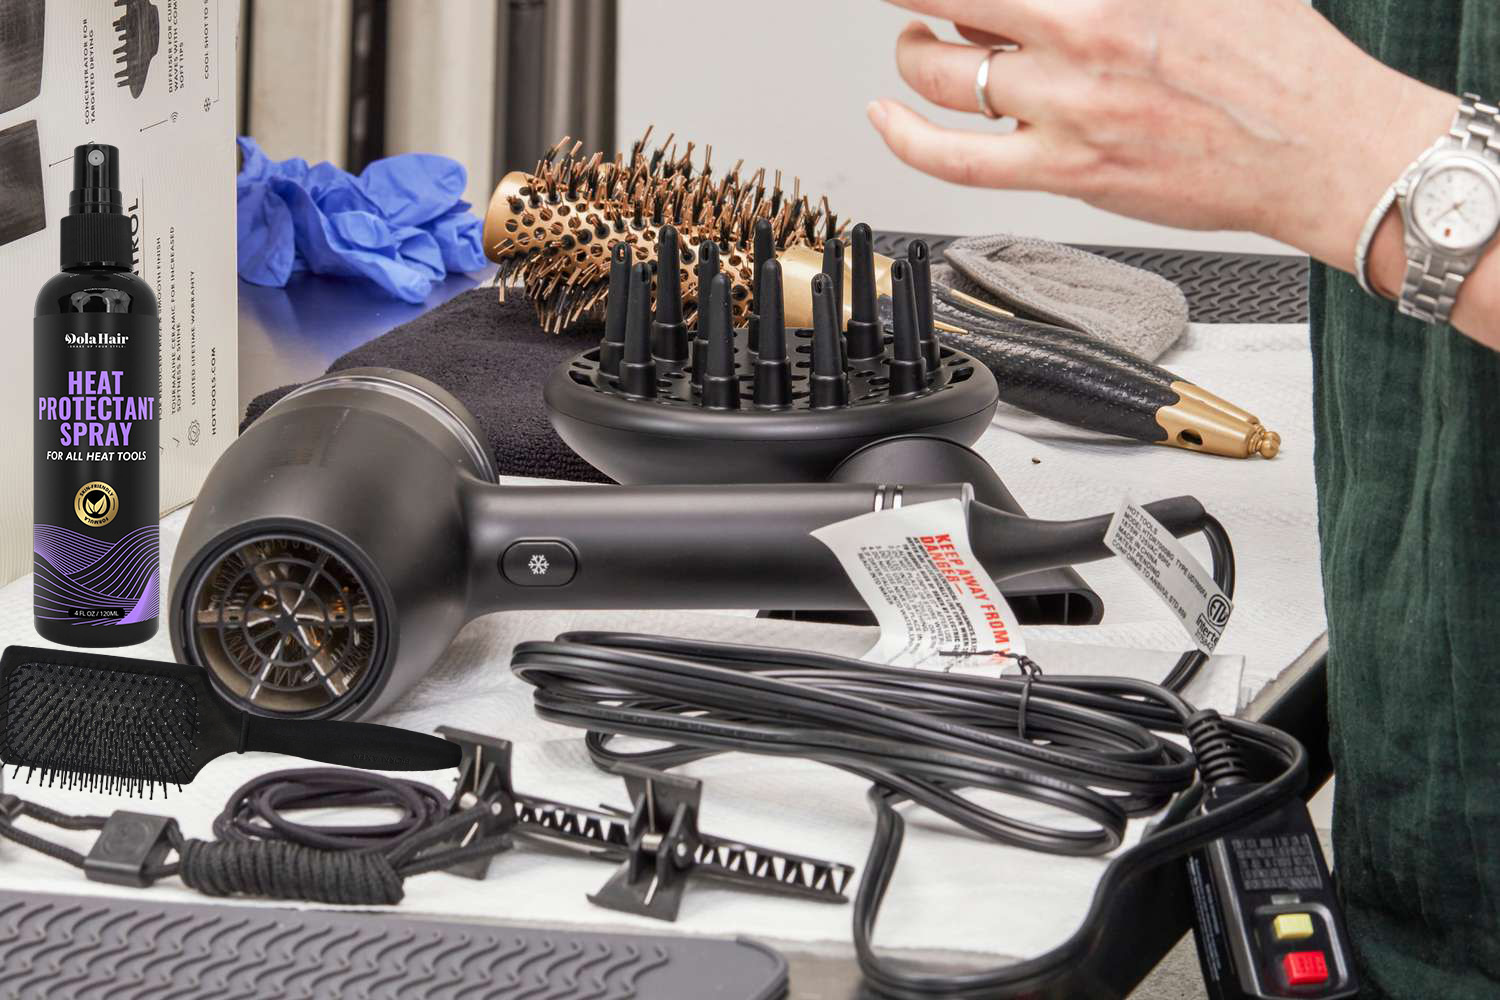
To achieve the best results with your hair dryer, you’ll need a few essential tools that cater to different hairstyles.
Hair Dryer with Multiple Settings: A professional ionic hair dryer with heat and speed controls is essential for versatility. It helps minimize frizz, protects your hair from damage, and allows you to adjust the settings depending on the style you’re going for.
Diffuser Attachment: Best for curly and wavy hair, a diffuser helps distribute air evenly, reducing frizz and maintaining curl definition.
Concentrator Nozzle: This attachment directs airflow to specific areas, making it ideal for straightening and smooth blowouts.
Round Brush: A must-have for voluminous blowouts and smooth curls. The size of the brush determines the tightness of the curls.
Flat Paddle Brush: Ideal for straightening hair and achieving sleek, smooth styles.
Heat Protectant Spray: Essential for all hair types, a heat protectant spray shields your hair from damage caused by high heat.
Step-by-Step Guide to Creating Different Hairstyles
In this section, you’ll find detailed instructions on how to use a hair dryer to create a variety of hairstyles for different hair types. By following these steps, you can achieve everything from a voluminous blowout to sleek straight hair, defined curls, or beachy waves. Each hairstyle requires a specific combination of tools, techniques, and products to achieve the best results while minimizing damage.
1. Voluminous Blowout for Straight Hair
A voluminous blowout is perfect for adding body and lift to straight hair, giving you that salon-quality finish at home. Here’s how you can achieve this look with a hair dryer:
Tools Needed:
Hair dryer with a concentrator nozzle: This helps to focus airflow on specific areas, making it easier to style.
Large round brush: The larger the brush, the more volume and larger curls you can achieve.
Volumizing mousse or spray: Adds lift at the roots and gives your hair texture.
Hair clips for sectioning: To ensure that you dry your hair evenly.
Heat protectant spray: Shields your hair from heat damage.
Steps:
Prep Your Hair: Start by washing and towel-drying your hair until it’s about 80% dry. Apply a heat protectant spray to damp hair to protect against heat damage, then follow with a volumizing mousse or spray, focusing on the roots for extra lift.
Section Your Hair: Divide your hair into manageable sections using clips. This ensures that you focus on one part at a time, resulting in a more even blow-dry.
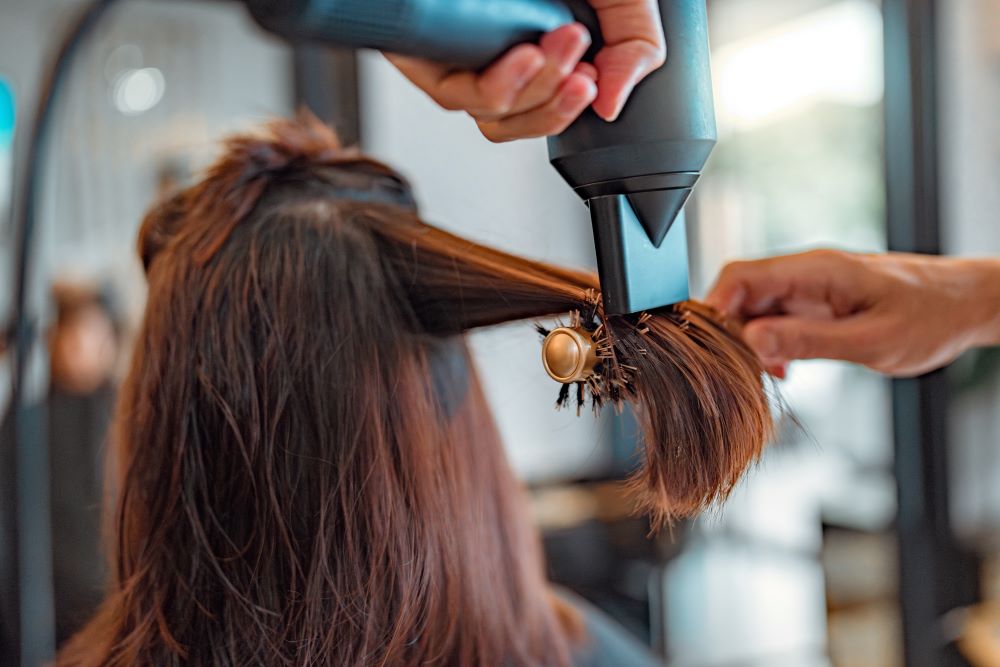
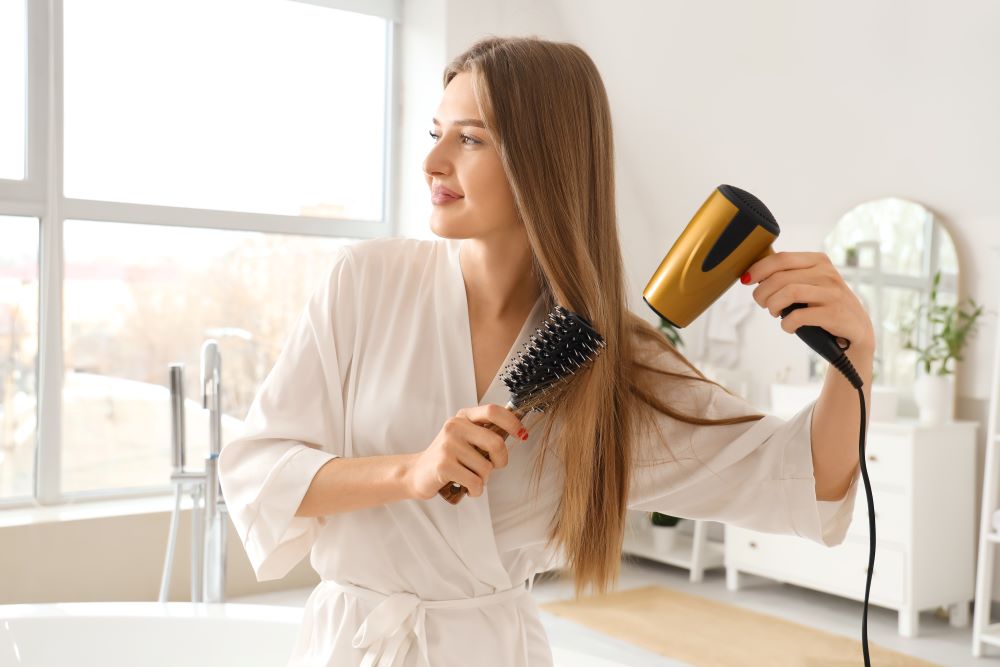
Blow-Dry with a Round Brush: Attach the concentrator nozzle to your hair dryer. Take one section at a time and place the round brush at the roots, lifting your hair upwards as you direct the hot air toward the brush. Slowly move the brush down to the ends, rolling the hair around the brush to create volume. Repeat for each section.
Lift the Roots for Extra Volume: For maximum volume at the crown, lift the hair at the roots with your round brush and blow-dry upwards. This technique will help create a more dramatic, voluminous look.
Finish with Cool Air: Once your hair is dry, use the cool shot setting on your dryer to blast cool air over each section. This helps lock in the volume and give a polished finish.
Styling Tip: For an extra bouncy finish, after each section is blow-dried, you can roll the hair into loose curls and pin them up until they cool. This trick helps to hold the volume for longer.
2. Sleek, Straight Hair for All Hair Types
Straight hair never goes out of style, and with the right tools, anyone can achieve a sleek, smooth finish. This look works well for naturally straight, wavy, or curly hair, as long as the proper technique is followed.
Tools Needed:
Hair dryer with a concentrator nozzle: A focused nozzle helps smooth hair while drying.
Flat paddle brush: Ideal for smoothing out hair and adding shine.
Heat protectant spray: Essential for preventing damage from heat.
Smoothing serum: Helps tame flyaways and adds a sleek finish.
Steps:
Prep Your Hair: Begin with freshly washed hair, and towel-dry it until it’s about 80% dry. Apply a heat protectant spray to your damp hair and a small amount of smoothing serum to reduce frizz and enhance shine.
Section Your Hair: Divide your hair into sections to ensure an even, thorough blowout.
Blow-Dry Straight: Attach the concentrator nozzle to your hair dryer. Using the flat paddle brush, guide the hair downward as you blow-dry, holding the brush taut. Keep the nozzle close to the brush to ensure a smooth, sleek result.
Seal with Cool Air: Once each section is dry, switch to the cool air setting and blast your hair for a few seconds to lock in the style and add shine.
Styling Tip: For curly or wavy hair, use a flat iron after blow-drying to get that extra sleek finish.
3. Defined Curls Using a Diffuser
Curly hair benefits greatly from a diffuser attachment, which distributes airflow evenly, reducing frizz and allowing curls to maintain their natural shape. Follow these steps for perfectly defined curls.
Tools Needed:
Hair dryer with a diffuser attachment: Essential for gentle drying that enhances curl definition.
Curl-enhancing mousse or cream: Helps keep curls intact and reduces frizz.
Wide-tooth comb: Gentle on curls, this tool helps detangle without disrupting curl patterns.
Heat protectant spray: Protects hair from damage while drying.
Steps:
Prep Your Hair: After washing your hair, gently towel-dry and apply a curl-enhancing mousse or cream. Use a wide-tooth comb to detangle your curls without causing breakage.
Use the Diffuser: Attach the diffuser to your hair dryer and set it to low heat and low speed. Hold sections of your hair in the diffuser bowl and move it upward toward your scalp to gently dry the curls. This method enhances the curl pattern while minimizing frizz.
Scrunch for Volume: While drying, gently scrunch your hair with your hands to add more volume and shape.
Finish with Cool Air: Once your curls are fully dry, use the cool air setting to lock in moisture and set the curls.
Styling Tip: Avoid touching your hair too much during the drying process, as this can cause frizz. Once fully dry, use a small amount of lightweight oil to enhance the shine and further define the curls.
4. Beach Waves for Wavy Hair
Effortless beach waves are a popular look that can be achieved easily using a hair dryer. This style works best for naturally wavy hair but can be created on straight hair as well with a bit of extra effort.
Tools Needed:
Hair dryer with a concentrator nozzle
Sea salt spray or texturizing spray: Provides texture and helps create that lived-in wave look.
Curling wand (optional): Adds more defined waves if needed.
Heat protectant spray
Steps:
Prep Your Hair: Start with towel-dried hair and spritz sea salt spray or texturizing spray onto the mid-lengths and ends for texture.
Twist and Dry: Divide your hair into two or four sections. Twist each section into a loose rope and use the concentrator nozzle on your hair dryer to dry while holding the twist. The twisting motion encourages waves to form naturally.
Use a Curling Wand for Extra Definition: If needed, take random sections of your hair and wrap them around a curling wand for a few seconds to add more definition to the waves.
Scrunch and Set: Once your hair is fully dry, scrunch your hair with your hands to enhance the waves. Finish with a light hairspray to hold the look.
Styling Tip: Don’t worry about making the waves too uniform—beach waves are meant to be loose and tousled for a more natural, laid-back look.
5. Bouncy Curls for Fine Hair
Creating bouncy curls on fine hair can be tricky, as fine hair tends to fall flat quickly. However, with the right technique, you can achieve voluminous, long-lasting curls that look full and defined.
Tools Needed:
Hair dryer with a concentrator nozzle
Small to medium-sized round brush: Smaller brushes create tighter curls, while medium ones create larger, looser curls.
Volumizing mousse: Adds texture and body to fine hair.
Heat protectant spray: Protects fine hair from excessive heat.
Steps:
Prep Your Hair: Apply a volumizing mousse to damp hair to help build body. Spray a heat protectant to shield your fine hair from damage.
Section Your Hair: Divide your hair into small sections, as smaller sections hold curls better for fine hair.
Blow-Dry with a Round Brush: Starting from the roots, wrap a section of hair around the round brush and direct the hot air from the hair dryer at the roots while pulling the brush downward. Roll the brush at the ends to form curls.
Pin the Curls: After curling each section, pin it up with a clip and allow it to cool before releasing. This helps the curls hold longer.
Styling Tip: Letting the curls cool before releasing helps fine hair retain its shape and bounce for longer.
Conclusion
With the right tools and techniques, a hair dryer can be your go-to styling tool for creating various versatile hairstyles. Whether you’re aiming for a sleek, straight look, voluminous blowout, defined curls, or beachy waves, understanding your hair type and using the right attachments will make all the difference.
Achieving professional-looking results at home is possible when you master the use of versatile hair dryers. Practice the techniques outlined in this guide, and you’ll be able to create a variety of looks that suit your style and occasion.
Popular Post

Ultimate Guide to Using a Hair Dryer with Nozzle for Styling
The Benefits of Using a Hair Dryer with a Diffuser
