- Home
- Hair Dryer
- Hair Care Tips
- DIY Hair Care: Get the Most from Your Hair Dryer
DIY Hair Care: Get the Most from Your Hair Dryer
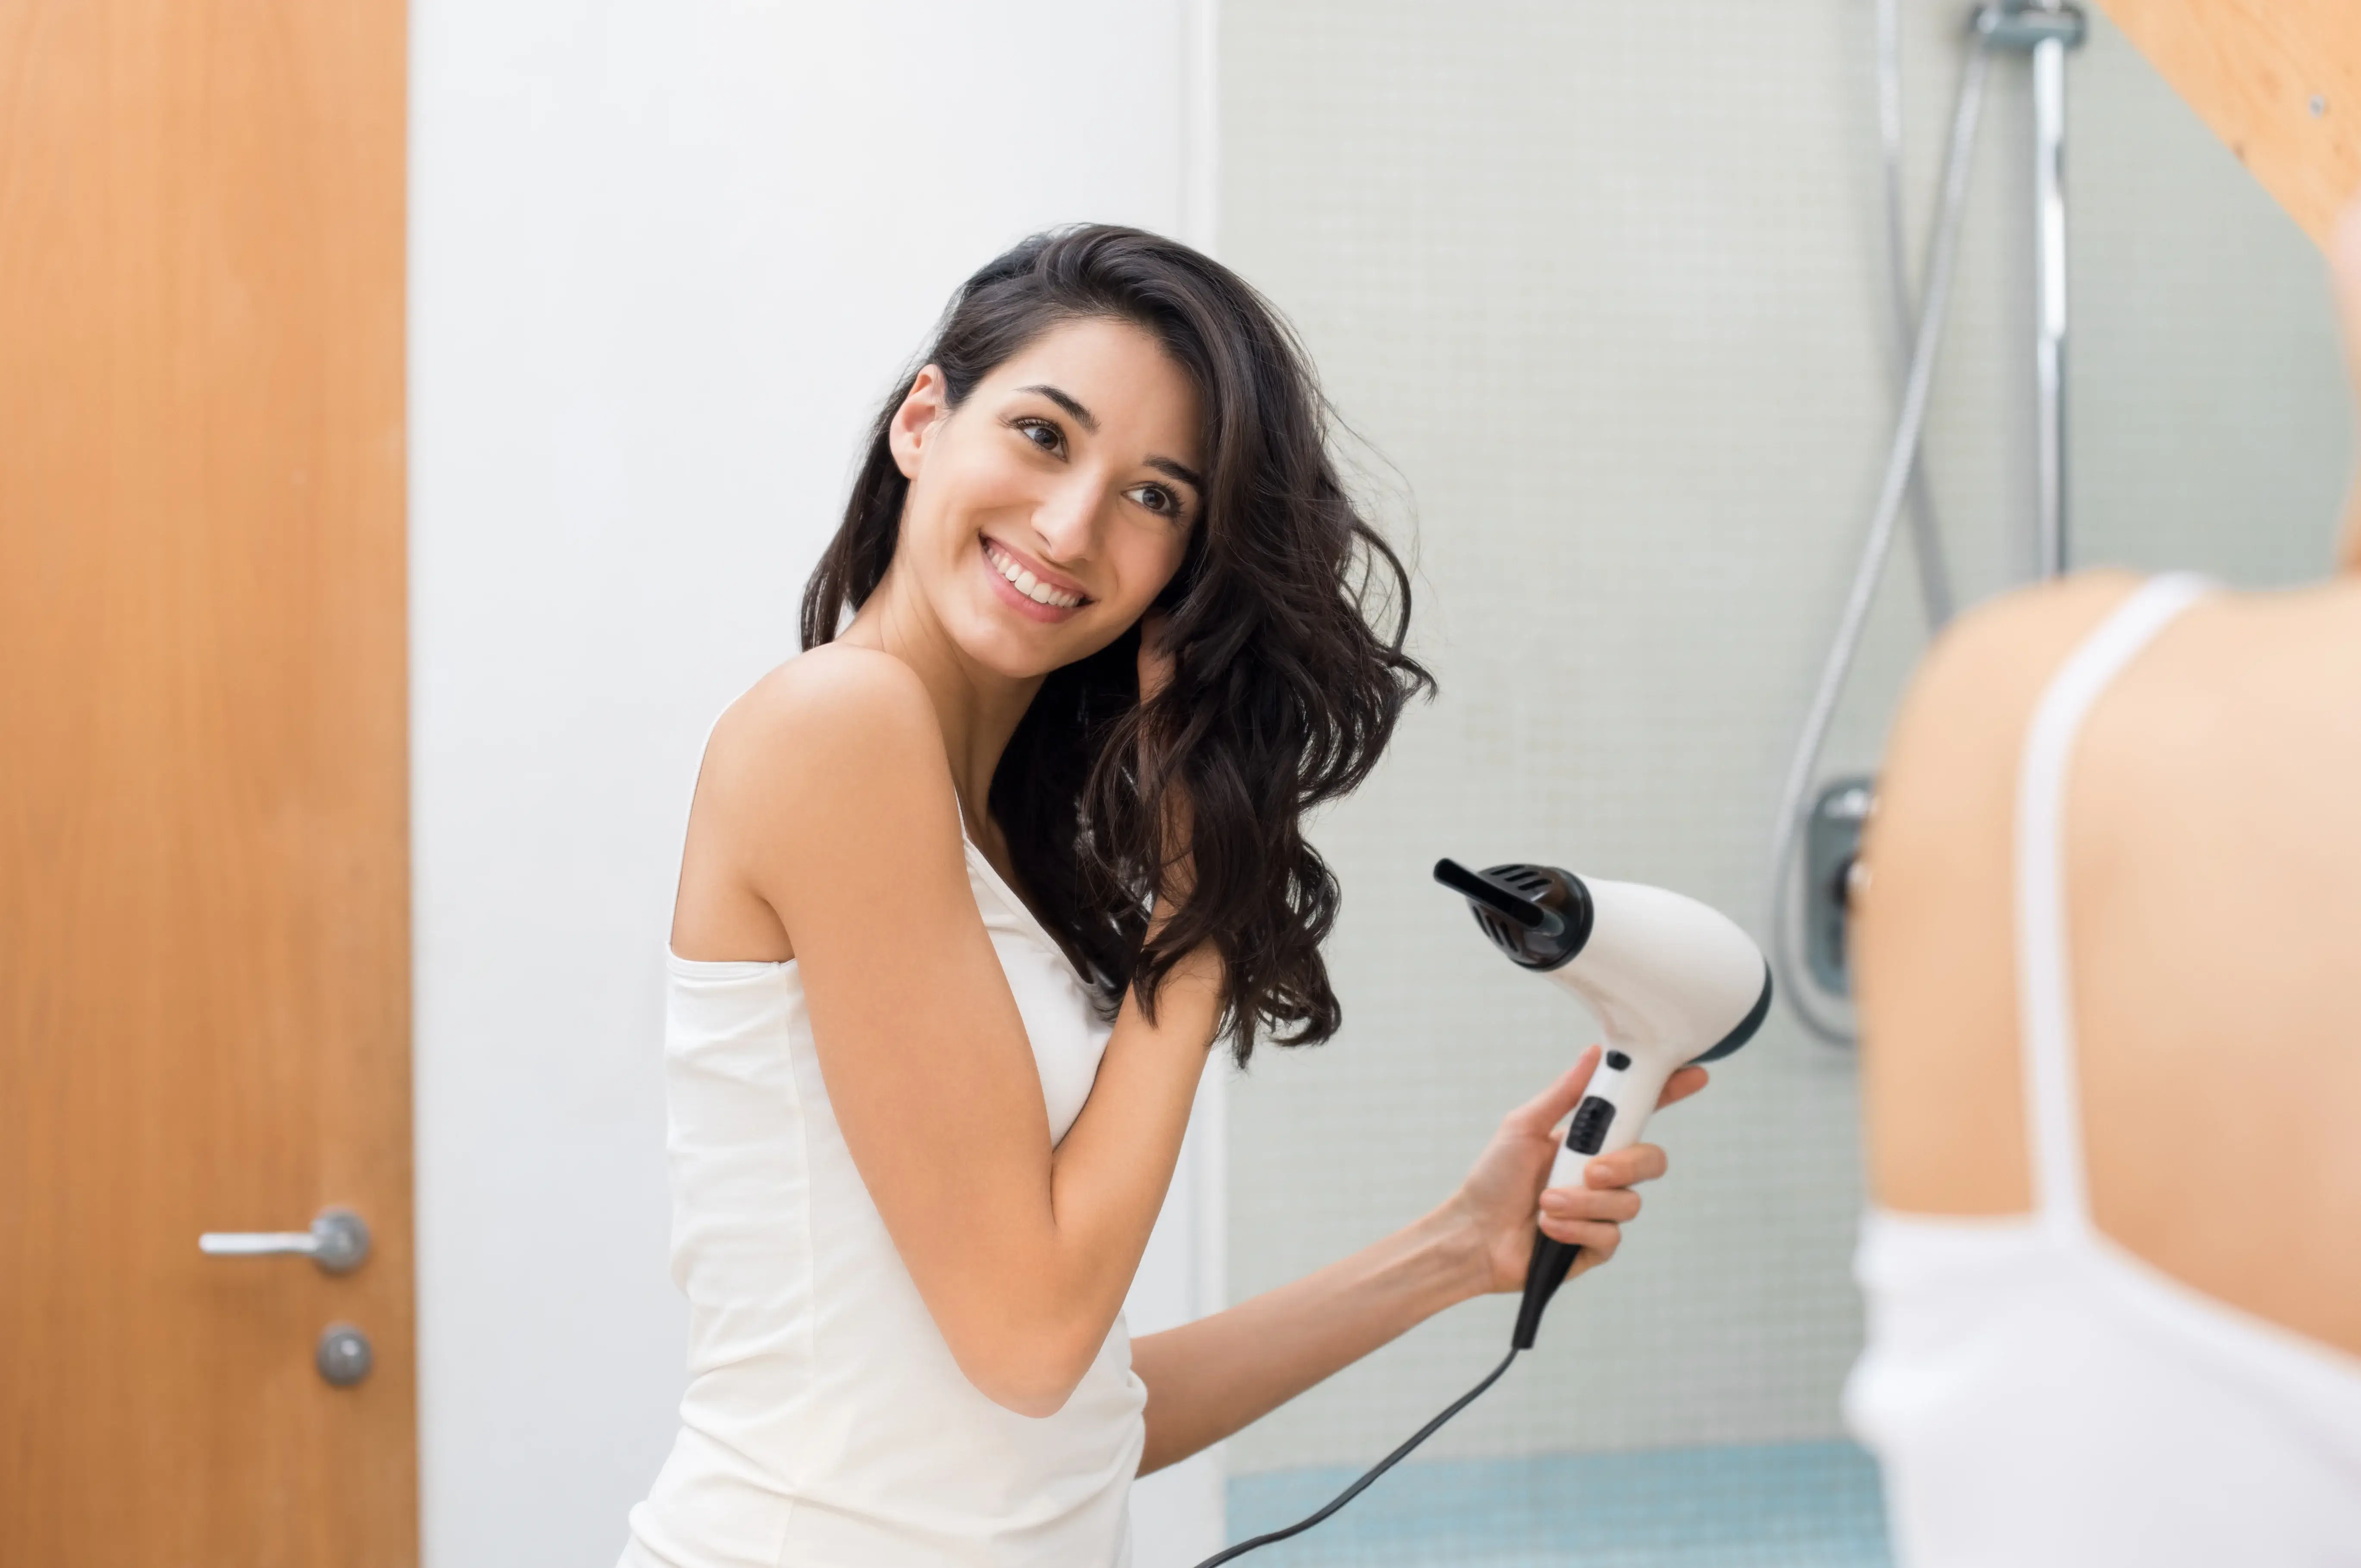
Hair dryers have become an essential tool in our daily hair care routines. While we all use them, few of us are truly getting the most out of this versatile tool. Whether you’re aiming for voluminous waves, sleek straight locks, or simply trying to cut down on drying time, understanding how to use your hair dryer properly can make all the difference. This comprehensive guide will walk you through the key tips and tricks to master DIY hair care using a hair dryer, ensuring your hair stays healthy and radiant.
1. Understanding Your Hair Dryer: Features and Functions
To make the most of your hair dryer, it’s important to first understand its key features. Not all hair dryers are created equal, and the right one can significantly impact your styling results.
Heat Settings: Most modern hair dryers come with multiple heat settings—usually low, medium, and high. For fine or damaged hair, stick to the lower settings to avoid excessive heat damage. For thicker or coarse hair, higher heat settings can help speed up the drying process without causing harm if used correctly.
Speed Settings: Hair dryers often have multiple speed settings as well. Higher speeds are ideal for quick drying, while lower speeds offer better control when you’re styling or working on specific sections of hair.
Cool Shot: The cool shot button is an underrated feature that can lock in your style. After using heat to shape your hair, a blast of cool air will help set the look and reduce frizz.
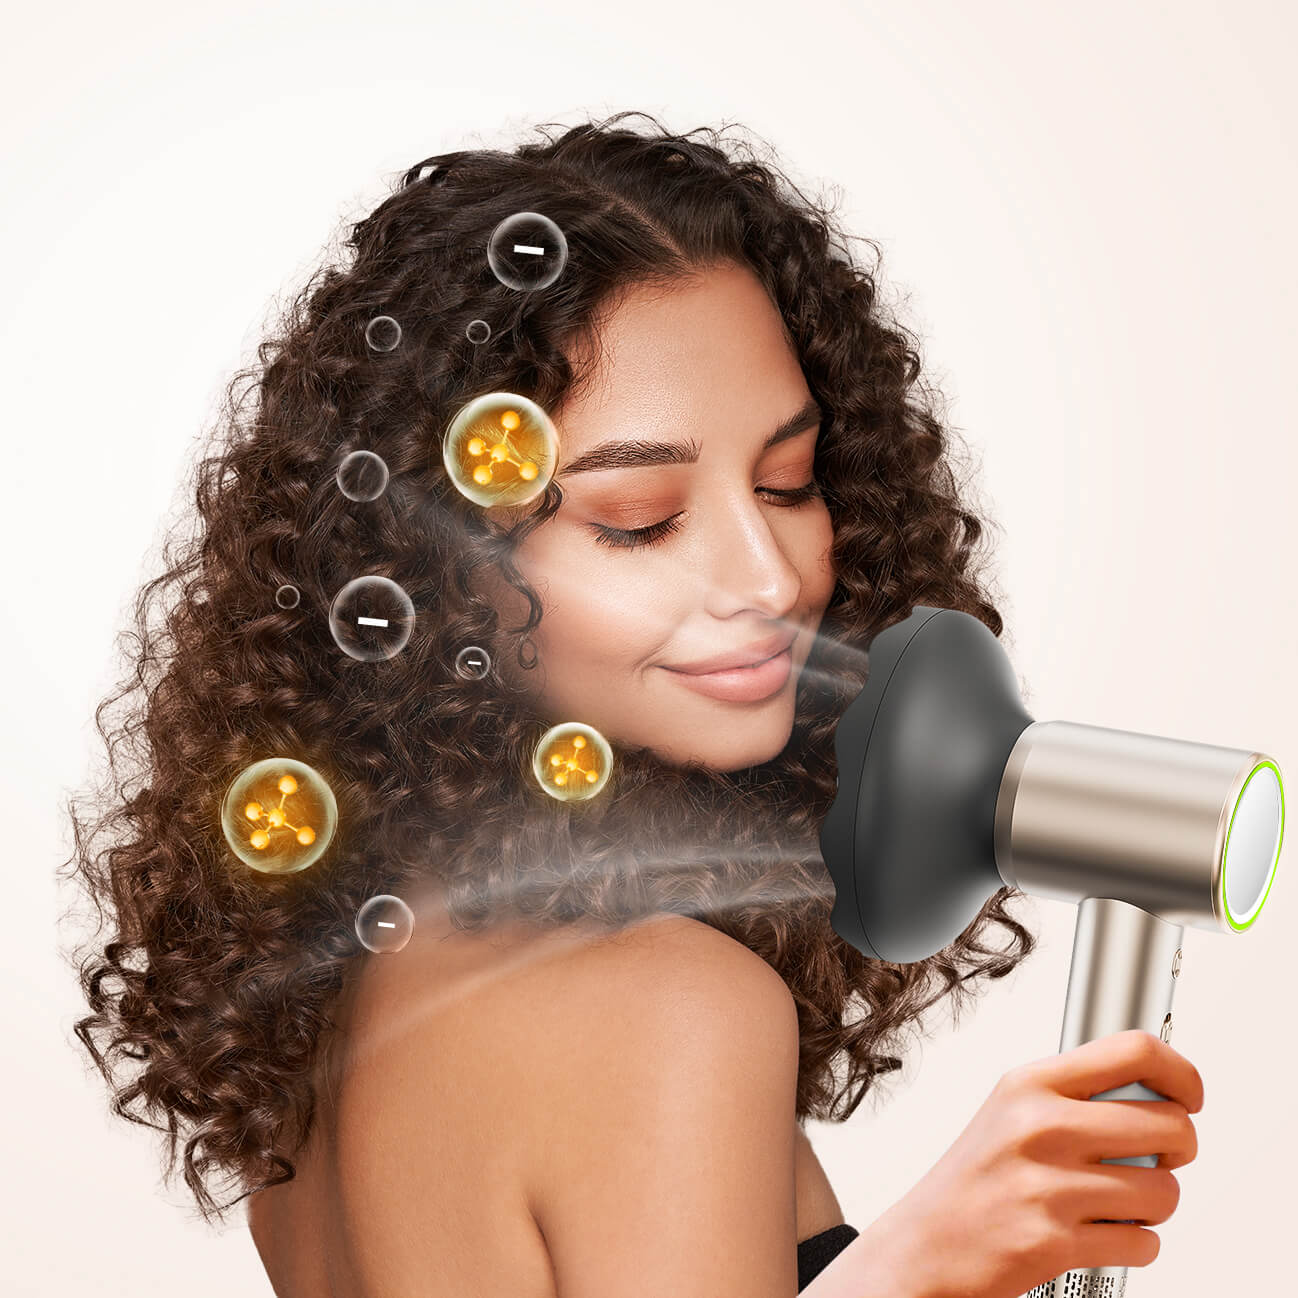
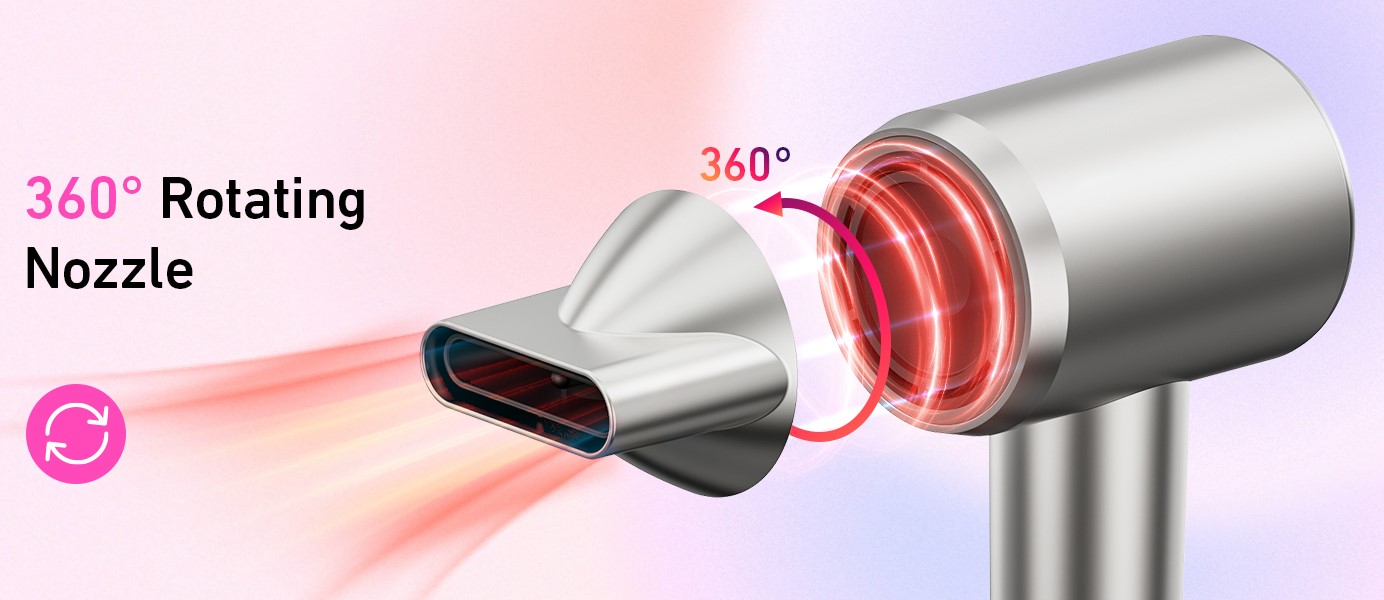
Ionic Technology: This technology helps break down water molecules faster, reducing drying time and leaving your hair smoother and shinier. Ionic hair dryers are great for reducing frizz and are particularly beneficial for people with curly or wavy hair.
Diffuser Attachment: If you have curly or wavy hair, a diffuser can help maintain your natural texture without causing frizz. It distributes the airflow evenly, allowing your curls to dry without being disrupted.
Concentrator Nozzle: For those who want smooth, straight styles, the concentrator nozzle is key. It focuses the airflow, making it easier to direct heat exactly where you need it.
By understanding your hair dryer’s features and functions, you can tailor your styling routine to suit your hair type and desired look.
2. Prepping Your Hair for Blow Drying
The way you prepare your hair before using a hair dryer plays a huge role in the final outcome. The right preparation can minimize damage and enhance your results.
Use a Heat Protectant: One of the most important steps before blow drying is applying a heat protectant spray or serum. This creates a barrier between your hair and the heat, preventing damage to your hair’s cuticle. Look for a product that offers protection up to 450°F for optimal safety.
Start with Damp Hair: It’s best to use a hair dryer on damp, not soaking wet, hair. Towel dry your hair first to remove excess water. Using a dryer on soaking wet hair not only takes longer but also increases the risk of heat damage.
Detangle Before Drying: Before blow drying, use a wide-tooth comb or detangling brush to remove any knots or tangles. This will make the drying process smoother and help prevent breakage.
Apply a Volumizing Product: If you want to add volume, use a mousse or volumizing spray at the roots. This will help lift the hair as you dry it, creating a fuller look. For those with fine or limp hair, this step is crucial to getting the most out of your hair dryer.
3. Mastering Hair Drying Techniques for Different Hair Types
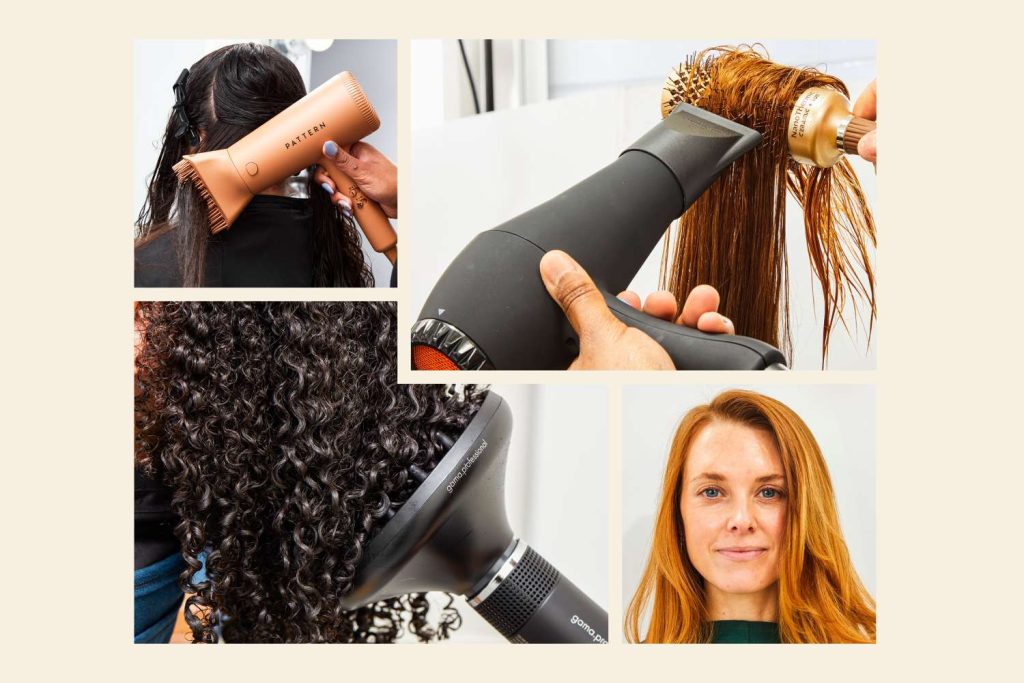
Different hair types require different drying techniques. Whether your hair is straight, curly, or somewhere in between, adjusting your technique can enhance your hair’s natural texture and protect it from heat damage.
For Fine or Straight Hair:
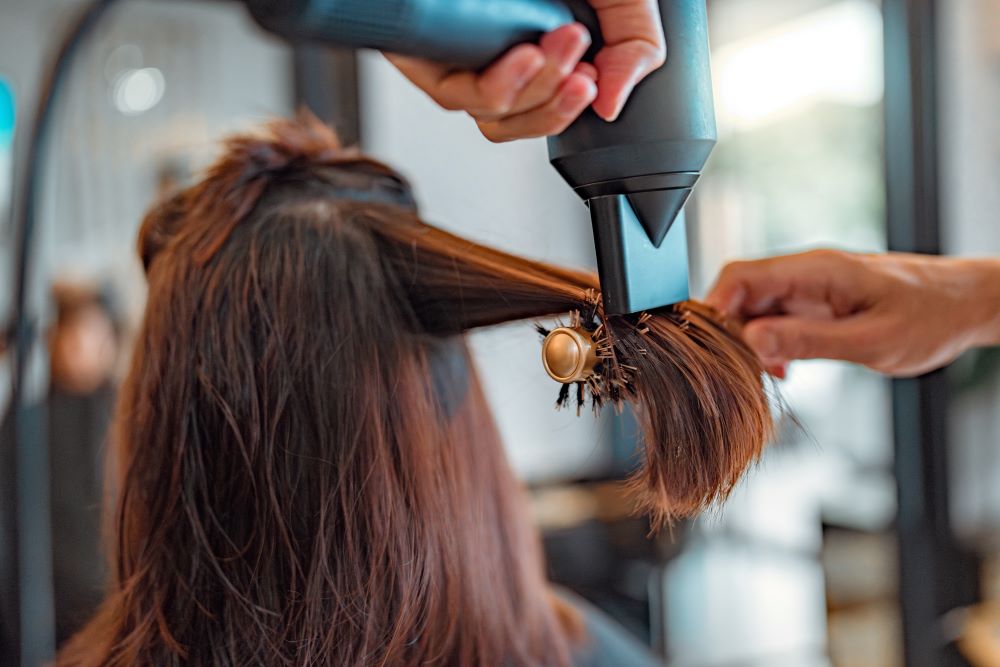
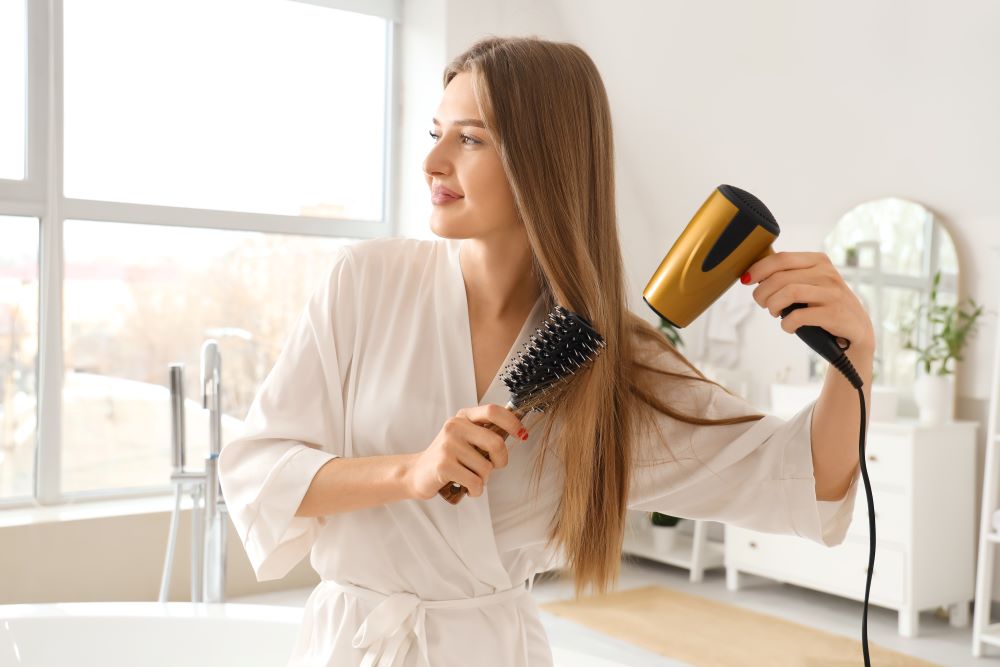
Use a round brush to lift your roots as you dry for added volume.
Direct the nozzle down the hair shaft to smooth the cuticle and create shine.
Keep the dryer moving continuously to avoid concentrating heat on one section for too long.
For Curly or Wavy Hair:
Use a diffuser attachment to dry your curls without disrupting their natural shape.
Scrunch your hair while drying to encourage curl formation.
Keep the dryer on a low heat setting to avoid frizz and maintain definition.
For Thick or Coarse Hair:
Use the highest heat and speed settings, but don’t forget to use a heat protectant.
Divide your hair into sections and dry one section at a time to ensure even drying.
For a sleek, straight look, use a concentrator nozzle along with a paddle brush or round brush.
For Frizzy Hair:
An ionic hair dryer is a great investment for taming frizz.
Always finish with the cool shot to lock in moisture and reduce flyaways.
Consider using a smoothing serum before and after drying to keep frizz at bay.
4. Achieving Salon-Worthy Volume and Shine
One of the main reasons we turn to hair dryers is to achieve that voluminous, shiny look often seen in salons. While it’s not always easy to replicate professional results at home, with the right techniques, you can come close.
Lift at the Roots: For volume, focus on drying your roots first. Use a round brush or your fingers to lift sections of hair at the crown and blow dry them upwards.
Blow Dry Upside Down: Another technique for adding volume is to flip your head upside down and blow dry from the roots to the tips. This will create lift at the roots and add body to your hair.
Polish with a Brush: For a sleek, shiny finish, use a boar bristle brush. This type of brush helps distribute your hair’s natural oils from the scalp to the ends, resulting in a smooth, shiny look.
Use the Cool Shot: Once you’ve finished drying, always use the cool shot to seal the hair cuticle. This will not only lock in your style but also add a natural shine.
5. Using Hair Dryer Attachments for Best Results
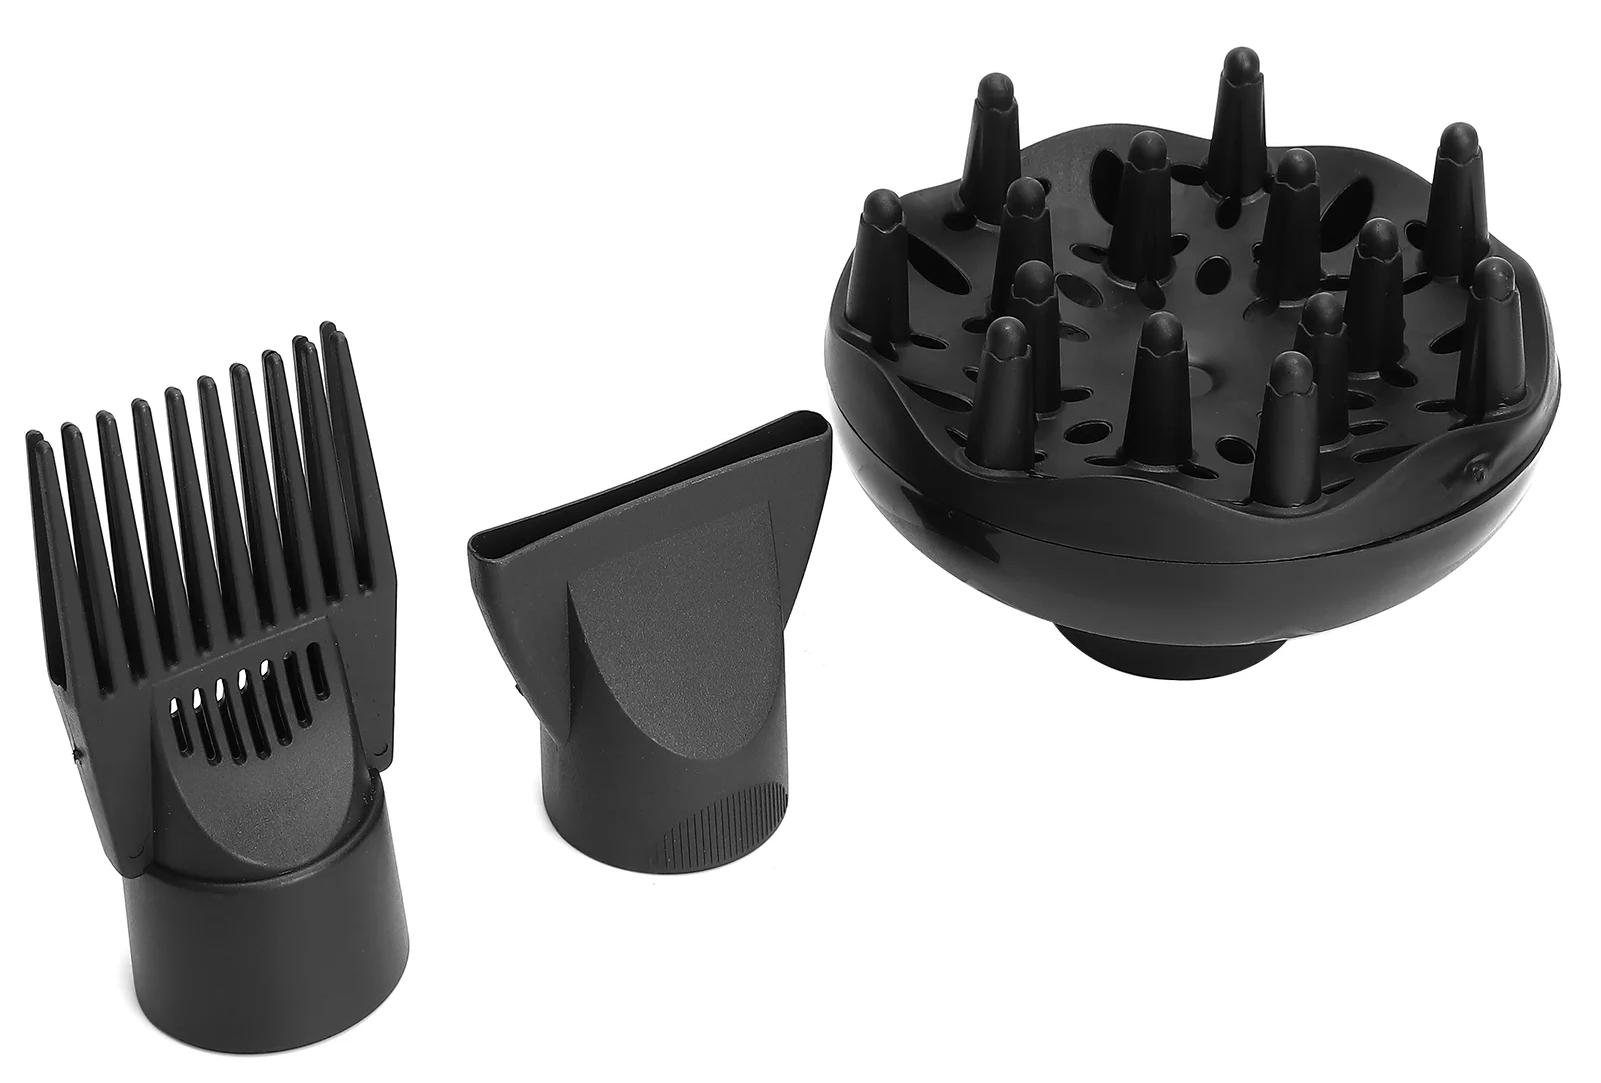
Hair dryers often come with various attachments, each serving a different purpose. Understanding how to use them properly can enhance your hair care routine and help you achieve your desired style more efficiently.
Concentrator Nozzle: This attachment is designed to focus the airflow on specific sections of hair, making it perfect for precision drying. It’s ideal for creating sleek, straight styles or adding volume to specific areas, like the crown.
Diffuser: Curly-haired individuals can greatly benefit from a diffuser attachment. This tool helps distribute heat evenly, allowing your curls to dry naturally without being disturbed. It’s also great for minimizing frizz.
Comb Attachment: If your hair dryer comes with a comb attachment, use it for detangling and straightening thick, curly hair while you dry. This attachment works especially well for Afro-textured hair.
By using the appropriate attachment, you can tailor your blow-drying routine to your hair’s specific needs.
6. Protecting Your Hair from Heat Damage
Heat styling can take a toll on your hair if you’re not careful. Fortunately, there are several steps you can take to minimize damage while still achieving the desired look.
Use Heat Protectants Religiously: A heat protectant spray or serum should be applied before every blow dry session. This step is crucial in maintaining the health and integrity of your hair.
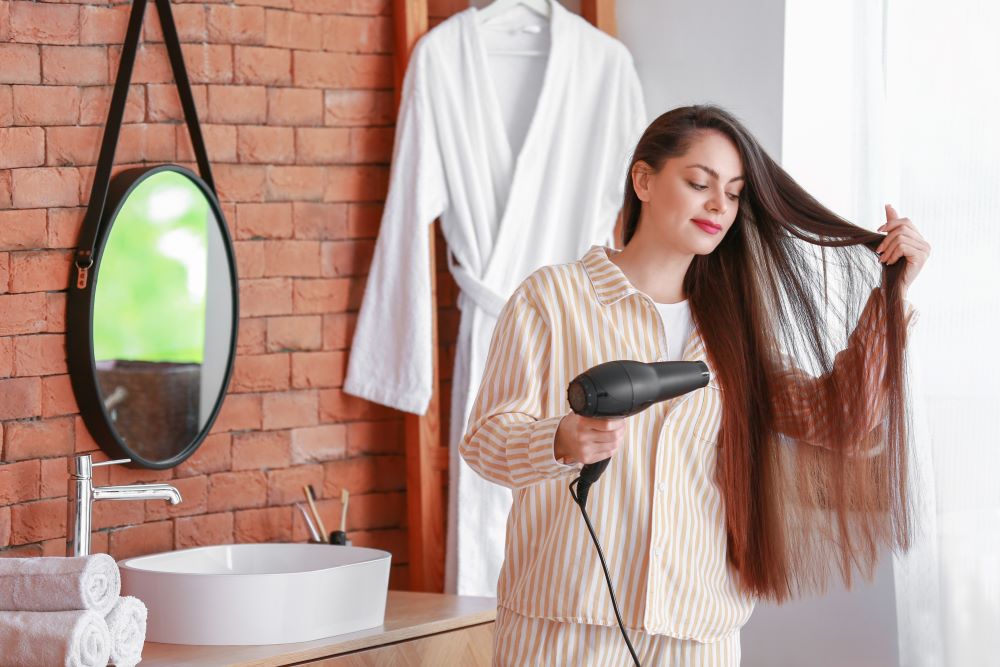
Keep the Dryer Moving: Avoid holding the dryer too close to any one section of hair for too long. Move the dryer continuously and keep it at least six inches away from your hair to reduce the risk of overheating.
Use Lower Heat Settings: It’s tempting to crank up the heat to save time, but high temperatures can damage your hair over time. Whenever possible, use lower heat settings to protect your strands.
Limit Blow Drying Frequency: If you’re blow drying your hair every day, consider reducing the frequency to a few times a week. Give your hair a break from heat styling to maintain its health and shine.
7. Finishing Touches: How to Lock in Your Style
Once you’ve completed your blow dry, a few finishing touches can make all the difference in the longevity and appearance of your style.
Seal with the Cool Shot: As mentioned earlier, the cool shot helps set your style and reduces frizz. Use it all over your hair for a polished finish.
Apply a Shine Serum: For an extra boost of shine, apply a lightweight serum or oil to the ends of your hair. This will smooth any flyaways and add a healthy sheen.
Use Hairspray for Hold: If you’re worried about your style losing shape throughout the day, a light mist of hairspray can help hold everything in place. Choose a flexible hold hairspray to keep your hair touchable and soft.
8. Common Hair Drying Mistakes to Avoid
Even with the right tools and techniques, it’s easy to fall into some common mistakes when blow drying your hair. Here are a few pitfalls to avoid:
Using High Heat on Wet Hair: Always towel dry your hair before using a hair dryer. Directing high heat at wet hair can cause more damage than drying damp hair at a lower temperature.
Skipping Heat Protectant: Never skip this essential step. Without a heat protectant, your hair is vulnerable to heat damage, which can lead to dryness, breakage, and split ends.
Over-Drying Your Hair: It’s easy to get carried away with a hair dryer, but over-drying can strip your hair of its natural moisture, leading to frizz and damage. Stop blow drying when your hair is about 80-90% dry, and let the rest air dry.
Conclusion: Becoming a Pro at DIY Hair Care with Your Hair Dryer
Getting the most out of your hair dryer isn’t just about drying your hair quickly—it’s about using the right techniques and tools to enhance your hair’s natural beauty while keeping it healthy. By understanding your dryer’s features, prepping your hair properly, and mastering the correct styling techniques, you can achieve stunning, salon-worthy results from the comfort of your home. Consistently protecting your hair from heat damage and using the right attachments will ensure your hair remains vibrant, smooth, and healthy over time. With the right approach, your hair dryer becomes a powerful tool for creating your ideal style effortlessly.
Popular Post

Ultimate Guide to Using a Hair Dryer with Nozzle for Styling
The Benefits of Using a Hair Dryer with a Diffuser
