Hair drying is more than just a routine step in your daily grooming; it’s a crucial part of maintaining the health and vibrancy of your hair. The techniques you use can significantly impact your hair’s overall condition, from its shine to its strength. With advancements in hair care technology and a better understanding of hair biology, there’s a wealth of information available on how to dry your hair in ways that promote health and prevent damage.
In this comprehensive guide, we’ll delve into the best hair drying techniques that are not only effective but also gentle on your hair. We’ll explore various methods suitable for different hair types, discuss the role of temperature control, and provide tips on how to incorporate these techniques into your routine. Whether you have fine, curly, thick, or color-treated hair, this guide will help you achieve healthier, shinier locks.
1. Understanding the Hair Structure and Why Drying Matters

Before diving into specific techniques, it’s important to understand why drying your hair properly is so critical. Hair is composed of three main layers: the cuticle, cortex, and medulla. The cuticle, which is the outermost layer, acts as a protective shield for the inner layers. When hair is wet, the cuticle layer swells, making it more susceptible to damage from heat, friction, and environmental factors.
Drying your hair improperly can lead to issues such as:
Frizz: Over-drying or using excessive heat can lift the cuticle, leading to frizz and an overall dull appearance.
Breakage: Wet hair is weaker and more prone to breakage. Rough handling during drying can cause hair to snap and split.
Heat Damage: High temperatures can permanently alter the structure of your hair, leading to dryness, brittleness, and split ends.
By employing the right techniques, you can minimize these risks and maintain the integrity of your hair.
2. The Importance of Towel Drying: Techniques and Tips

Towel drying is often the first step after washing your hair, but many people unknowingly cause damage at this stage. Traditional methods, like vigorously rubbing your hair with a towel, can lead to breakage and frizz. Here’s how to do it right:
Use a Microfiber Towel or T-Shirt
Instead of a regular bath towel, opt for a microfiber towel or a soft cotton T-shirt. These materials are gentler on the hair cuticle and absorb excess water without causing friction. Microfiber towels are especially effective as they dry hair quickly without the need for rough handling.
Pat, Don’t Rub
Gently pat your hair to remove excess water. Avoid rubbing, as this can disrupt the hair cuticle and lead to frizz and breakage. Start from the roots and work your way down to the ends.
Wrap Hair in a Towel
If you prefer to wrap your hair in a towel, ensure it’s done loosely to avoid pulling at the roots. Twist your hair gently, tuck the ends under the towel, and leave it for 10-15 minutes to absorb moisture. This method is particularly beneficial for those with curly hair, as it helps to maintain the curl pattern while drying.
3. Air Drying: The Natural Approach
Air drying is one of the healthiest methods for drying hair, as it eliminates the risk of heat damage. However, it’s not as simple as letting your hair drip dry; there are techniques to ensure that your hair dries beautifully without frizz or flatness.
Detangle While Wet
After towel drying, use a wide-tooth comb to gently detangle your hair. Start from the ends and work your way up to the roots to avoid pulling and breaking hair.
Apply a Leave-In Conditioner
A leave-in conditioner can help lock in moisture and reduce frizz. For those with curly or textured hair, a curl-enhancing cream can define curls and prevent them from drying out.
Style with Clips or Braids
For added volume or waves, consider using clips to lift the roots or braiding your hair while it dries. This method works well for fine or straight hair that tends to dry flat.
Avoid Constant Touching
Once your hair is drying, resist the urge to touch or comb it. This can disrupt the drying process and lead to frizz.
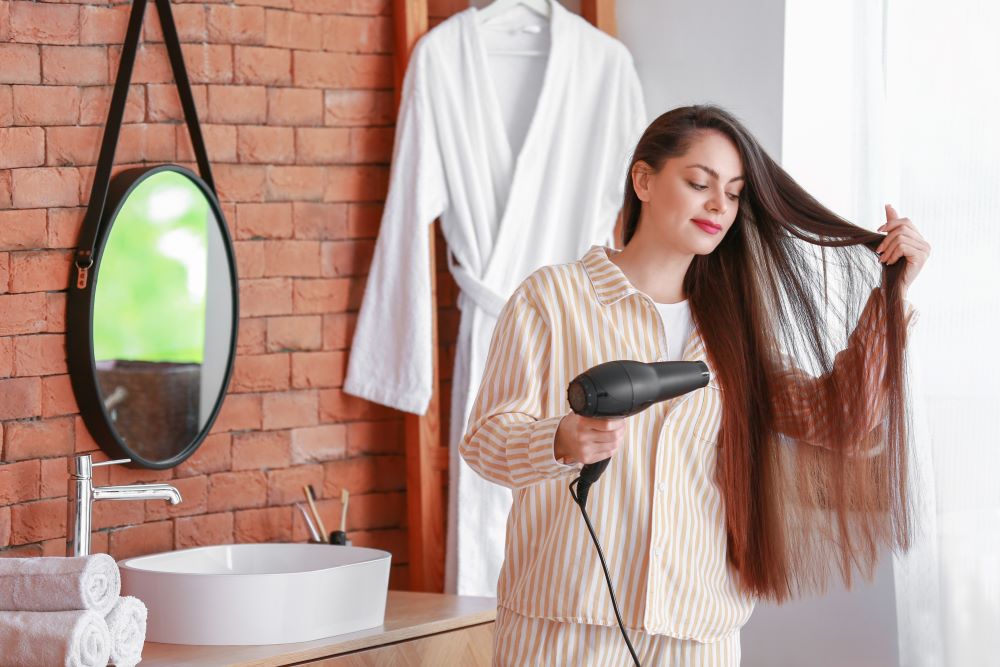
4. Blow Drying: Achieving Salon-Quality Results at Home
Blow drying is a staple in many hair care routines, but it’s also one of the biggest culprits of heat damage if done incorrectly. With the right technique and tools, however, you can blow dry your hair without compromising its health.
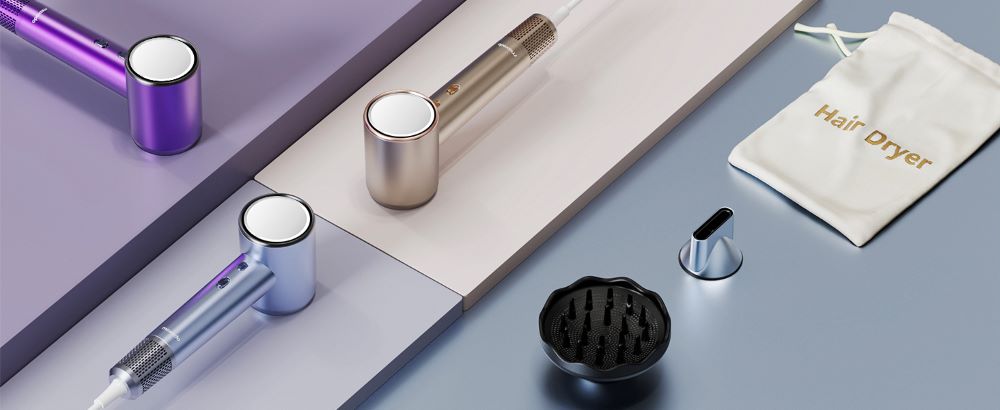
Invest in a High-Quality Hair Dryer
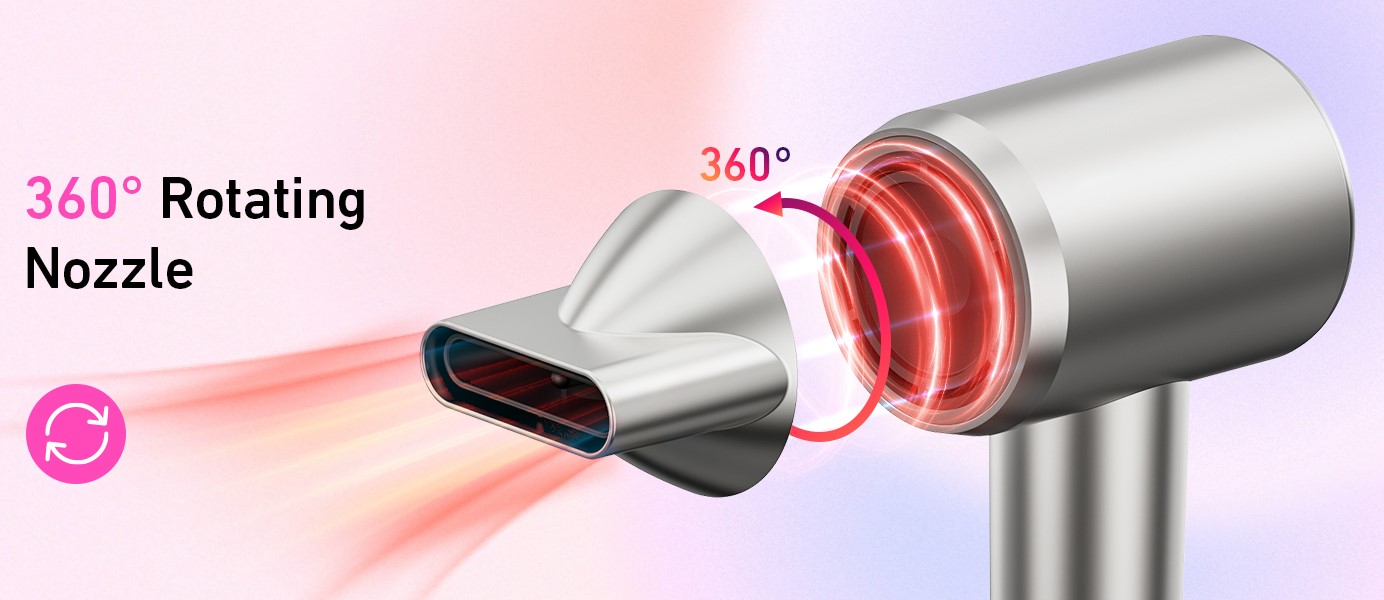
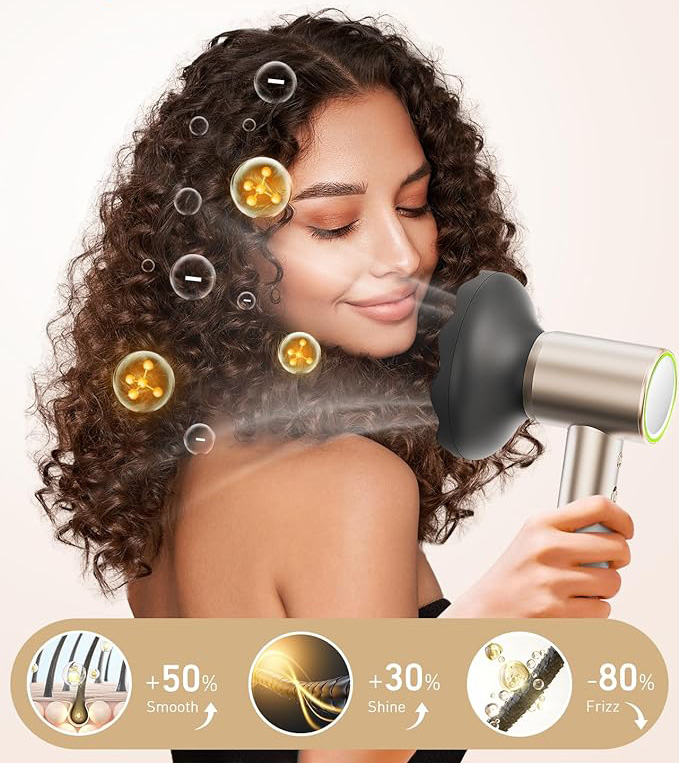
Not all hair dryers are created equal. Investing in a high-quality dryer with features like multiple heat settings, a cool shot button, and ionic technology can make a world of difference. Ionic hair dryers emit negative ions that break down water molecules faster, allowing for quicker drying with less heat, which reduces frizz and static.
Use a Heat Protectant
Always apply a heat protectant before blow drying. This creates a barrier between your hair and the heat, helping to prevent moisture loss and heat damage.
Dry in Sections
Divide your hair into manageable sections using clips. Start drying from the roots and work your way down to the ends. This method ensures that each part of your hair dries evenly and prevents over-drying.
Mind the Temperature
Use the lowest effective heat setting. For fine or damaged hair, stick to low heat, while thicker hair can handle medium heat. Always finish with a cool shot to seal the cuticle and add shine.
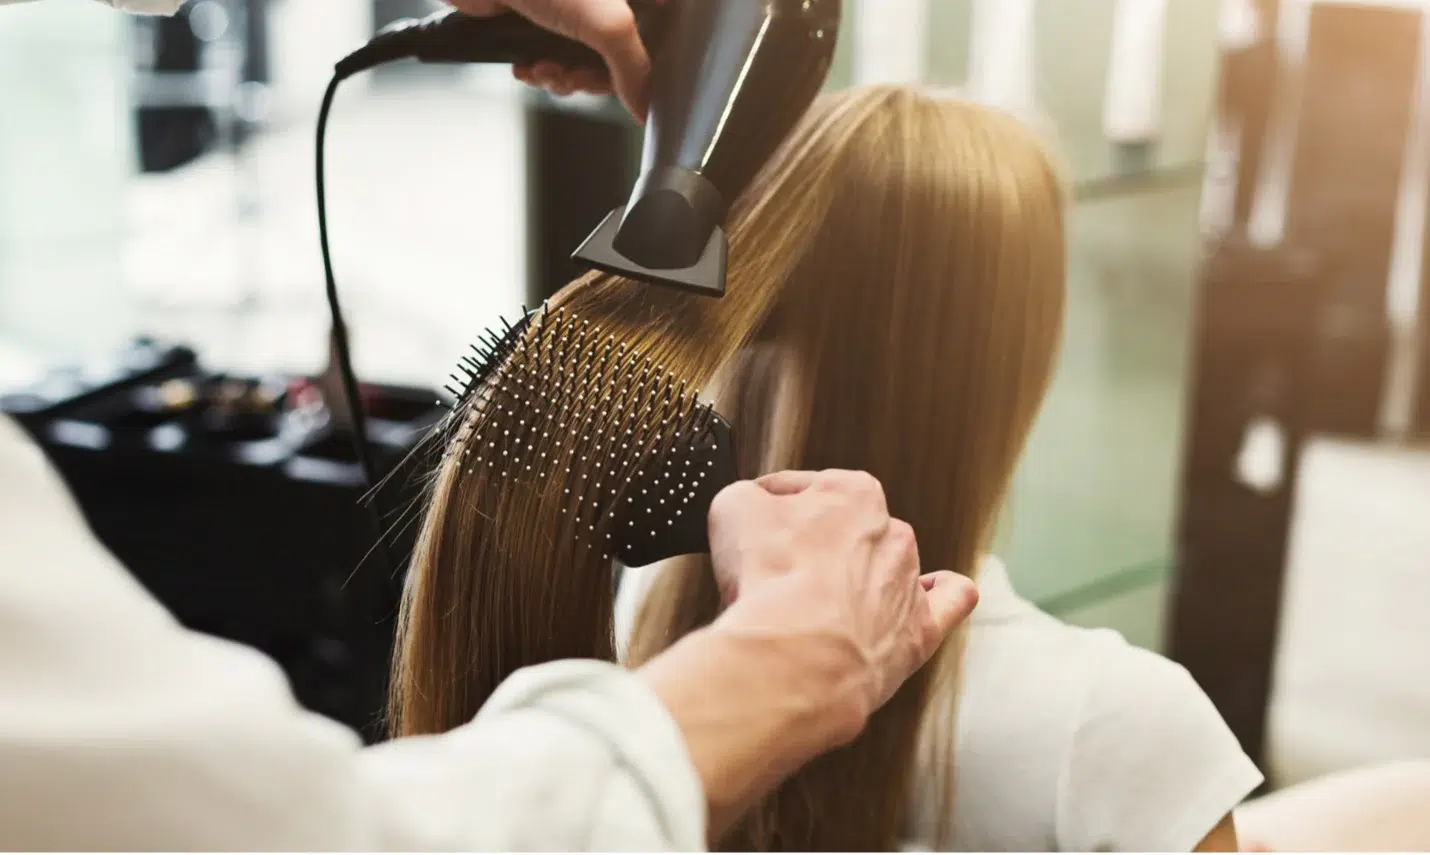
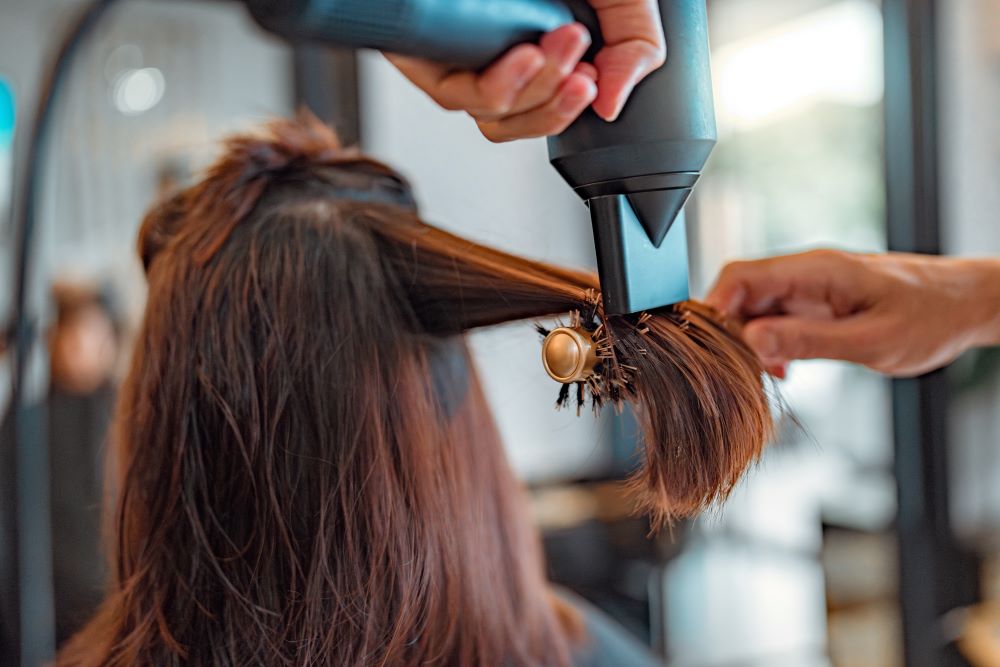
Blow Dry with a Brush
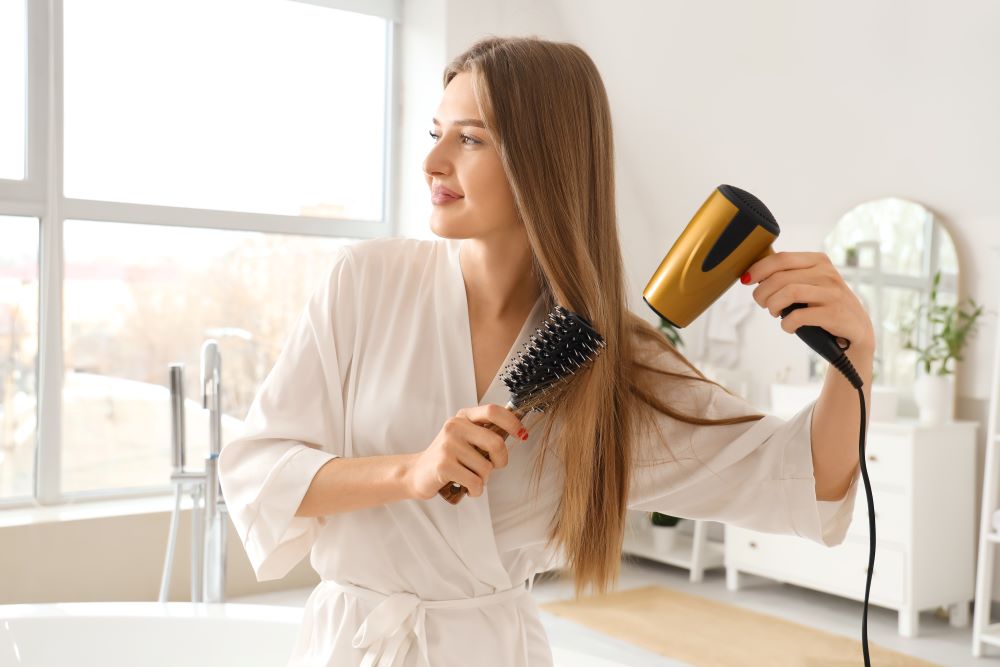
For smooth, frizz-free results, use a round or paddle brush while drying. The brush helps to guide the hair and smooth the cuticle. Round brushes are ideal for adding volume, while paddle brushes work well for straightening.
5. Diffusing for Curly and Textured Hair
For those with curly or textured hair, a diffuser is a game-changer. This attachment disperses the air from your hair dryer, allowing you to dry your curls without disrupting their natural pattern.
Start with Damp Hair
It’s best to start diffusing when your hair is damp, not soaking wet. This reduces the drying time and minimizes frizz.
Use a Curl Cream or Gel
Apply a curl cream or gel to define your curls and reduce frizz. These products help to hold the curl pattern as your hair dries.
Diffuse with a Gentle Touch
Set your dryer to low or medium heat and gently cup your curls with the diffuser. Move the diffuser around your head, lifting the roots to add volume. Avoid touching your hair too much during this process to prevent frizz.
Finish with a Cold Blast
Once your hair is mostly dry, switch to the cool setting and give your curls a final blast. This helps to set the style and add shine.
6. The Plopping Technique: Perfect for Enhancing Curls
Plopping is a drying technique that’s particularly effective for curly hair, helping to define curls while reducing frizz. It involves using a T-shirt or microfiber towel to wrap the hair on top of the head, allowing curls to dry in a scrunched-up position.
Apply Your Usual Curl Products
After washing your hair, apply your usual curl-enhancing products, such as a leave-in conditioner, curl cream, or gel.
Wrap with a T-Shirt or Microfiber Towel
Place the T-shirt or towel on a flat surface, bend over, and position your hair in the center. Wrap the ends of the fabric around your head, securing them at the nape of your neck. The idea is to gather your curls on top of your head, allowing them to dry in a scrunched position that enhances their natural shape.
Leave for 15-30 Minutes
Keep your hair wrapped for 15-30 minutes to absorb excess moisture. This technique helps to reduce drying time and set your curls without frizz.
7. Silk and Satin: The Benefits of Gentle Drying Materials
Using silk or satin materials during the drying process can be beneficial for all hair types, especially if you’re prone to frizz or breakage.
Silk Pillowcases and Hair Wraps
Sleeping on a silk pillowcase or using a silk hair wrap can prevent friction, which in turn reduces frizz and breakage. Silk’s smooth surface allows hair to glide freely, preventing the roughing up of the cuticle that can occur with cotton.
Satin Scrunchies
If you prefer to air dry your hair overnight, use a satin scrunchie to tie it up. Satin is gentler on the hair than traditional elastic bands, reducing the risk of breakage.
8. The Cold Air Technique: A Healthier Alternative
Using cold air to dry your hair might take longer, but it’s one of the safest methods, especially for those with damaged or fragile hair.
Use the Cool Setting on Your Dryer
If your hair dryer has a cool setting, use it to dry your hair. The cold air is gentler on the hair and helps to seal the cuticle, resulting in smoother, shinier hair.
Focus on the Roots
Concentrate the cold air on your roots first, as this is where most of the moisture tends to accumulate. Drying the roots first helps to lift them, adding volume.
Patience is Key
Cold air drying takes longer, so it requires patience. However, the result is worth it, especially if you’re trying to minimize heat damage.
9. The Role of Post-Drying Care: Sealing in Moisture and Shine
How you care for your hair after drying is just as important as the drying process itself. Here are some tips to keep your hair looking its best:
Apply a Lightweight Oil or Serum
After drying, apply a lightweight oil or serum to your hair to seal in moisture and add shine. Focus on the ends, where hair is most prone to dryness and split ends.
Brush with a Boar Bristle Brush
Brushing your hair with a boar bristle brush helps to distribute natural oils from your scalp down the length of your hair. This not only adds shine but also helps to keep your hair hydrated.
Avoid Over-Styling
Try to limit the use of additional heat tools like flat irons or curling irons after drying. Over-styling can lead to cumulative heat damage, even if you’re using a heat protectant.
10. Common Hair Drying Mistakes and How to Avoid Them
Even with the best intentions, it’s easy to make mistakes during the hair drying process. Here are some common pitfalls and how to avoid them:
Drying Too Close to the Scalp
Holding the dryer too close to your scalp can cause burns and damage the hair at the roots. Always keep the dryer at least six inches away from your head.
Using High Heat on Wet Hair
Using high heat on wet hair can cause the water inside the hair shaft to boil, leading to bubble hair, where the hair shaft weakens and breaks. Always start with a lower heat setting and increase it as your hair begins to dry.
Skipping Heat Protectant
Never skip the heat protectant when using a blow dryer or any heat-styling tools. It’s a crucial step in protecting your hair from damage.
Over-Drying
Over-drying your hair can strip it of moisture, leading to frizz and dullness. Once your hair is dry, stop the blow dryer to avoid over-processing.
Conclusion
Drying your hair correctly is essential for maintaining its health, shine, and manageability. By understanding your hair type and using the appropriate drying techniques, you can minimize damage and keep your hair looking its best. Whether you prefer air drying, blow drying, or using a diffuser, incorporating these tips into your routine will help you achieve healthier, more beautiful hair.
With advancements in hair care products and tools, it’s easier than ever to adopt hair-friendly drying methods. Remember, the key to healthy hair is not just in the products you use but in the techniques you employ daily. By following the guidelines outlined in this article, you can enjoy healthier, shinier hair every day.
Ultimate Guide to Using a Hair Dryer with Nozzle for Styling
Discover the benefits of using a hair dryer with nozzle for faster drying, frizz reduction, and salon-quality styling at home.
Read More
The Benefits of Using a Hair Dryer with a Diffuser
Discover how a diffuser hair dryer reduces frizz, protects hair, defines curls, and adds volume for healthier, natural styling.
Read More
Ultimate Hair Dryer Guide for Every Life Scenario
Find the perfect hair dryer for travel, gym, salon, or home. Maxodo offers fast-dry, quiet, and versatile all-in-one solutions.
Read More