
Hair drying is a crucial step in any hair care routine, yet it’s often overlooked or rushed. Proper hair drying techniques can make the difference between vibrant, healthy hair and a dull, damaged mane. This comprehensive guide is designed to help you master the art of hair drying with the latest techniques, tips, and tools that will leave your hair looking and feeling its best. We’ll delve into the science behind hair drying, explore different methods, and discuss how to choose the right tools and products for your hair type. Whether you’re aiming for a sleek, straight look or voluminous curls, this guide has got you covered.
Understanding Hair Structure and the Importance of Proper Drying
Before we dive into specific drying techniques, it’s essential to understand your hair’s structure. Hair is made up of three layers: the cuticle, the cortex, and the medulla. The cuticle is the outermost layer, composed of overlapping cells that protect the inner layers. The cortex is where your hair’s strength, color, and texture are determined. The medulla, found in thicker hair, is the innermost layer.
When hair is wet, the bonds within these layers are temporarily broken, making it more susceptible to damage. Improper drying can lift the cuticle, leading to frizz, split ends, and breakage. Therefore, adopting the right hair drying techniques is crucial for maintaining the integrity of your hair.
The Science of Hair Drying: Heat, Airflow, and Moisture Balance
The drying process involves removing excess moisture from your hair. However, it’s not just about blasting your hair with hot air. The key is balancing heat, airflow, and moisture to prevent damage while achieving your desired style.
Heat: While heat helps to speed up the drying process, too much can damage the cuticle and weaken the hair shaft. It’s important to use a dryer with adjustable heat settings and start with a lower temperature, especially if your hair is fine or damaged.
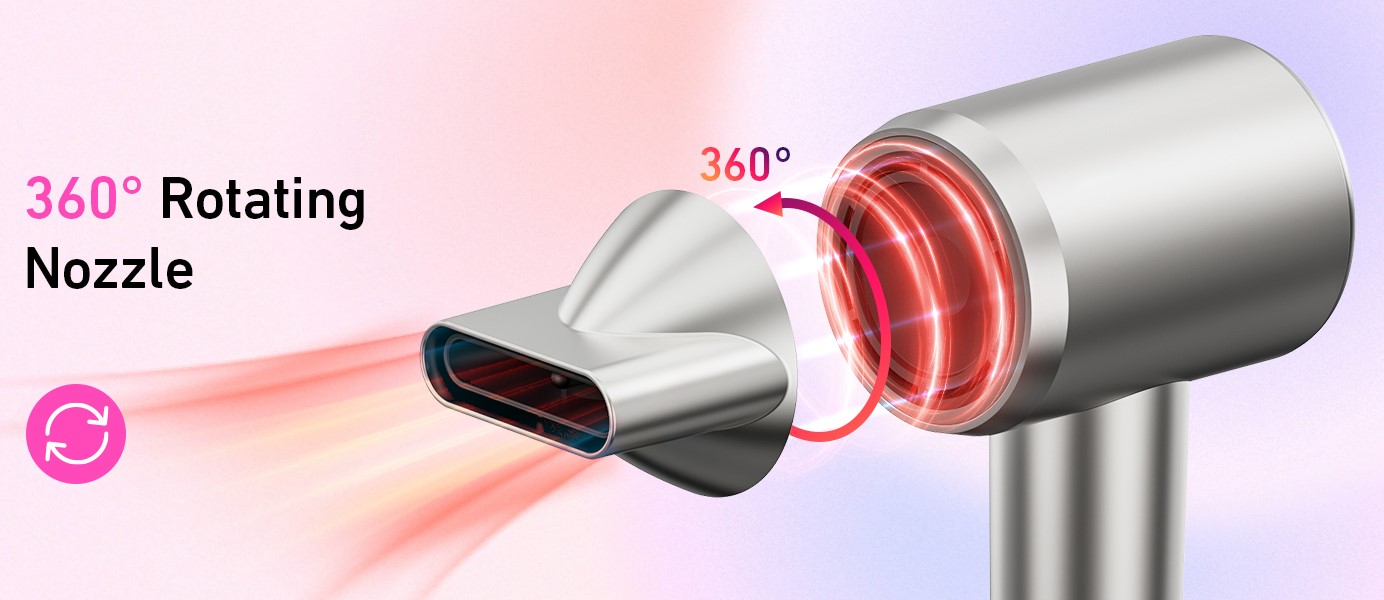
Airflow: Airflow plays a significant role in how quickly and evenly your hair dries. A good hair dryer should have variable speed settings, allowing you to control the intensity of the airflow. Using a nozzle attachment can help direct the airflow for more precise drying and styling.
Moisture Balance: Over-drying your hair can strip it of essential moisture, leading to dryness and brittleness. On the other hand, leaving too much moisture can result in frizz and an unfinished look. The goal is to find the right balance, leaving your hair slightly damp before finishing with a cool blast of air to lock in shine.
Choosing the Right Hair Dryer for Your Hair Type
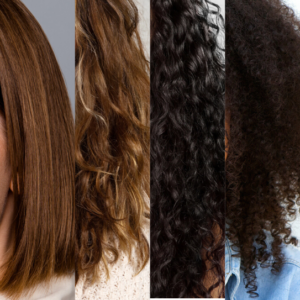
Not all hair dryers are created equal. The right dryer can make a world of difference in your hair’s health and appearance. Here’s a guide to choosing the best hair dryer based on your hair type:
Fine Hair: For fine hair, it’s best to use a dryer with multiple heat settings. Low heat settings will prevent overheating, which can lead to damage. Ionic hair dryers are also a great choice as they help reduce frizz by neutralizing static and closing the hair cuticle.
Thick Hair: Thick hair can handle more heat, so a dryer with a higher wattage (1800 watts or more) is ideal. Look for a dryer with a powerful motor and strong airflow to cut down on drying time. Tourmaline technology can also be beneficial as it produces infrared heat that penetrates the hair shaft and dries the hair from within.
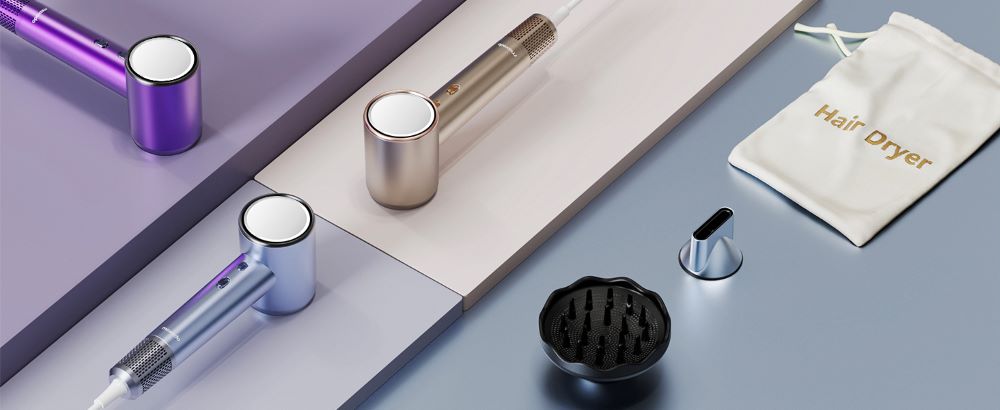
Curly Hair: Curly hair requires a gentle approach. A diffuser attachment is a must-have as it disperses the air evenly and helps maintain your curl pattern without causing frizz. Choose a dryer with a cool shot button to set your curls after drying.
Damaged Hair: If your hair is damaged, look for a dryer with ceramic technology. Ceramic dryers distribute heat evenly and emit infrared heat, which is gentler on the hair. Always use the lowest heat setting possible, and consider air drying your hair partially before using the dryer.
Step-by-Step Hair Drying Techniques for Different Hair Types
1. Drying Fine Hair
Prep: Start with a lightweight, volumizing mousse or a root lifter to add body. Avoid heavy creams or oils that can weigh down fine hair.
Towel Dry: Gently blot your hair with a microfiber towel to remove excess water. Avoid rubbing, as this can cause breakage.
Drying: Use a hairdryer on a low heat setting with a concentrator nozzle. Focus on the roots first, lifting them with your fingers or a round brush to add volume. Work your way down to the ends, keeping the dryer moving to prevent overheating any section.
Finishing: Finish with a blast of cool air to set your style and add shine.
2. Drying Thick Hair
Prep: Apply a heat protectant spray to shield your hair from heat damage. For added smoothness, use a smoothing serum or cream.
Towel Dry: Use a towel to blot out excess water, but don’t over-dry your hair with the towel.
Drying: Use a hairdryer with a high wattage and strong airflow. Start at the roots, using a paddle brush to smooth the hair as you dry. Divide your hair into sections to ensure even drying. Use the dryer on a medium to high heat setting, adjusting the temperature as needed.
Finishing: Once dry, use a cool shot to seal the cuticle and set your style. For a sleek finish, you can follow up with a flat iron.
3. Drying Curly Hair
Prep: Use a curl-enhancing cream or gel to define your curls. A leave-in conditioner can also help lock in moisture and reduce frizz.
Towel Dry: Blot your hair gently with a microfiber towel or a t-shirt to preserve your curl pattern. Avoid rubbing or wringing your hair.
Drying: Attach a diffuser to your hairdryer and use it on a low heat setting. Cup sections of your hair in the diffuser, starting at the roots and working your way to the ends. Dry your hair in a scrunching motion to enhance your curls. Avoid over-drying, as this can lead to frizz.
Finishing: Finish with a cool shot to lock in your curls. You can also scrunch in a lightweight oil or serum for added shine and definition.
4. Drying Damaged Hair
Prep: Start with a reparative leave-in treatment or a heat protectant spray to shield your hair from further damage.
Towel Dry: Gently blot your hair with a soft towel. Damaged hair is more fragile, so be extra careful not to tug or pull.
Drying: Use a ceramic hair dryer on the lowest heat setting. Dry your hair in sections, starting at the roots and working your way down. Keep the dryer moving to avoid applying too much heat to any one area. Consider using a wide-tooth comb to detangle your hair as you dry.
Finishing: End with a cool shot to close the cuticle and lock in moisture. Apply a light oil or serum to the ends to prevent further breakage.
Common Hair Drying Mistakes and How to Avoid Them
Even with the best intentions, it’s easy to make mistakes during the hair drying process that can lead to damage or a less-than-perfect style. Here are some common hair drying mistakes and how to avoid them:

Using Too Much Heat: High heat might speed up the drying process, but it can also cause significant damage. Always start with a lower heat setting and increase it only if necessary.
Skipping the Heat Protectant: Heat protectants are essential for shielding your hair from the damaging effects of high temperatures. Never skip this step, especially if you frequently use heat styling tools.
Not Sectioning the Hair: Trying to dry all of your hair at once can lead to uneven drying and frizz. Section your hair before drying to ensure each part gets the attention it needs.
Rough Towel Drying: Rubbing your hair with a towel can cause breakage and frizz. Instead, gently blot your hair with a microfiber towel or a soft cotton t-shirt.
Over-Drying: Over-drying can strip your hair of its natural moisture, leaving it dry and brittle. Aim to leave your hair slightly damp before finishing with a cool shot of air.
The Role of Hair Care Products in the Drying Process
The products you use during the drying process can significantly impact the health and appearance of your hair. Here’s a breakdown of essential products and how to use them effectively:
Heat Protectant: This should be the first product you apply before using any heat styling tool. It creates a barrier between your hair and the heat, reducing the risk of damage.
Leave-In Conditioner: Ideal for adding moisture and detangling your hair before drying. It also helps to smooth the cuticle, reducing frizz.
Styling Creams and Serums: These products can add shine, reduce frizz, and help you achieve your desired style. Use sparingly to avoid weighing down your hair.
Volumizing Mousse: Perfect for fine hair, volumizing mousse adds body and lift, making your hair look fuller.
Curl Enhancers: If you have curly hair, curl enhancers can help define your curls and reduce frizz. Apply them to damp hair before drying.
Advanced Hair Drying Techniques for Salon-Worthy Results
If you’re looking to take your hair drying game to the next level, these advanced techniques can help you achieve professional results at home:
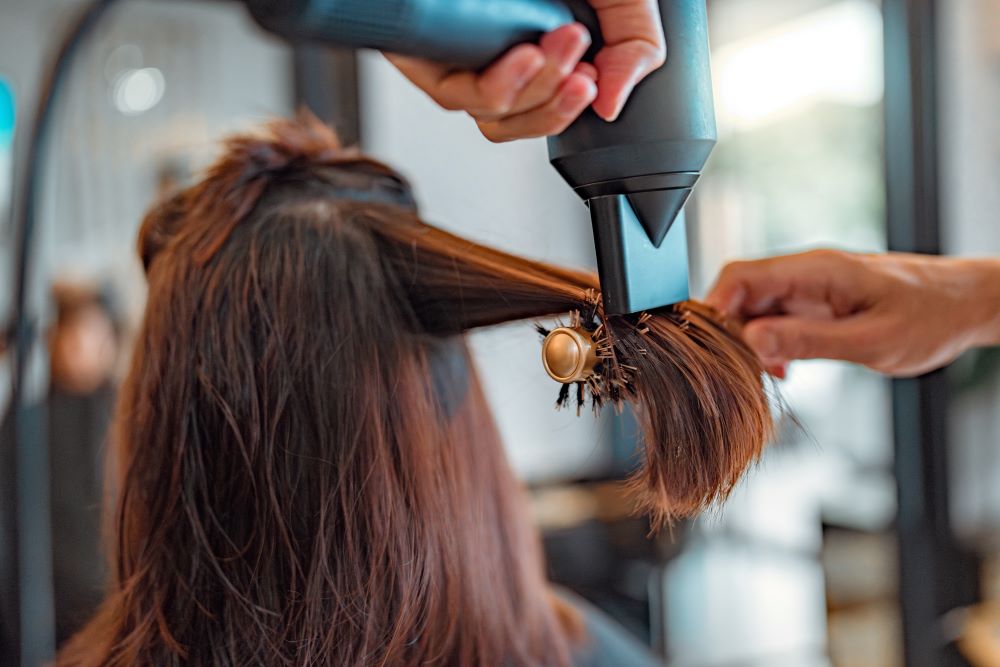
Blowout Technique: For a sleek, voluminous finish, try the blowout technique. Start by sectioning your hair and using a round brush to lift the roots while directing the airflow down the hair shaft. Roll the ends of your hair under for a polished look. Finish with a cool shot to set the style.
Smooth and Straight Technique: If you’re aiming for a straight, smooth finish, use a paddle brush to pull your hair taut as you dry it. Direct the airflow down the hair shaft to smooth the cuticle and reduce frizz. For an extra sleek look, follow up with a flat iron.
Voluminous Waves Technique: To create soft, voluminous waves, start by applying a volumizing mousse to damp hair. Use a large round brush to lift the roots and curl the ends under as you dry. Once your hair is dry, use a curling iron to create loose waves. Finish with a texturizing spray for added hold and volume.
How to Maintain Healthy Hair While Drying
Maintaining the health of your hair during the drying process is essential for long-term hair health. Here are some tips to help you protect your hair:
Limit Heat Exposure: Whenever possible, allow your hair to air dry partially before using a dryer. This reduces the amount of heat exposure and minimizes the risk of damage.
Use the Right Tools: Invest in a high-quality hair dryer with adjustable heat and speed settings. Consider using a diffuser or concentrator nozzle to direct airflow and reduce the risk of damage.

Regular Trims: Regular trims are essential for maintaining healthy hair and preventing split ends. Aim to trim your hair every 6-8 weeks.
Deep Conditioning Treatments: Incorporate deep conditioning treatments into your routine to keep your hair hydrated and nourished. These treatments help to repair damage and strengthen your hair.
Protect Your Hair: If you frequently use heat styling tools, consider using a heat cap or thermal protectant cap. These caps help to lock in moisture and protect your hair from heat damage.
Conclusion
Mastering the art of hair drying is an essential skill for maintaining healthy, beautiful hair. By understanding your hair type, choosing the right tools, and following the proper techniques, you can achieve salon-worthy results at home. Remember to protect your hair from heat damage, use the right products, and be mindful of common drying mistakes. With these tips and techniques, you’ll be well on your way to achieving the perfect blowout, smooth finish, or voluminous waves. Your hair will thank you for the care and attention you give it during the drying process, and you’ll enjoy the results of your efforts every day.
Ultimate Guide to Using a Hair Dryer with Nozzle for Styling
Discover the benefits of using a hair dryer with nozzle for faster drying, frizz reduction, and salon-quality styling at home.
Read More
The Benefits of Using a Hair Dryer with a Diffuser
Discover how a diffuser hair dryer reduces frizz, protects hair, defines curls, and adds volume for healthier, natural styling.
Read More
Ultimate Hair Dryer Guide for Every Life Scenario
Find the perfect hair dryer for travel, gym, salon, or home. Maxodo offers fast-dry, quiet, and versatile all-in-one solutions.
Read More