Hello and a warm welcome to all our readers! We’re excited to embark on this hair-styling journey with you, focusing on the art of perfecting salon-worthy hair right from your home. This blog is your go-to resource, whether you’re beginning to explore the world of hair styling or aiming to refine your existing blow-drying skills. Together, we’ll unlock the secrets to professional and effective hair styling techniques that will transform your hair routine.
Delving into the realm of blow-drying is about more than just drying your hair. It’s a pivotal step towards achieving your desired hairstyle, maintaining the health and luster of your hair, and adding that professional touch to your daily look. An adeptly executed blow-dry can not only enhance your overall appearance but also infuse your day with added confidence and ease. So, let’s set forth on this enlightening path, learning and mastering the art of a high-quality blow-dry right in the comfort of your own home!
Understanding Your Hair Type
Identifying Different Hair Types
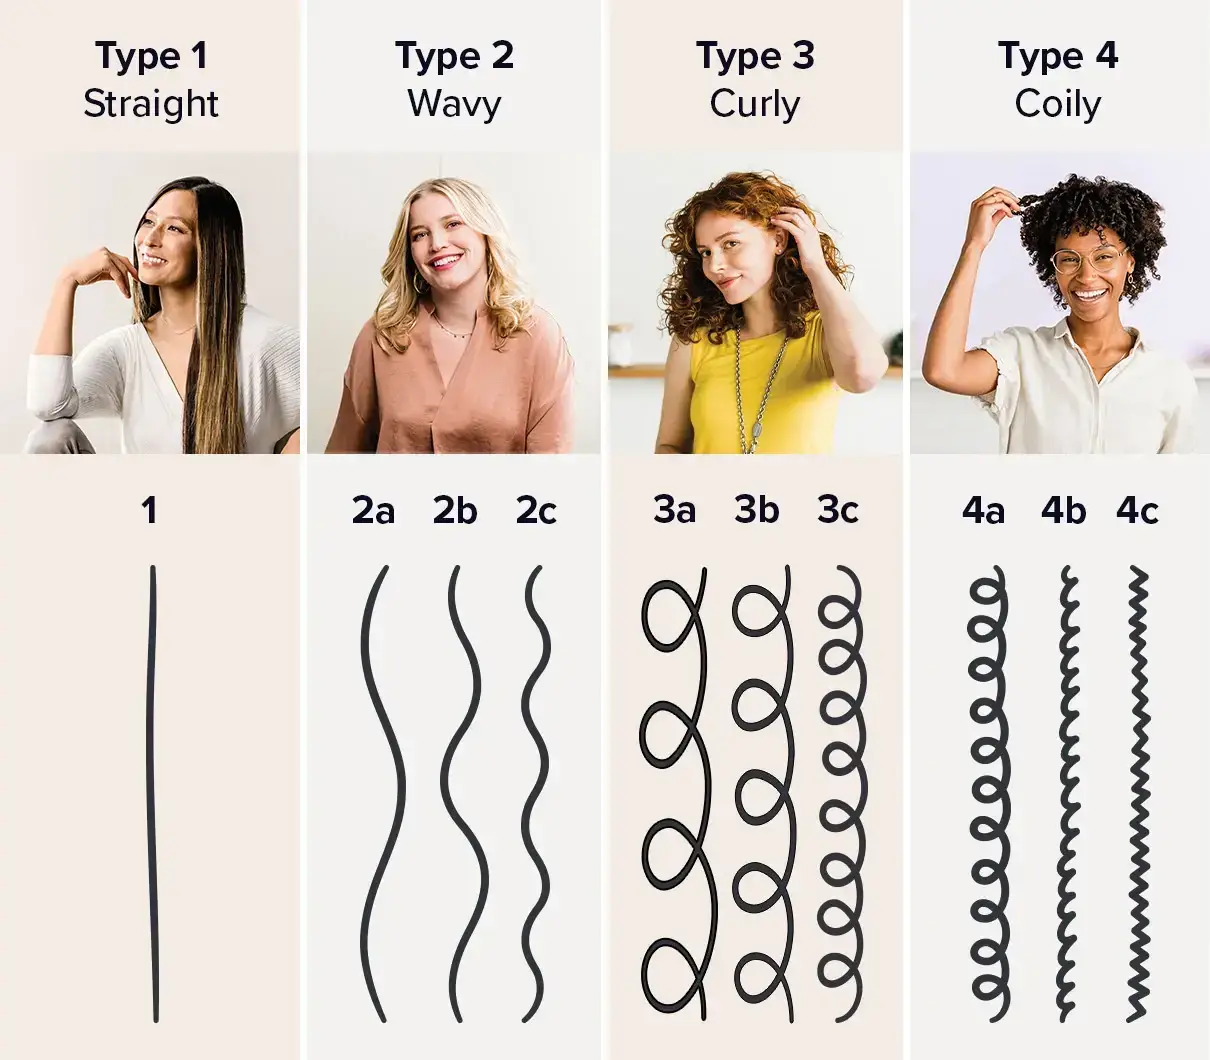
Before we start, it’s crucial to understand that hair comes in a wonderful variety of textures and types. From straight to curly, thin to thick, each type has its unique characteristics and needs. We’ll help you identify your hair type, which is the first step in tailoring your blow-drying technique to suit your hair’s specific requirements.
Tailoring Blow-Drying Techniques to Your Hair Type
Once you’ve identified your hair type, we’ll guide you through the best practices for blow-drying it. Different hair types respond differently to heat and styling – what works for straight, fine hair might not be ideal for thick, curly locks. We’re here to provide you with the tailored advice you need to ensure that your blow-drying routine enhances your hair’s natural beauty.
Choosing the Right Tools
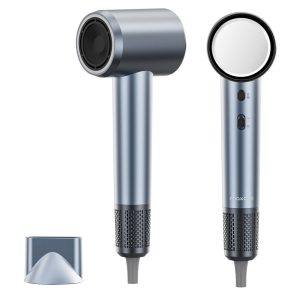
Selecting the Best Blow Dryer for Your Needs
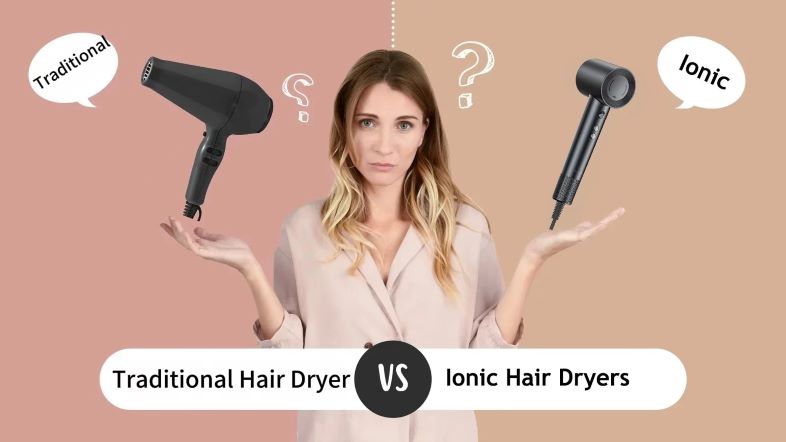
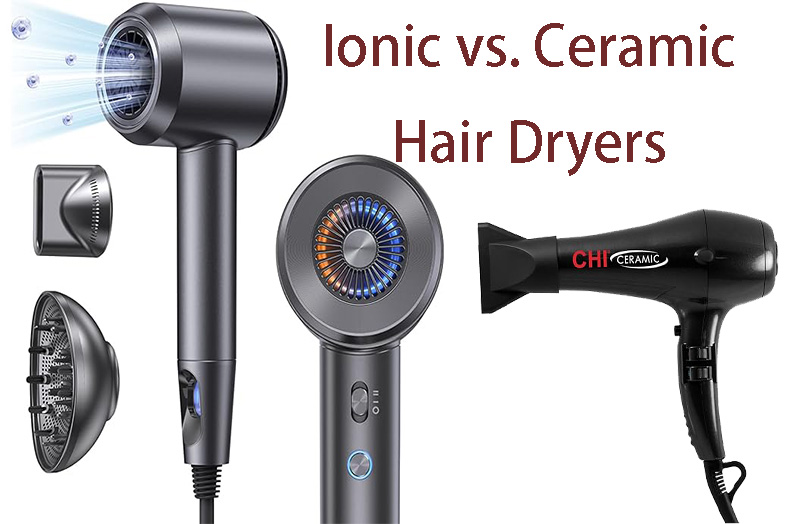
The cornerstone of a great blow-dry is the right tool. We’ll help you navigate through the myriad of options available in the market. Whether it’s ionic, ceramic, or tourmaline dryers, each has its benefits and specific use cases. We’ll assist you in selecting a blow dryer that not only suits your hair type but also fits your styling needs and budget.
Essential Attachments and How to Use Them
Attachments can significantly impact the efficiency and outcome of your blow-drying routine. We’ll explain the purpose of different attachments like concentrators and diffusers, and how they can be used to achieve various styles, from sleek, straight finishes to luscious, natural curls.
The Role of Brushes and Combs in Blow-Drying
The tools you use to manage your hair during blow-drying play a pivotal role in achieving that salon-quality look. We’ll explore the variety of brushes and combs available, such as paddle brushes, round brushes, and wide-tooth combs. Understanding which tool to use for your hair type and desired style is essential, and we’re here to guide you through making the best choices for stunning results.
Preparation is Key
Pre-Drying Hair Care: Washing and Conditioning
Welcome to the foundational step of achieving that perfect blowout – pre-drying hair care. The journey to a fabulous blow-dry begins in the shower. Choosing the right shampoo and conditioner for your hair type is crucial. For those with fine hair, opt for volumizing products, while those with thicker, more textured hair might prefer hydrating formulas. Remember, a clean and conditioned canvas is essential for a smooth and shiny blowout.
After washing, gently squeeze out excess water without rubbing your hair too vigorously, as this can cause damage and frizz. Applying a heat protectant at this stage is a game-changer. It not only shields your hair from the heat but also often adds an extra layer of nourishment.
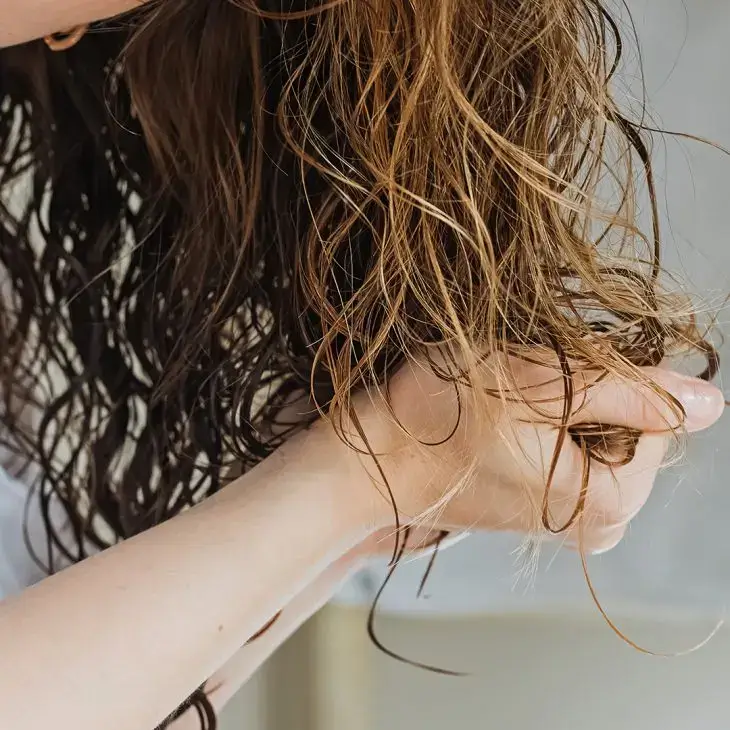
Towel-Drying and Detangling: The First Steps to Perfect Blow-Drying
Towel-drying is more than just a quick rub with a towel; it’s about setting the stage for a gentle and effective blow-dry. Use a microfiber towel or an old cotton T-shirt to blot your hair gently. These materials are less harsh on your hair cuticles compared to regular towels and help reduce frizz.
Once towel-dried, detangle your hair starting from the tips and working your way up to the roots. This prevents breakage and makes the blow-drying process smoother. A wide-tooth comb or a detangling brush can be your best friends here, especially for those with curly or wavy hair.
Blow-Drying Basics
Step-by-Step Guide to a Basic Blow-Dry
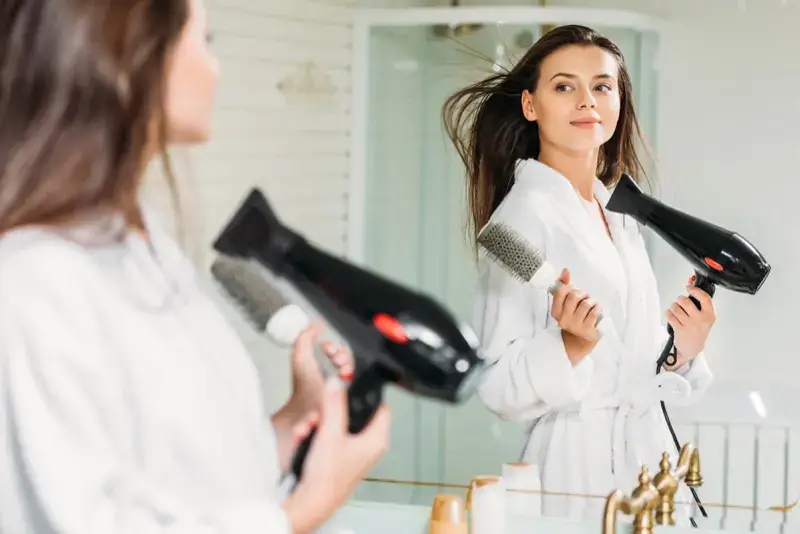
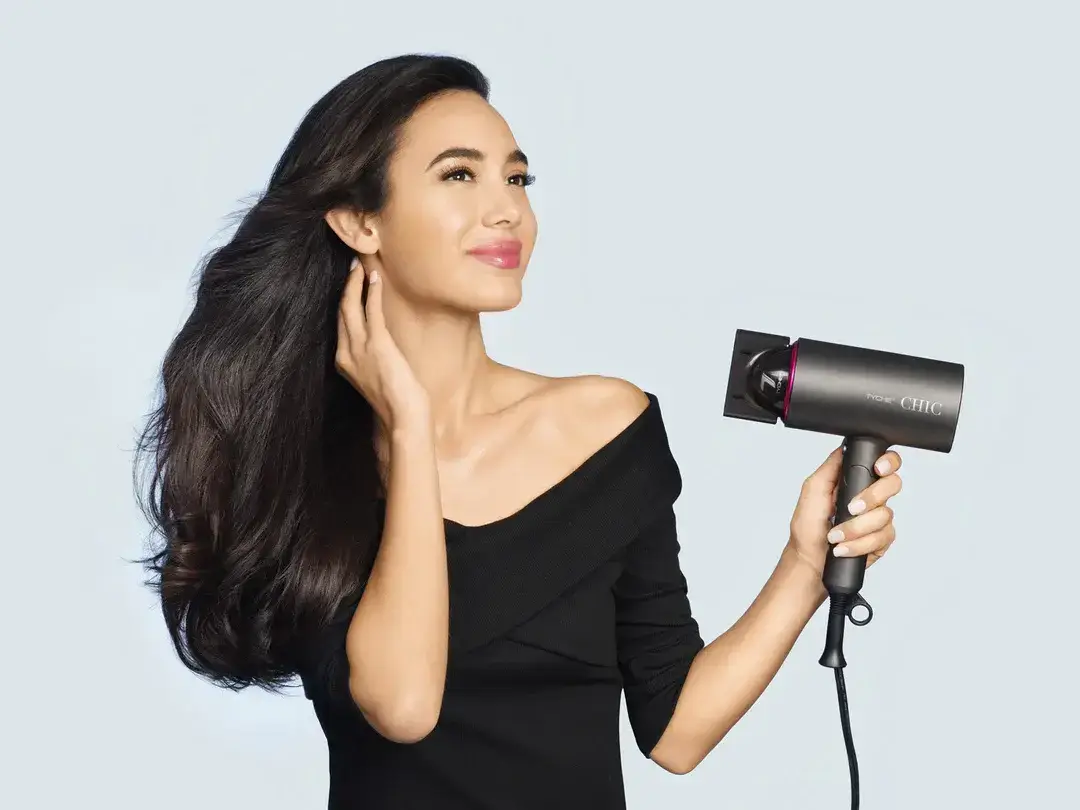
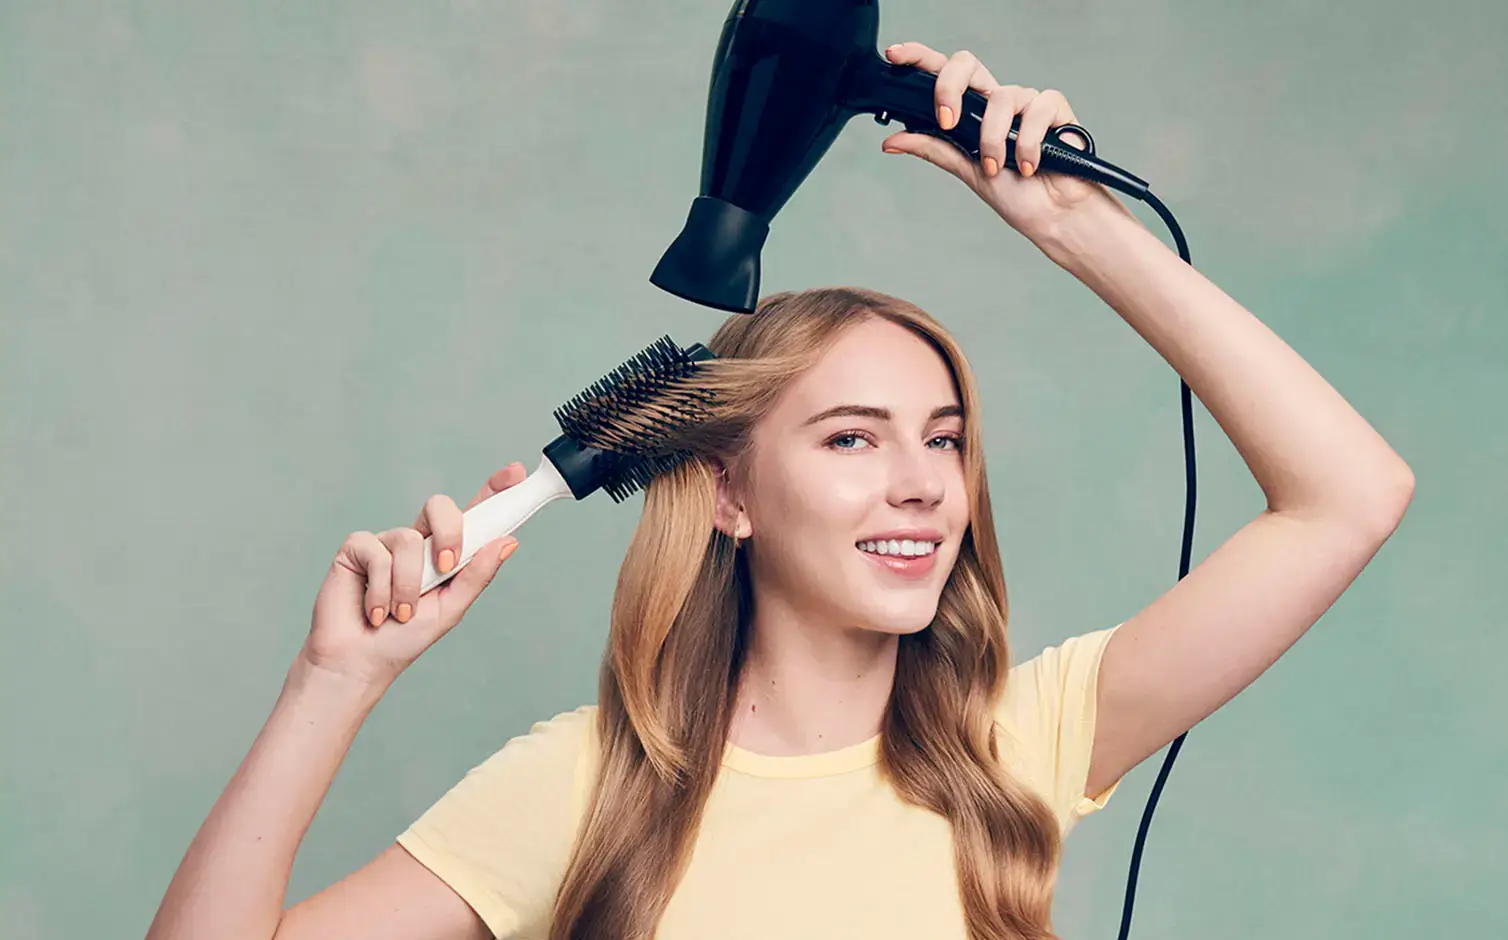
Now, let’s dive into the blow-drying process. Start by dividing your hair into sections. Smaller sections allow for more control and even drying. Clip up the upper sections and start with the lower layers. Hold the dryer about 6 inches away from your hair, and move it continuously to avoid heat concentration on any one spot.
Begin with a rough dry until your hair is about 70% dry. Then, use a round brush to smooth out each section, rolling the hair around the brush and directing the airflow from root to tip. This technique reduces frizz and adds shine.
Temperature and Air Flow: Understanding the Settings on Your Dryer
Understanding your dryer’s settings is key to a successful blow-dry. If you have fine or damaged hair, lower heat settings are your ally, preventing further damage. For thicker hair, a higher heat setting can be more effective. Always start with a lower heat to assess how your hair responds.
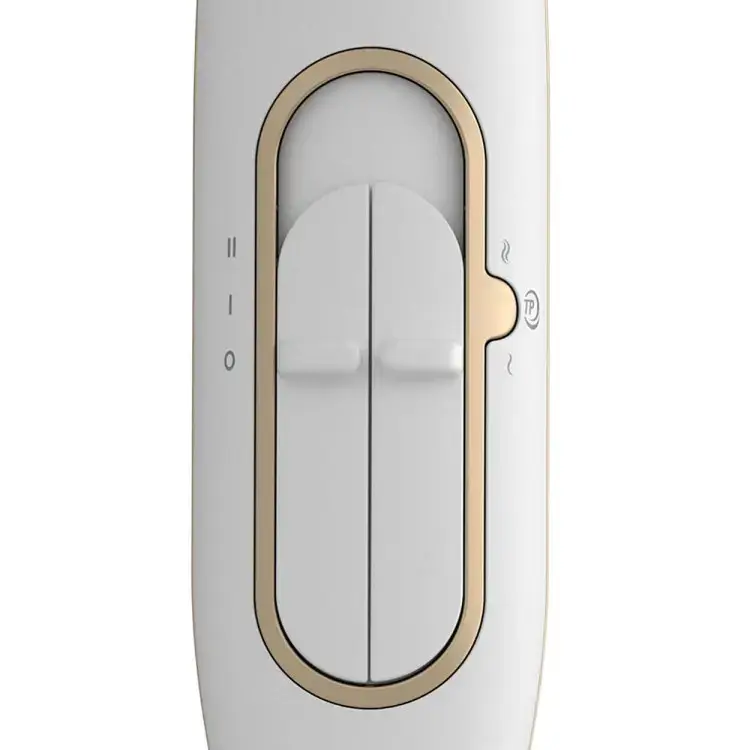
The cool shot button is not just a fancy addition; it’s a crucial feature. Finishing each section with a blast of cool air sets the style and adds a healthy shine.
Advanced Blow-Drying Techniques
Sectioning Your Hair for Even Blow-Drying
Sectioning is not just for the pros; it’s a technique that everyone can master. It ensures that each strand gets the attention it deserves. Use clips to divide your hair into manageable sections – usually four to six, depending on your hair’s thickness. This methodical approach guarantees a salon-quality finish.
Creating Volume and Smoothness
To achieve that coveted volume, focus on the roots. Lift each section at the root with your round brush and apply heat. Rolling the brush through to the ends while maintaining tension adds smoothness and body.
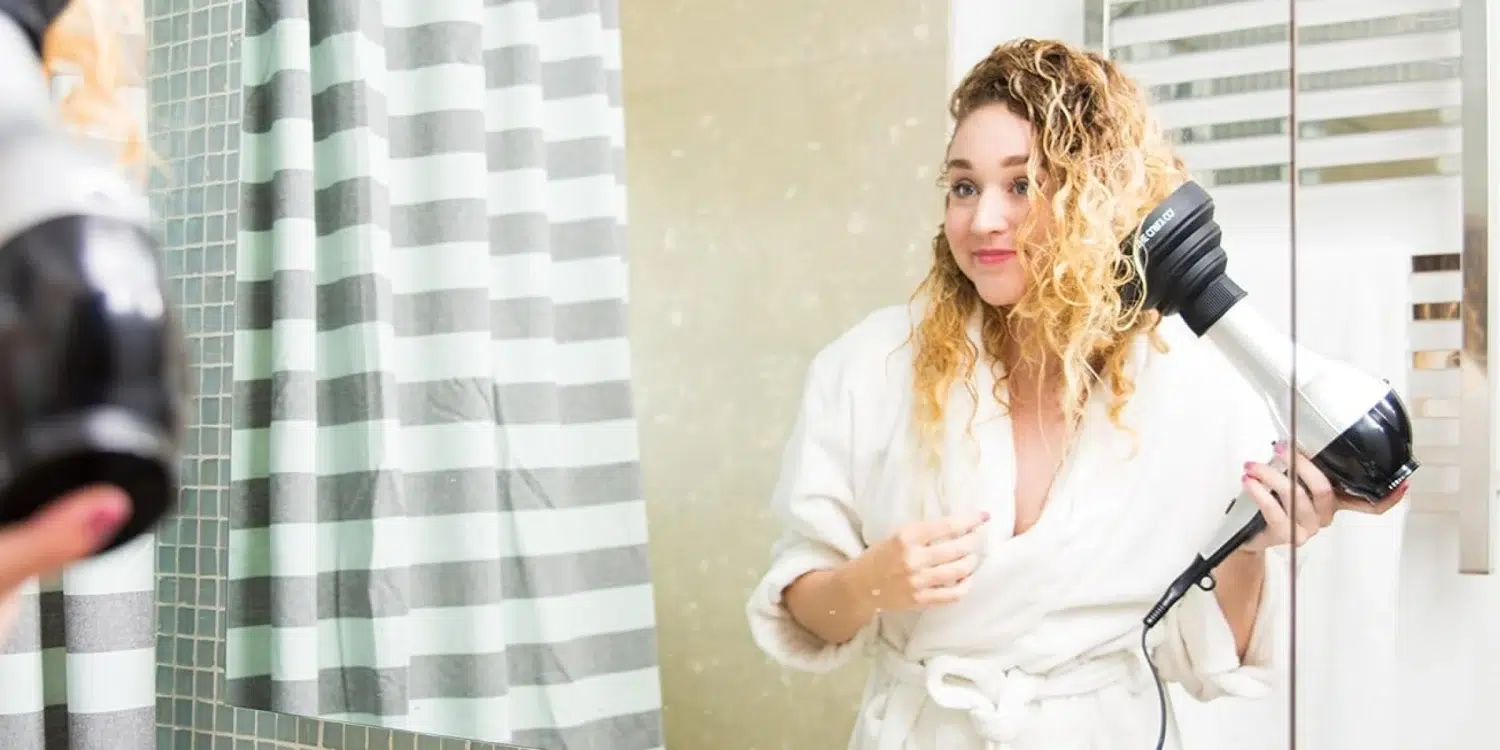
Techniques for Curly and Wavy Hair
Embracing your natural texture while blow-drying is a beautiful way to style curly or wavy hair. Use a diffuser attachment to distribute the heat evenly and enhance your natural curls or waves. Keep the dryer on a lower heat setting to avoid frizz and gently scrunch your hair with your hand while drying.
Managing Frizz and Flyaways
The key to taming frizz and flyaways lies in your approach and products. Use a smoothing serum or anti-frizz cream before drying. When drying, keep the dryer nozzle pointed downward to smooth the hair cuticle. Finishing with a cool shot of air helps to seal and set your hair, reducing the likelihood of frizz and flyaways.
Styling and Finishing Touches
Using Styling Products Effectively During Blow-Drying
Welcome to the magical world of styling products! When used correctly, these products can elevate your blow-drying experience significantly. Before you even turn on your dryer, consider applying a heat protectant to shield your hair from potential damage. For volume, a root-lifting spray can work wonders, especially when applied to damp hair. Mousse or volumizing sprays are great for adding body, while a smoothing serum can help tame frizz and add shine. Remember, less is more – overusing products can weigh your hair down.
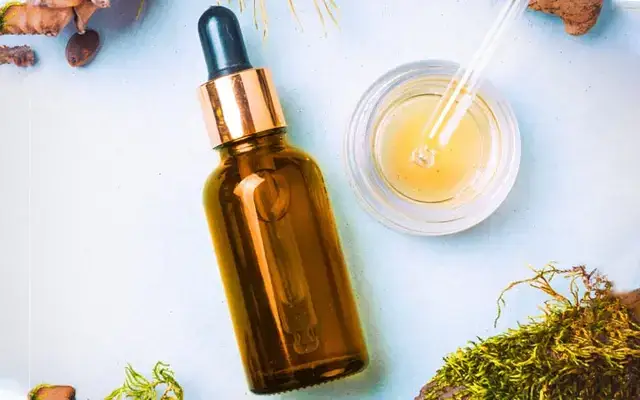
Tips for Long-Lasting Hold and Shine
To keep your style looking fresh and vibrant all day, a few key tips can make a big difference. First, finish your blow-drying with a blast of cold air – this helps to set your style and add shine. For extra hold, a light mist of hairspray, applied at an arm’s length, will keep everything in place without stiffness. For an added gloss, consider a shine spray or a drop of hair oil, but be careful not to overdo it!
Achieving Different Styles with Blow-Drying Techniques
Blow-drying isn’t just about drying your hair; it’s an art of styling. For sleek, straight hair, use a paddle brush and dry your hair in a downwards motion. To create curls or waves, use a round brush, twirling your hair around it as you dry. Remember to work in sections for more control and even results. Experimenting with different brushes and directions can lead to a variety of styles – from voluminous waves to chic, straight looks.
Maintaining Healthy Hair
Protecting Your Hair from Heat Damage
Heat styling can take a toll on your hair, but fear not – protection is key! Always use a heat protectant spray or serum before blow-drying. These products form a protective barrier, minimizing damage. Additionally, avoid using the highest heat setting. Medium heat can effectively dry your hair without causing excessive harm. And don’t forget, giving your hair a break from heat styling once in a while can do wonders for its health.
Post Blow-Drying Hair Care Tips
After blow-drying, it’s important to nurture your hair. Use a hair serum or oil to add moisture and shine. If you notice any dryness or damage, a deep conditioning treatment or hair mask once a week can be a lifesaver. Also, ensure you’re using a shampoo and conditioner that suit your hair type and needs. Proper care keeps your hair healthy and ready for the next styling session.
Troubleshooting Common Blow-Drying Challenges
Dealing with Common Issues: Uneven Drying, Overheating, etc.
Encounter uneven drying? The key is sectioning your hair and drying each section thoroughly before moving to the next. If your hair or scalp feels overheated, take a break or switch to a cooler setting. Always keep the dryer moving to avoid focusing too much heat in one area. If you find your hair getting tangled, a detangling spray and a wide-toothed comb can work wonders.
Q&A: Answers to Frequently Asked Blow-Drying Questions
This section will be dedicated to addressing your burning questions about blow-drying. From choosing the right hairdryer to mastering the perfect technique for your hair type, we’ve got you covered. Stay tuned for insightful tips and tricks that will turn you into a blow-drying pro!
Conclusion
We’ve journeyed through the essentials of blow-drying, from selecting the right tools to mastering advanced techniques. Remember, practicing these techniques will help you achieve that salon-quality look from the comfort of your home.
Your hair is a beautiful canvas, and blow-drying is an art. Don’t be afraid to experiment with different styles and techniques. Each head of hair is unique, and finding what works best for you is all part of the fun. Embrace your individuality and let your hair be a reflection of your personal style and creativity!