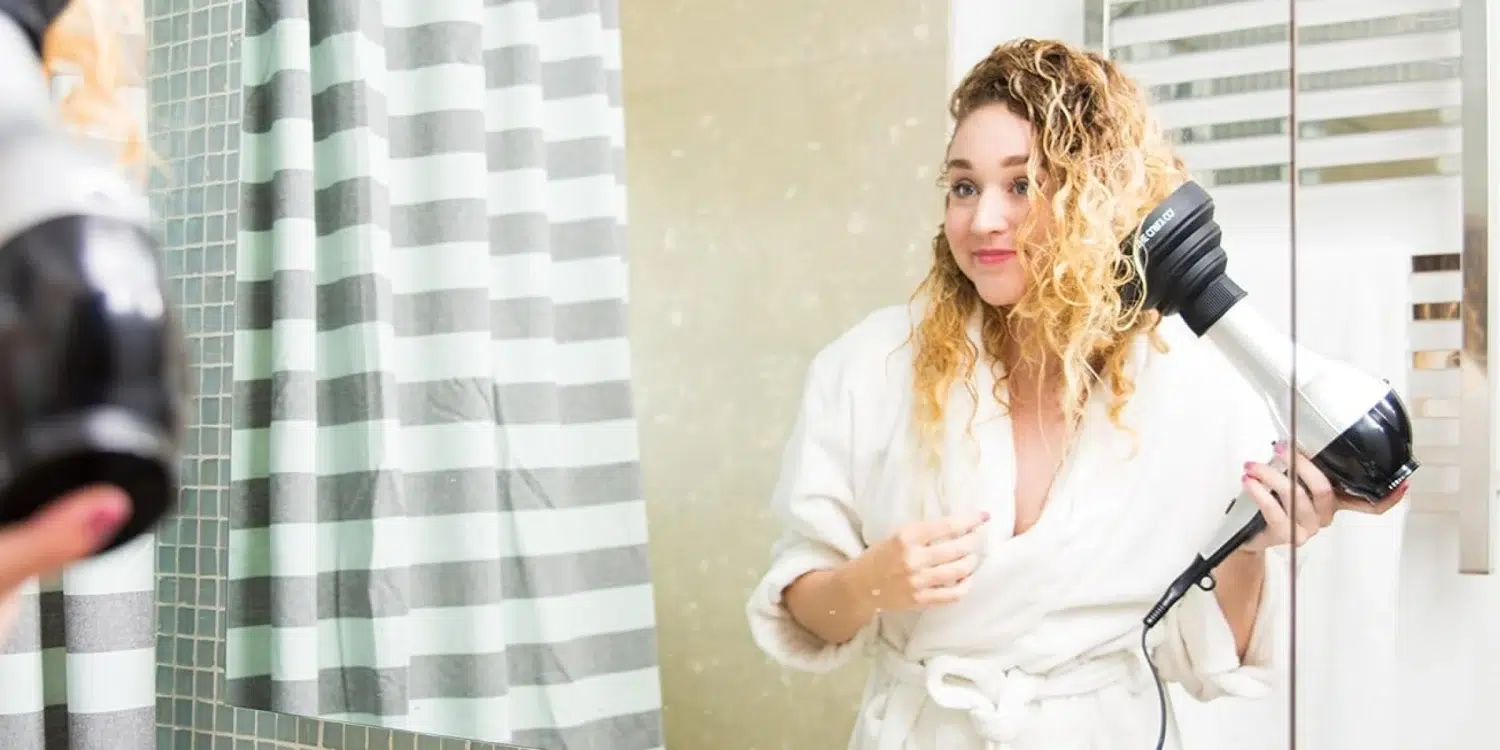
Welcome to the world of hair drying, a simple yet crucial step in your hair care routine! This guide is dedicated to helping you understand the importance of proper hair drying techniques. We’ll take you through each step, ensuring you can achieve salon-worthy results right at home. Whether you’re a beginner or looking to refine your skills, this guide is for you.
Proper hair drying is more than just about getting your hair dry. It’s about protecting your hair from damage, maintaining its health, and enhancing its natural beauty. When done correctly, good hair drying can:
- Reduce the risk of heat damage
- Keep your hair smooth and frizz-free
- Add volume and shine
- Prolong the health and appearance of your hair
- Make styling easier and more effective
Before You Start: Getting Ready
Choosing the Right Hair Dryer
Selecting the right hair dryer is vital. Here’s what to look for:
Wattage: A higher wattage means more power, but it’s important to find a balance suitable for your hair type.
Heat and Speed Settings: Look for dryers with multiple settings. Different heat and speed levels offer greater control for various hair types.
Attachments: Nozzles and diffusers are great for concentrating airflow and enhancing natural textures.
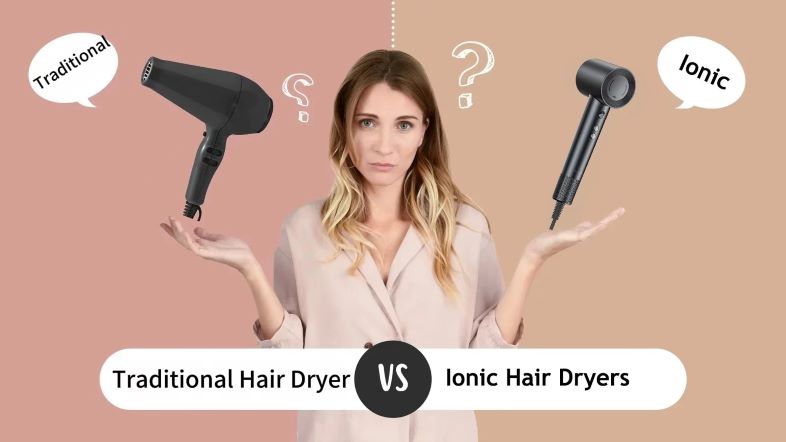
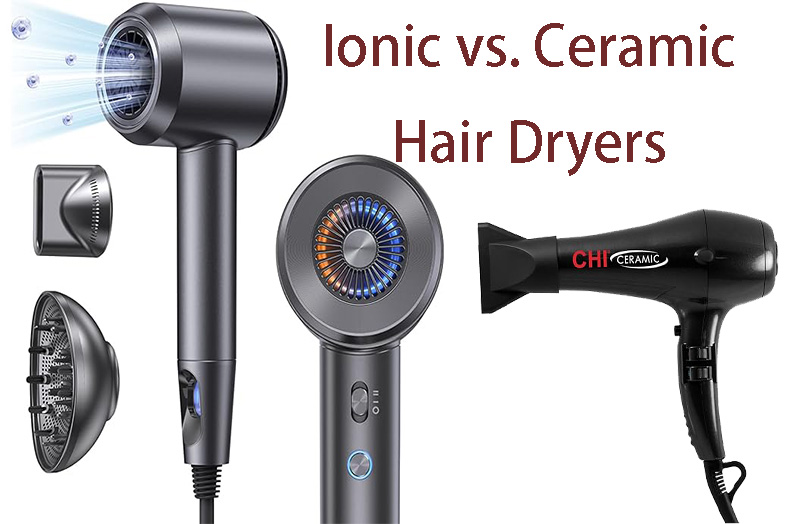
Technology: Consider dryers with ionic or ceramic technology, as they are gentler on hair and help reduce frizz.
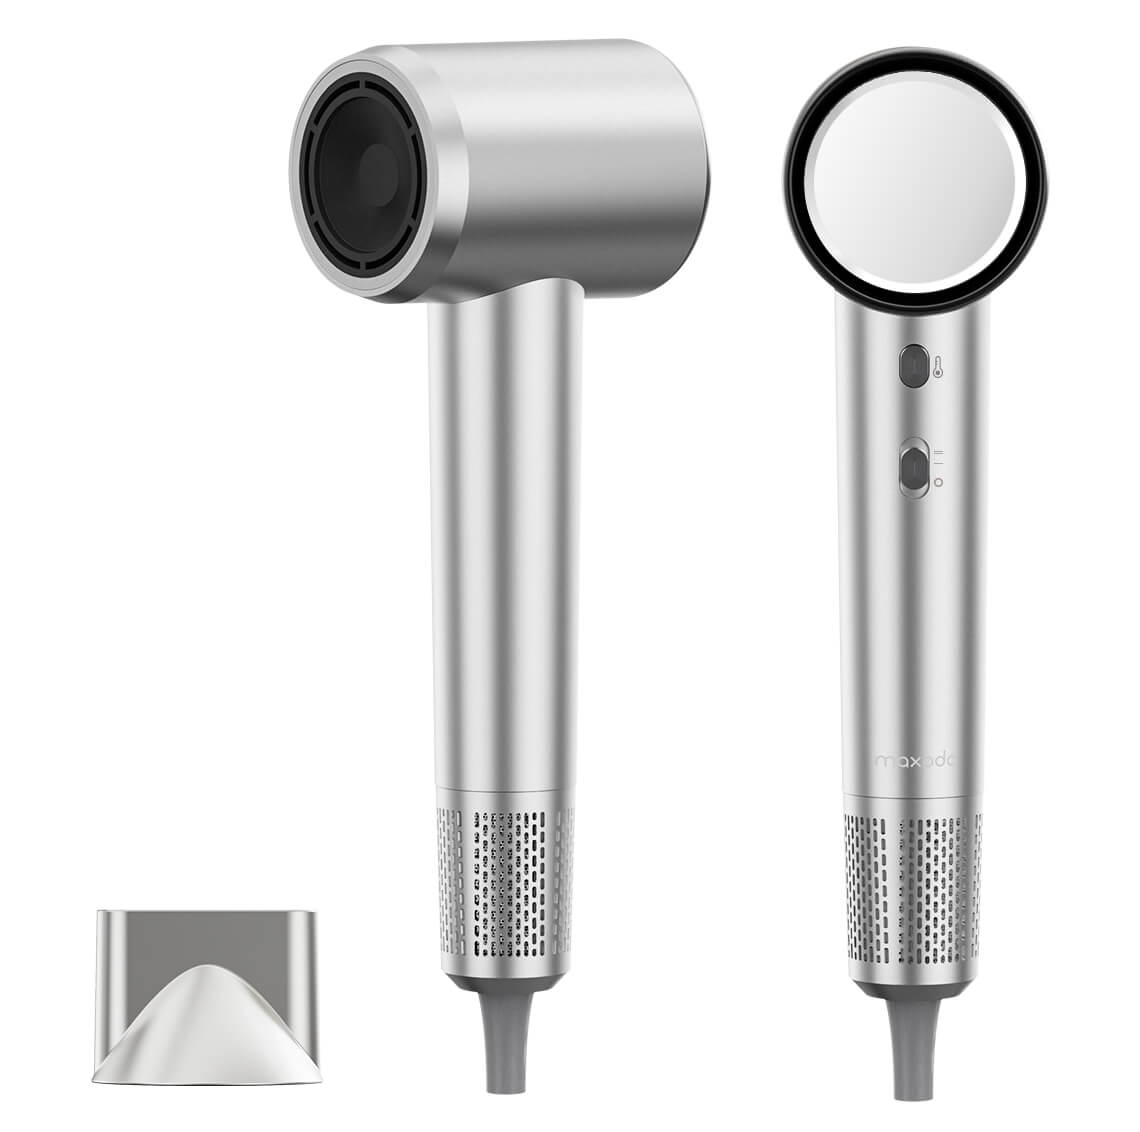
Speaking of technology and attachments, the maxodo 1400W hair dryer is a standout choice that embodies all these essential features. Boasting a powerful 200 million negative ions technology, it not only dries your hair faster but also ensures minimal damage and reduces frizz significantly. Its three-speed settings and four-temperature options provide unparalleled control, making it perfect for any hair type. Whether you have fine, thick, curly, or straight hair, the maxodo dryer adapts to your needs. Plus, the included concentrator nozzle is a game-changer for those looking to achieve precise styling and smoother hair. Its cutting-edge design and user-friendly interface make hair drying not just a routine but a luxurious hair care experience.
Essential Hair Drying Tools
In addition to a good hair dryer, consider these tools:
Heat Protectant: A must-have to shield your hair from heat damage.
Microfiber Towel: Less abrasive than regular towels, helping to reduce frizz and breakage.
Wide-tooth Comb: Ideal for detangling wet hair without causing damage.
Hair Clips: For sectioning your hair, making drying more manageable and even.
Preparing Your Hair
Before you start drying:
Gently towel-dry your hair to remove excess water. Avoid rubbing, as this can cause frizz.

Apply a heat protectant evenly throughout your hair.
Detangle your hair with a wide-tooth comb, starting from the ends and working your way up to prevent breakage.
If you’re aiming for a particular style, apply styling products like mousse or volumizing spray at this stage.
Step-by-Step Guide to Hair Drying
Step 1: Towel-Drying Basics
Before you even plug in your blow dryer, it’s crucial to start with effective towel drying. This initial step sets the foundation for smooth and efficient drying. Gently blot your hair with a soft, absorbent towel to remove excess water. Avoid rubbing your hair vigorously as this can cause frizz and damage. Microfiber towels are a great choice because they are gentle on the hair cuticles and reduce the risk of breakage. Pat your hair, starting from the roots and moving towards the ends, until it’s damp but not dripping wet. This process minimizes the amount of time and heat exposure needed from your hair dryer, ultimately protecting your hair’s health.
Step 2: Sectioning Your Hair
Sectioning your hair can seem like an extra step, but it’s key for even drying and styling. Divide your hair into manageable sections, usually four to six, depending on your hair’s thickness. You can use hair clips to keep these sections separate. Start by dividing your hair from the middle, creating two main sections. Then, subdivide each of these sections into smaller ones, either horizontally or vertically, as per your convenience. Working with smaller sections not only ensures that the heat is distributed evenly, leading to better drying, but it also gives you more control and precision, especially if you’re aiming for a specific style.
Step 3: The Right Way to Use a Hair Dryer
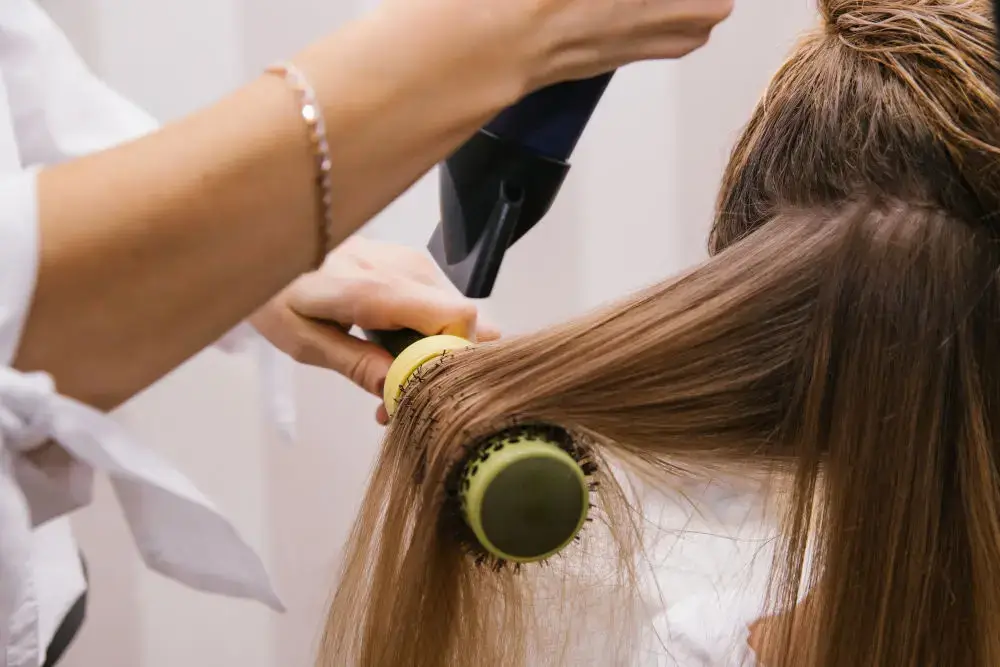
Using a blow dryer correctly is an art that can significantly improve your hair’s health and appearance. Begin with the lowest heat setting to prevent heat damage. Hold the dryer about 6 inches away from your hair and move it constantly to avoid concentrating heat on any one spot. Start with the lower sections near the nape of your neck and work upwards. Direct the airflow downward, from the roots to the ends, which helps smooth the hair cuticles and add shine. If your dryer comes with attachments like a concentrator nozzle or a diffuser, use them wisely. The concentrator is great for straight styles and focusing on specific areas, while the diffuser works wonders for curly or wavy hair, distributing the airflow evenly to maintain your hair’s natural texture.
Step 4: Finishing Touches
Once your hair is dry, it’s time for some finishing touches. If you’re aiming for a sleek look, use a brush to guide your hair as you apply the dryer for the final pass. For adding volume, flip your hair upside down and dry the roots, which provides lift. When your hair is about 90% dry, switch to the cool setting on your dryer. The cool air seals the hair cuticles, enhancing shine and setting your style in place. After drying, you can apply a lightweight hair serum or spray to add extra shine and reduce frizz. This step is especially important if you have dry or color-treated hair, as it adds moisture and protects against environmental damage.
Tips for Different Hair Types
Fine Hair
Fine hair dries quickly and is more prone to damage. Use a low heat setting and a volumizing spray to add body. Avoid heavy styling products that can make your hair look limp.
Thick Hair
Thick hair requires more time to dry. Use a high heat setting but move the dryer constantly to distribute the heat evenly. Apply a smoothing serum before drying to control frizz.
Curly Hair
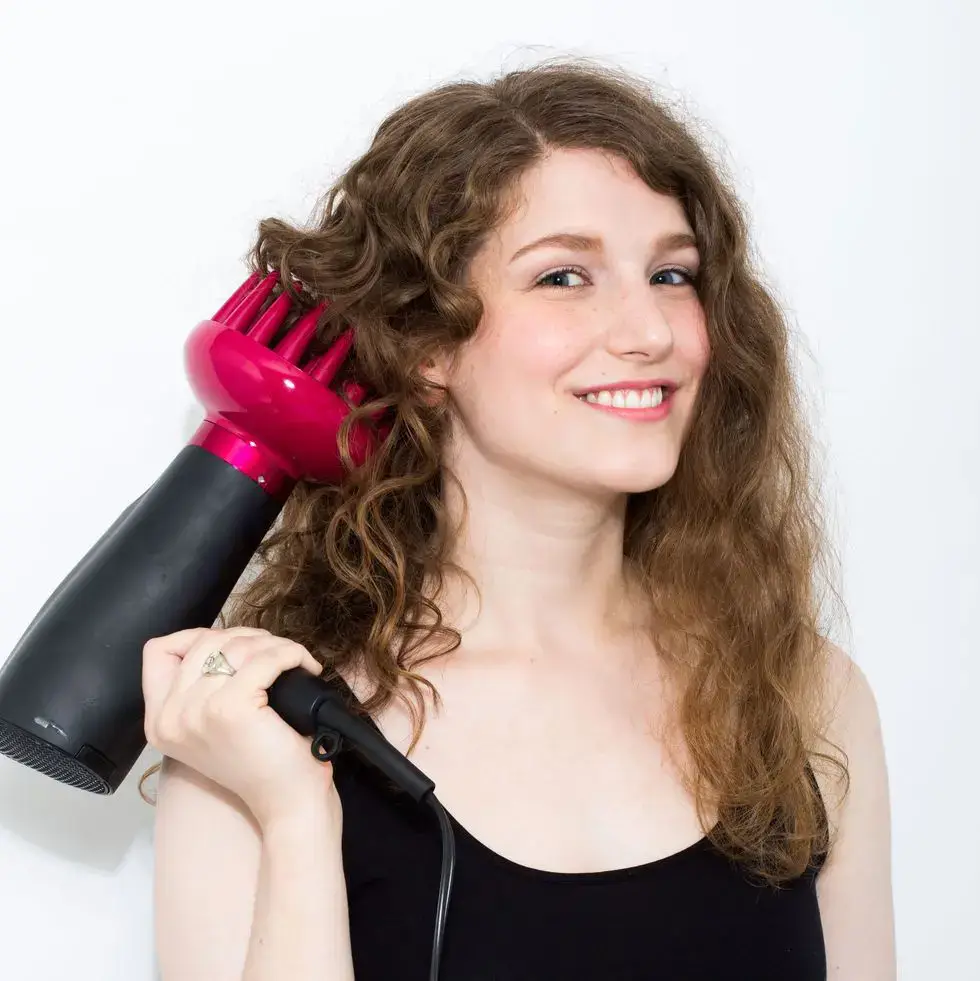
For curly hair, use a diffuser attachment to distribute the heat without disrupting your natural curls. Dry your hair on a lower heat setting to minimize frizz. Apply a curl-defining cream before drying to enhance your curls.
Straight Hair
If you have straight hair and want to keep it sleek, use a paddle brush while drying. Apply a heat protectant before drying and finish with a light serum to add shine and tame flyaways.
Common Mistakes to Avoid
Overheating Your Hair
Using too much heat can damage your hair. Always start with a lower heat setting and increase it only if necessary. Regularly clean the filter of your hair dryer to ensure it works efficiently.
Drying Hair Too Quickly
Rushing the drying process can lead to uneven drying and heat damage. Take your time to dry each section thoroughly, especially if you have thick or curly hair.
Not Using Protective Products
Skipping heat protectant sprays or serums can leave your hair vulnerable to heat damage. Always apply a protective product before drying, especially if you use high heat settings or styling tools regularly.
Advanced Techniques
Adding Volume:
To add volume to your hair, start by flipping your hair upside down while drying. Focus on the roots, using a round brush to lift them away from your scalp. Apply a volumizing mousse or spray for added lift. Remember, the key is to dry the roots in the opposite direction of hair growth for maximum volume.
Smoothing Frizz:
Frizz can be tamed with the right technique. Use a concentrator nozzle on your dryer for targeted airflow. Keep the dryer at a downward angle to smooth the hair cuticle. Applying a light, anti-frizz serum before drying can also help. Finish with a cool shot to seal the hair cuticles and enhance shine.
Creating Waves or Curls:
To create waves or curls, start by drying your hair until it’s about 80% dry. Then, use a diffuser attachment to enhance your natural texture. For more defined curls or waves, twist sections of your hair around your fingers while drying. Finish with a curl-enhancing spray or light hairspray.
Maintaining Healthy Hair
Post-Drying Hair Care:
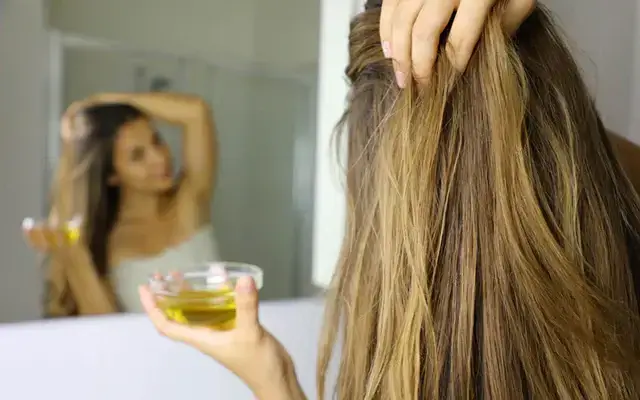
After drying, it’s crucial to nourish your hair. Apply a leave-in conditioner or hair oil to the ends to keep them hydrated. Avoid tight hairstyles that can pull and break your hair. Before bed, consider using a silk or satin pillowcase to reduce friction.
Regular Maintenance Tips:
Regular trims are essential to keep your hair healthy and free of split ends. Use a deep conditioning treatment once a week to replenish moisture. Limit the use of heat styling tools and when you do use them, always apply a heat protectant. A balanced diet and staying hydrated also play a significant role in hair health.
Conclusion: Enjoy Your Perfectly Dried Hair
Remember, successful hair drying is about technique, patience, and using the right tools. Start with towel-dried hair, section your hair for even drying, and use the appropriate temperature setting. Advanced techniques like adding volume, smoothing frizz, and creating curls can enhance your everyday look.
Each hair type is unique, so feel free to experiment with different methods and products to find what works best for you. Practice makes perfect, and soon, you’ll be a pro at achieving salon-quality results at home!