Welcome to the world of innovative and unexpected uses for a common household item – the hair dryer. In blog: Hair Dryer Hacks: Creative Ways to Use Your Hair Dryer Beyond Hair Styling, we talked about removing stickers and labels, shrink wrapping gifts and DIY projects, softening butter and chocolate, and some others with hair dryers. In this guide, we delve into the myriad of ways a hair dryer can transcend its traditional role in hair styling. From home hacks to crafty solutions, we’re going to explore how this everyday appliance can become an indispensable tool in your arsenal for tackling a range of tasks. So, let’s turn up the heat and blow away the conventional boundaries of what a hair dryer can do!
Banishing Window Pane Moisture
How to Remove Moisture from Between Window Panes with a Hair Dryer
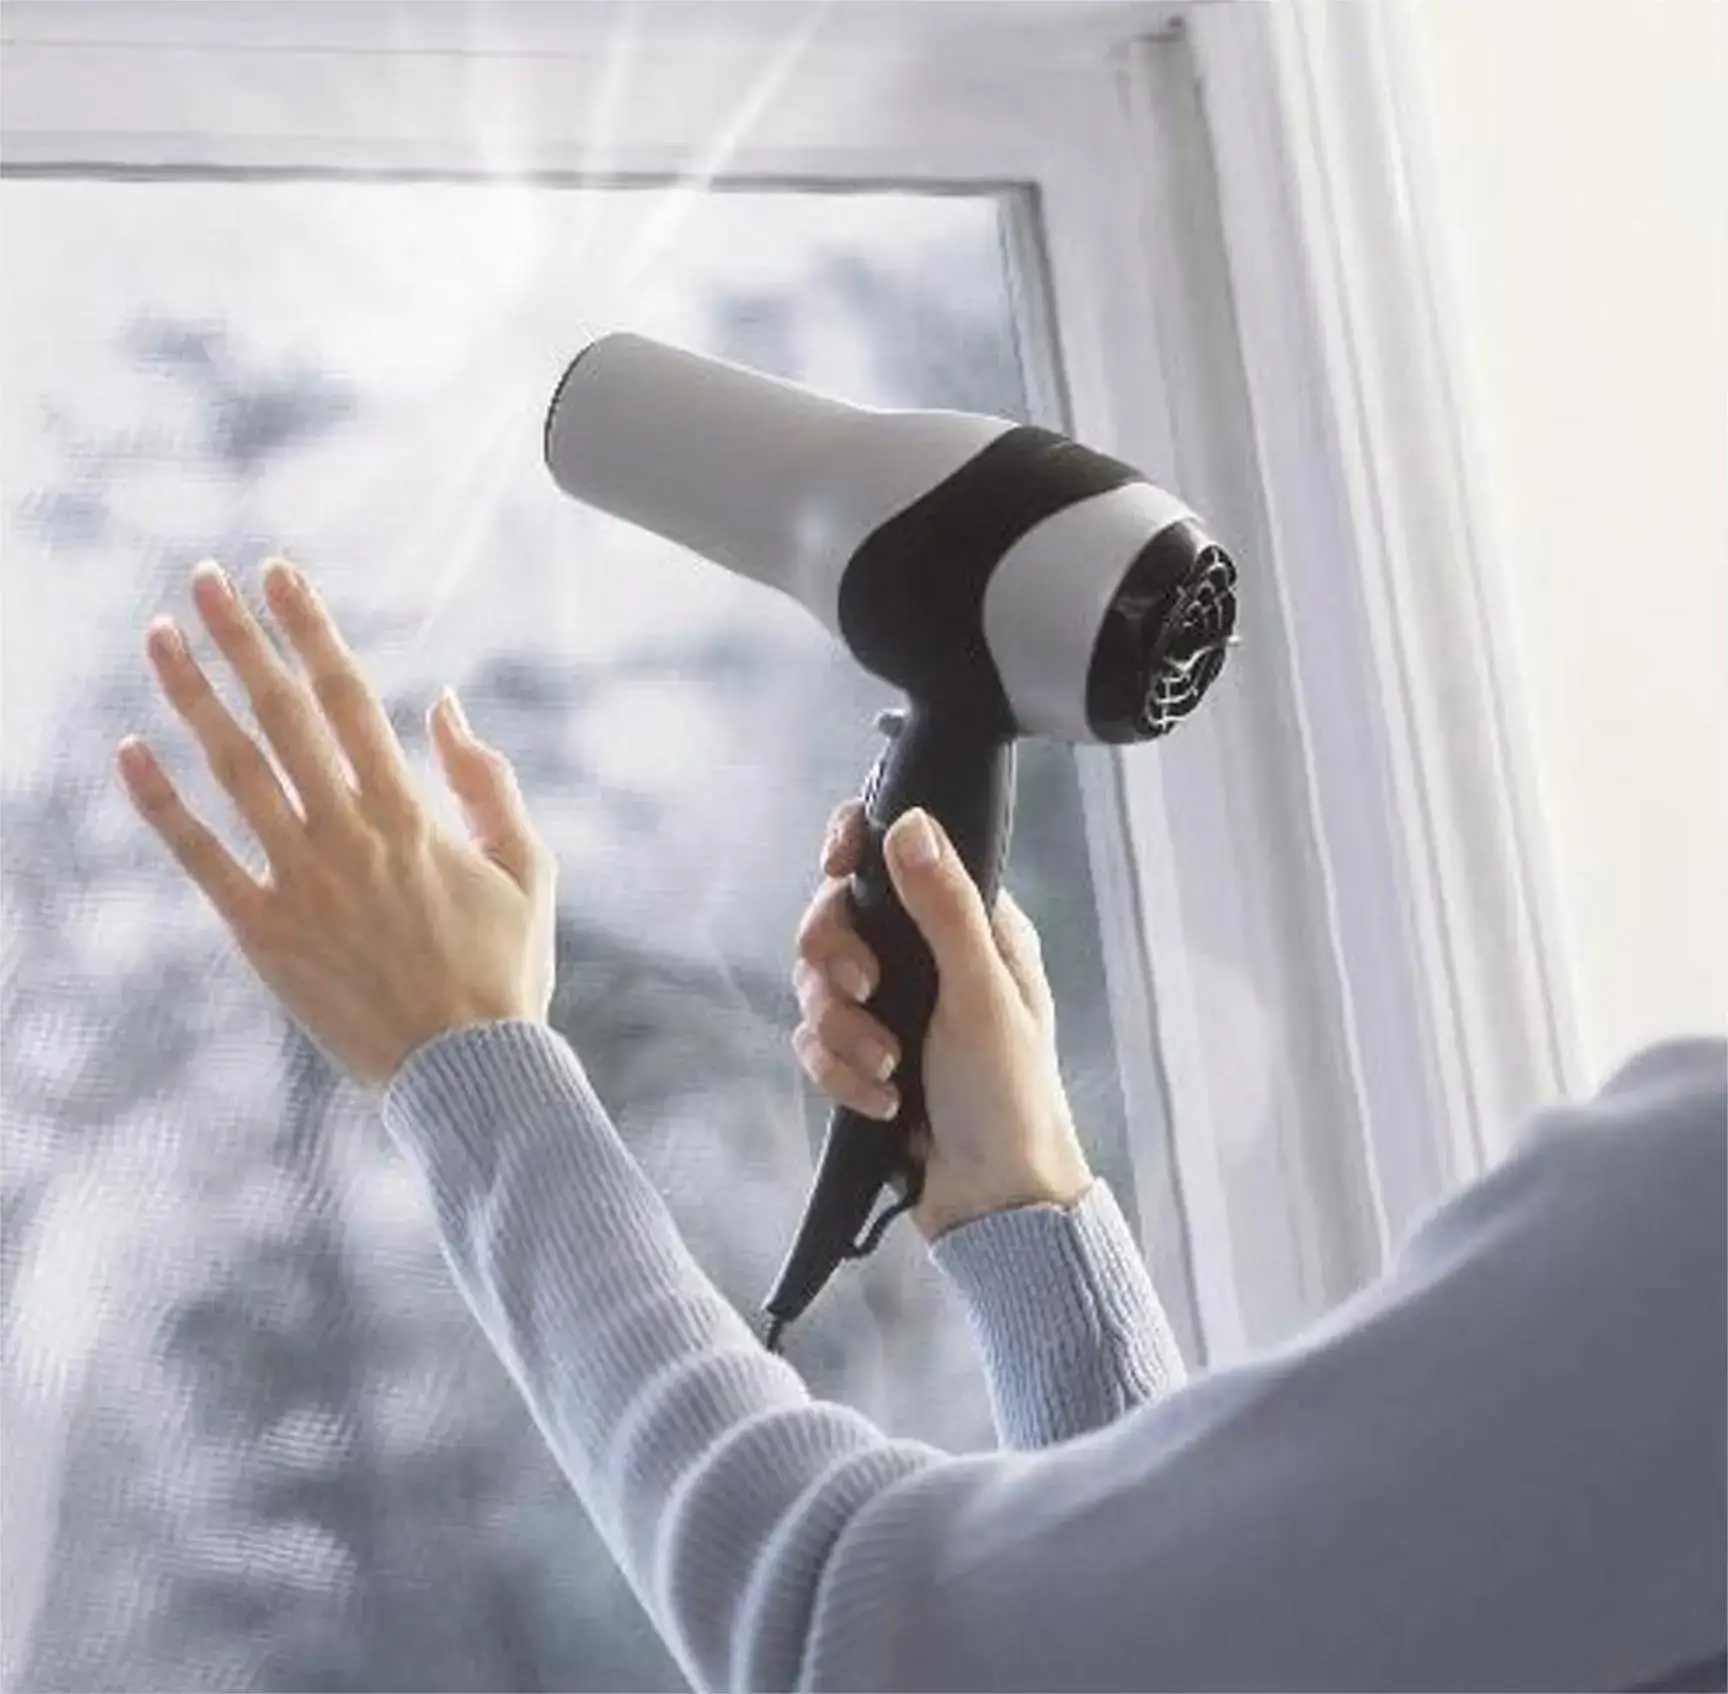
If you’ve ever been frustrated by the misty fog trapped between your window panes, fear not! Your handy hair dryer is here to save the day. Here’s how you can clear up that moisture in just a few simple steps:
Safety First: Ensure that your hair dryer is in good working condition and set it to a moderate heat setting.
Preparation: Wipe down the exterior surface of the window to remove any dust or debris.
Heating: Aim the hair dryer towards the edges of the window pane, where moisture often accumulates. Keep the dryer moving to avoid overheating any single spot.
Moisture Evaporation: As you apply heat, you’ll notice the moisture starting to dissipate. Continue this process, moving around the window, until the fog clears.
Final Check: Inspect the window for any remaining moisture and repeat the process if necessary.
Envelope Opening Made Easy
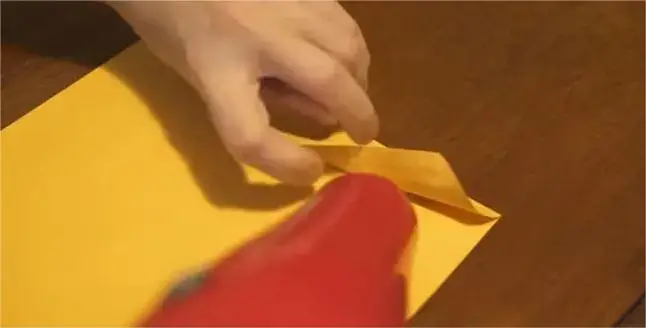
How to Safely Open an Envelope Using a Hair Dryer
Gone are the days of wrestling with envelopes or dealing with ripped documents. Using a hair dryer, you can open an envelope seamlessly and without damage. Here’s how:
Heat Setting: Set your hair dryer to a low-to-medium heat setting. High heat can damage the envelope and its contents.
Warming the Adhesive: Hold the hair dryer about 2 inches away from the envelope flap. Gently sweep the warm air back and forth along the sealed edge.
Peeling the Flap: After a few seconds of heat application, test the seal by carefully lifting the edge of the flap with a letter opener or your finger. The heat should have softened the adhesive.
Opening the Envelope: Once the adhesive is loose, gently open the flap. If it’s still sticking, apply more heat and try again.
Re-Sealing (if needed): If you need to reseal the envelope, simply apply a small amount of glue or adhesive.
Shoe Crease Remover
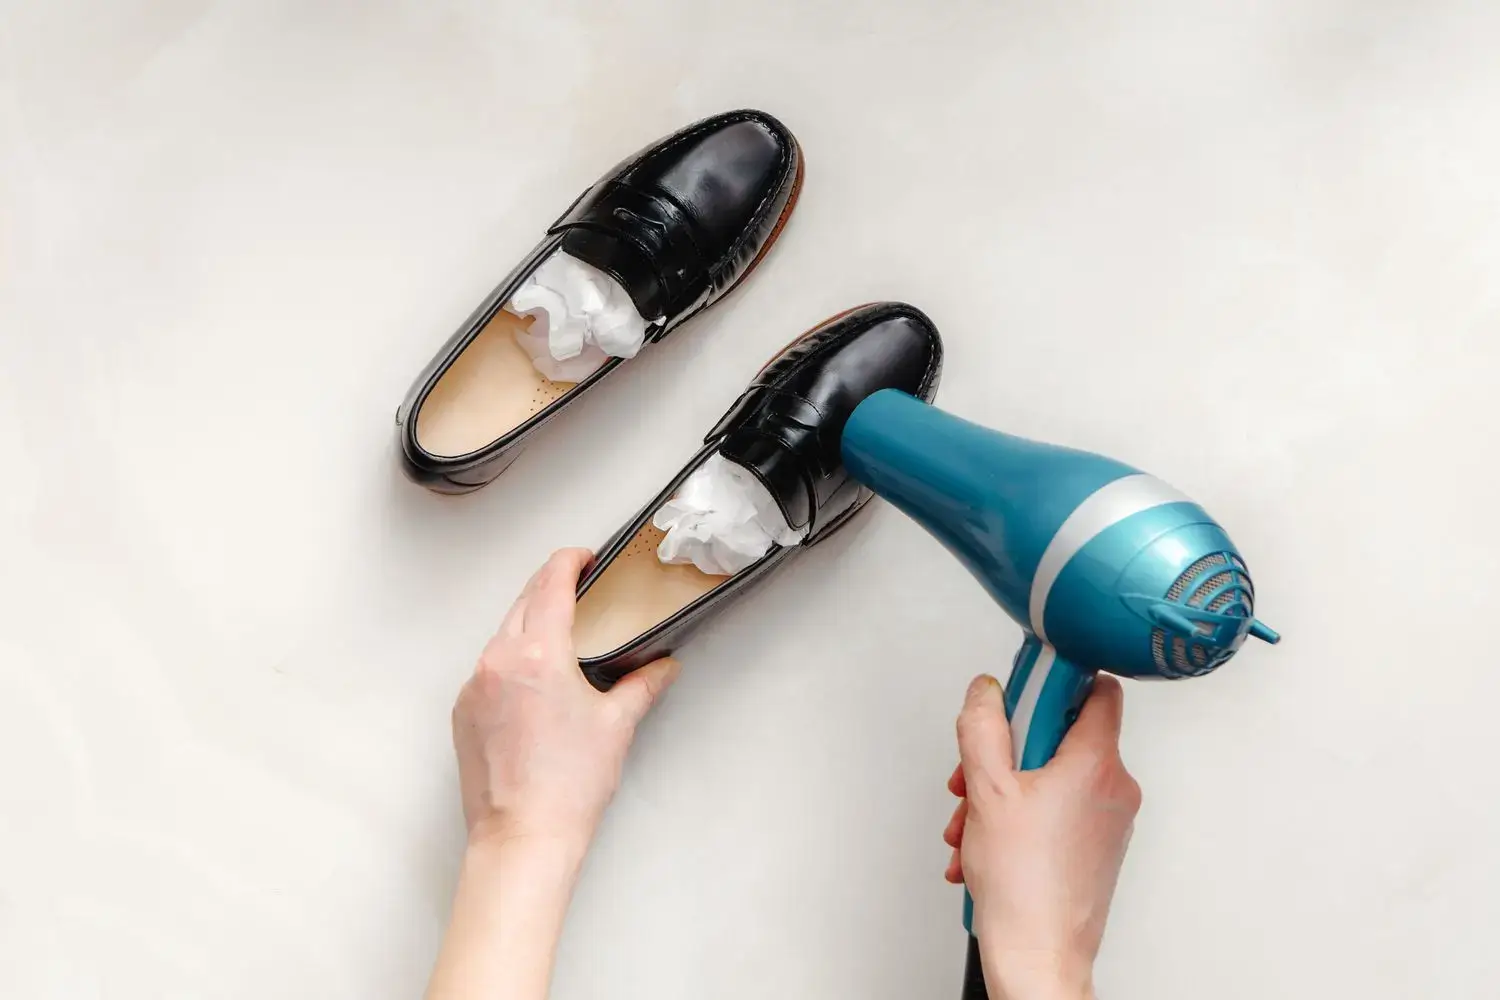
How to Get Creases Out of Shoes with a Hair Dryer: A Step-by-Step Guide
Clean Your Shoes: Before starting, ensure your shoes are clean and dry. Dirt and moisture can cause issues when applying heat.
Stuff Your Shoes: Use socks or soft cloth to stuff the shoes. This helps them hold their shape and makes it easier to remove creases.
Warm Up the Shoes: Turn your hair dryer on to a medium heat setting. Hold it about six inches away from the creased area and gently warm it for about 30 seconds. Avoid overheating as it can damage the shoe material.
Gentle Massage: While the shoe material is warm, use your fingers to gently massage the creased area. This helps to soften the material and ease out the creases.
Cool Down: Allow the shoes to cool while still stuffed. This ensures they hold their new shape.
Repeat if Necessary: If the crease is still visible, repeat the process. Be patient, as some materials take longer to respond.
Wax Be Gone
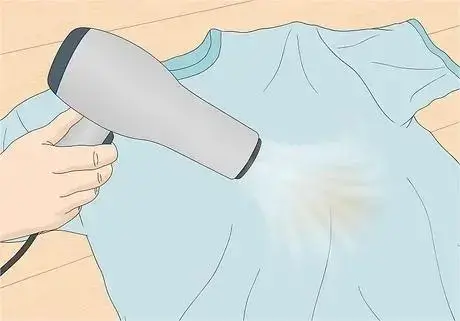
Effective Techniques for Getting Wax Out of Clothes Using a Hair Dryer
Scrape Off Excess Wax: Gently scrape off as much wax as possible with a blunt knife or a spoon. Be careful not to spread the wax further.
Place Paper Towels: Lay your garment on a flat surface. Place a couple of paper towels under the stained area and another set over the wax.
Apply Heat: Turn your hair dryer to a medium heat setting. Aim it at the wax stain, keeping the dryer about six inches away. The heat will melt the wax, and the paper towels will absorb it.
Replace Paper Towels: As the wax transfers to the paper towels, replace them with fresh ones. Continue until no more wax transfers.
Treat Remaining Stain: If there’s a residual color stain from the wax, treat it with a stain remover suitable for the fabric type.
Wash as Usual: Finally, launder the garment according to the care label instructions.
Speeding Up Puffy Paint Drying
Creative Use of a Hair Dryer to Dry Puffy Paint: A How-To
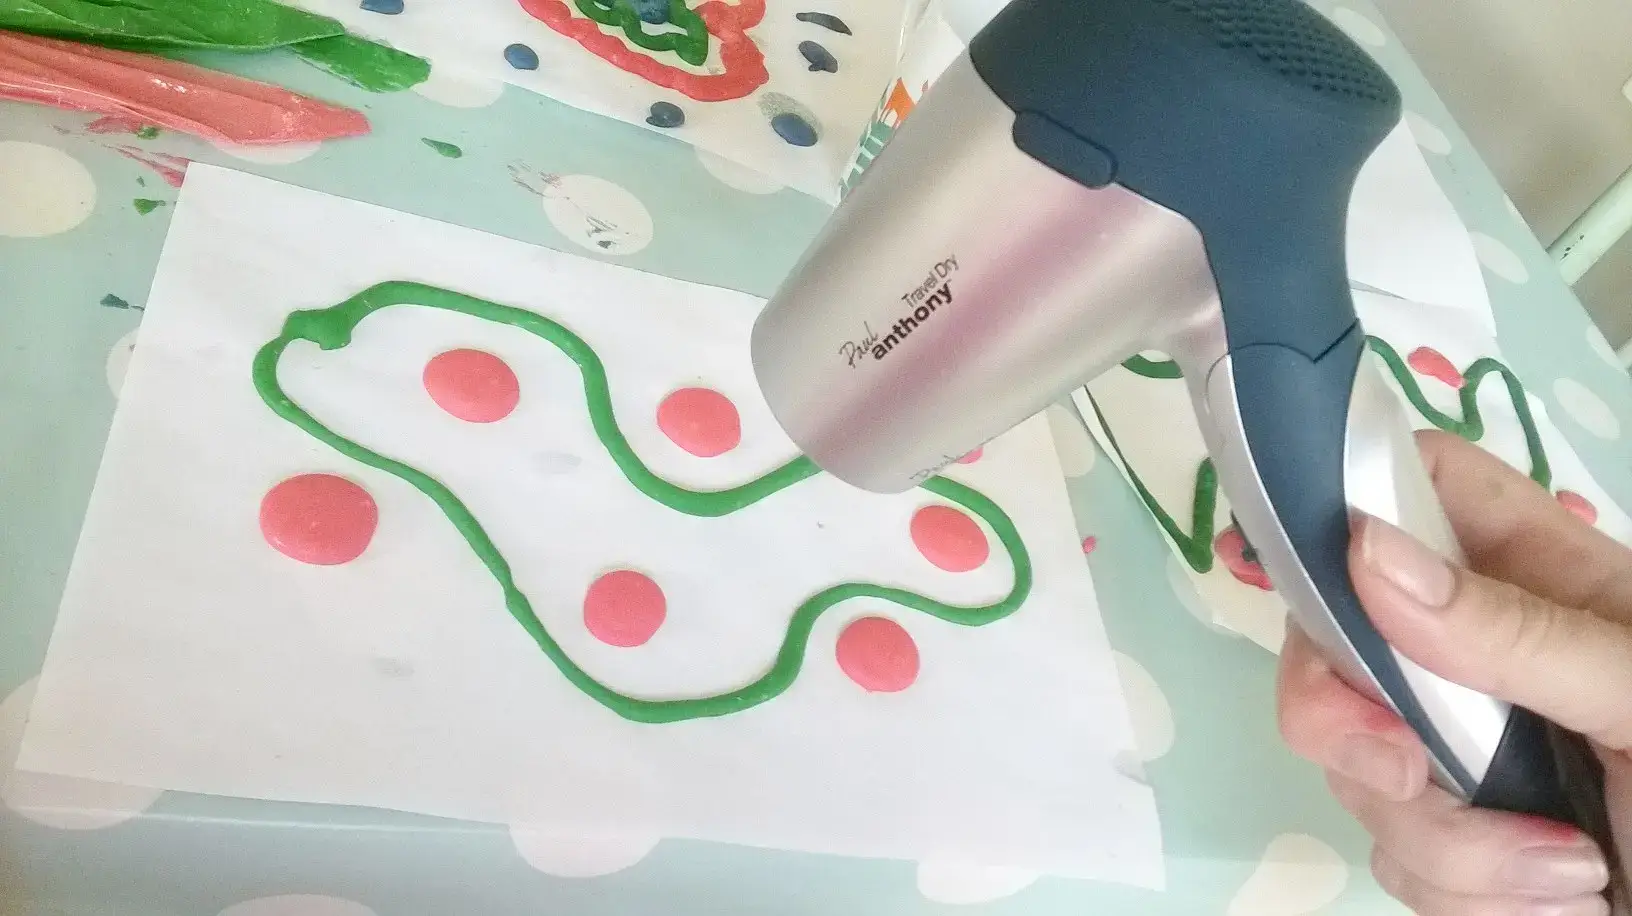
Preparation: Before you start, ensure your puffy paint artwork is on a flat, heat-resistant surface.
Setting the Scene: Plug in your hair dryer and set it to the lowest heat setting. High heat can cause the paint to bubble or warp.
The Drying Process: Hold the hair dryer about six inches away from the painting. Slowly move it back and forth over the area. The gentle airflow helps speed up the drying time without disturbing the paint’s texture.
Patience is Key: Continuously check the dryness. Puffy paint usually feels slightly tacky before it’s completely dry. Avoid touching it too much as it dries.
Final Touches: Once dry, let it sit for a few extra minutes. This ensures the paint is fully set and your artwork is ready to be displayed!
Quick Clothing Drying Tips
How to Dry Clothes Efficiently with a Hair Dryer
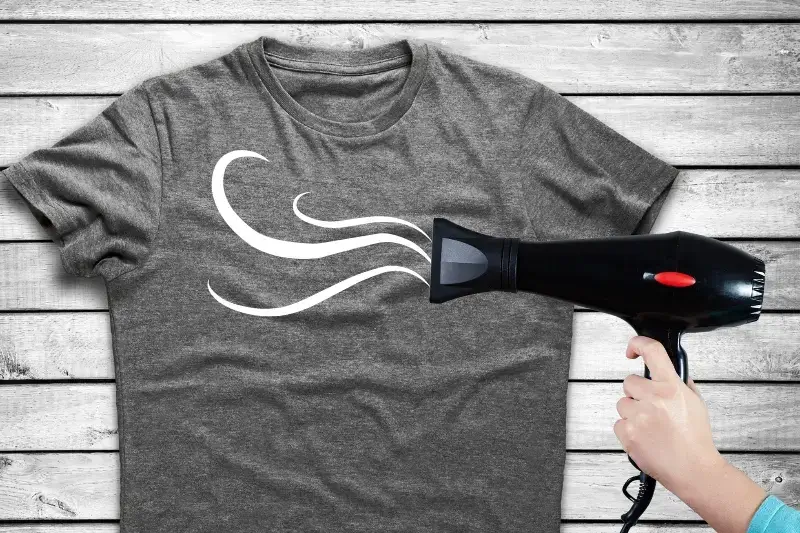
Initial Preparation: Lay out the damp clothing item on a flat surface, preferably on a towel to absorb excess moisture.
Choosing the Right Setting: Set your hair dryer to a warm but not too hot setting. Extreme heat can damage the fabric.
Effective Drying Technique: Keep the hair dryer at least six inches away from the fabric. Move it in a constant back-and-forth motion for even drying.
Attention to Detail: Pay extra attention to heavier parts of the garment, like collars or waistbands, as they tend to hold more moisture.
Safety First: Never leave the hair dryer unattended, and avoid concentrating heat on one area for too long to prevent any damage.
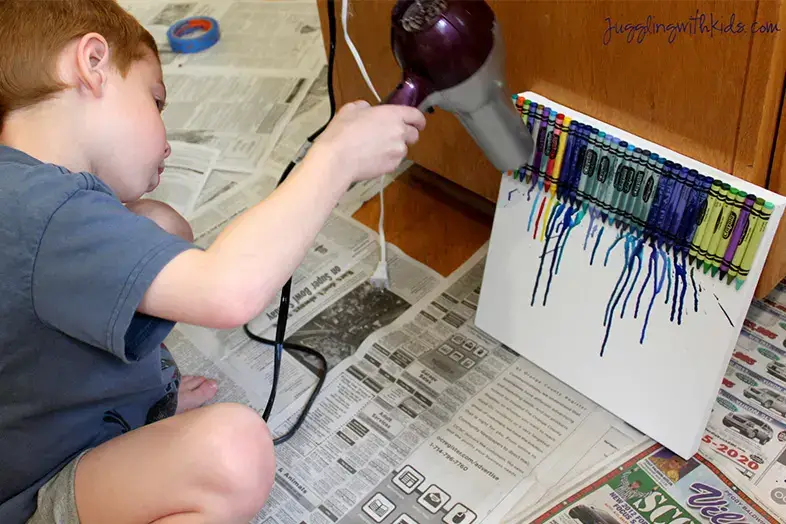
Artistic Crayon Melting
Unleashing Creativity: How to Melt Crayons with a Hair Dryer
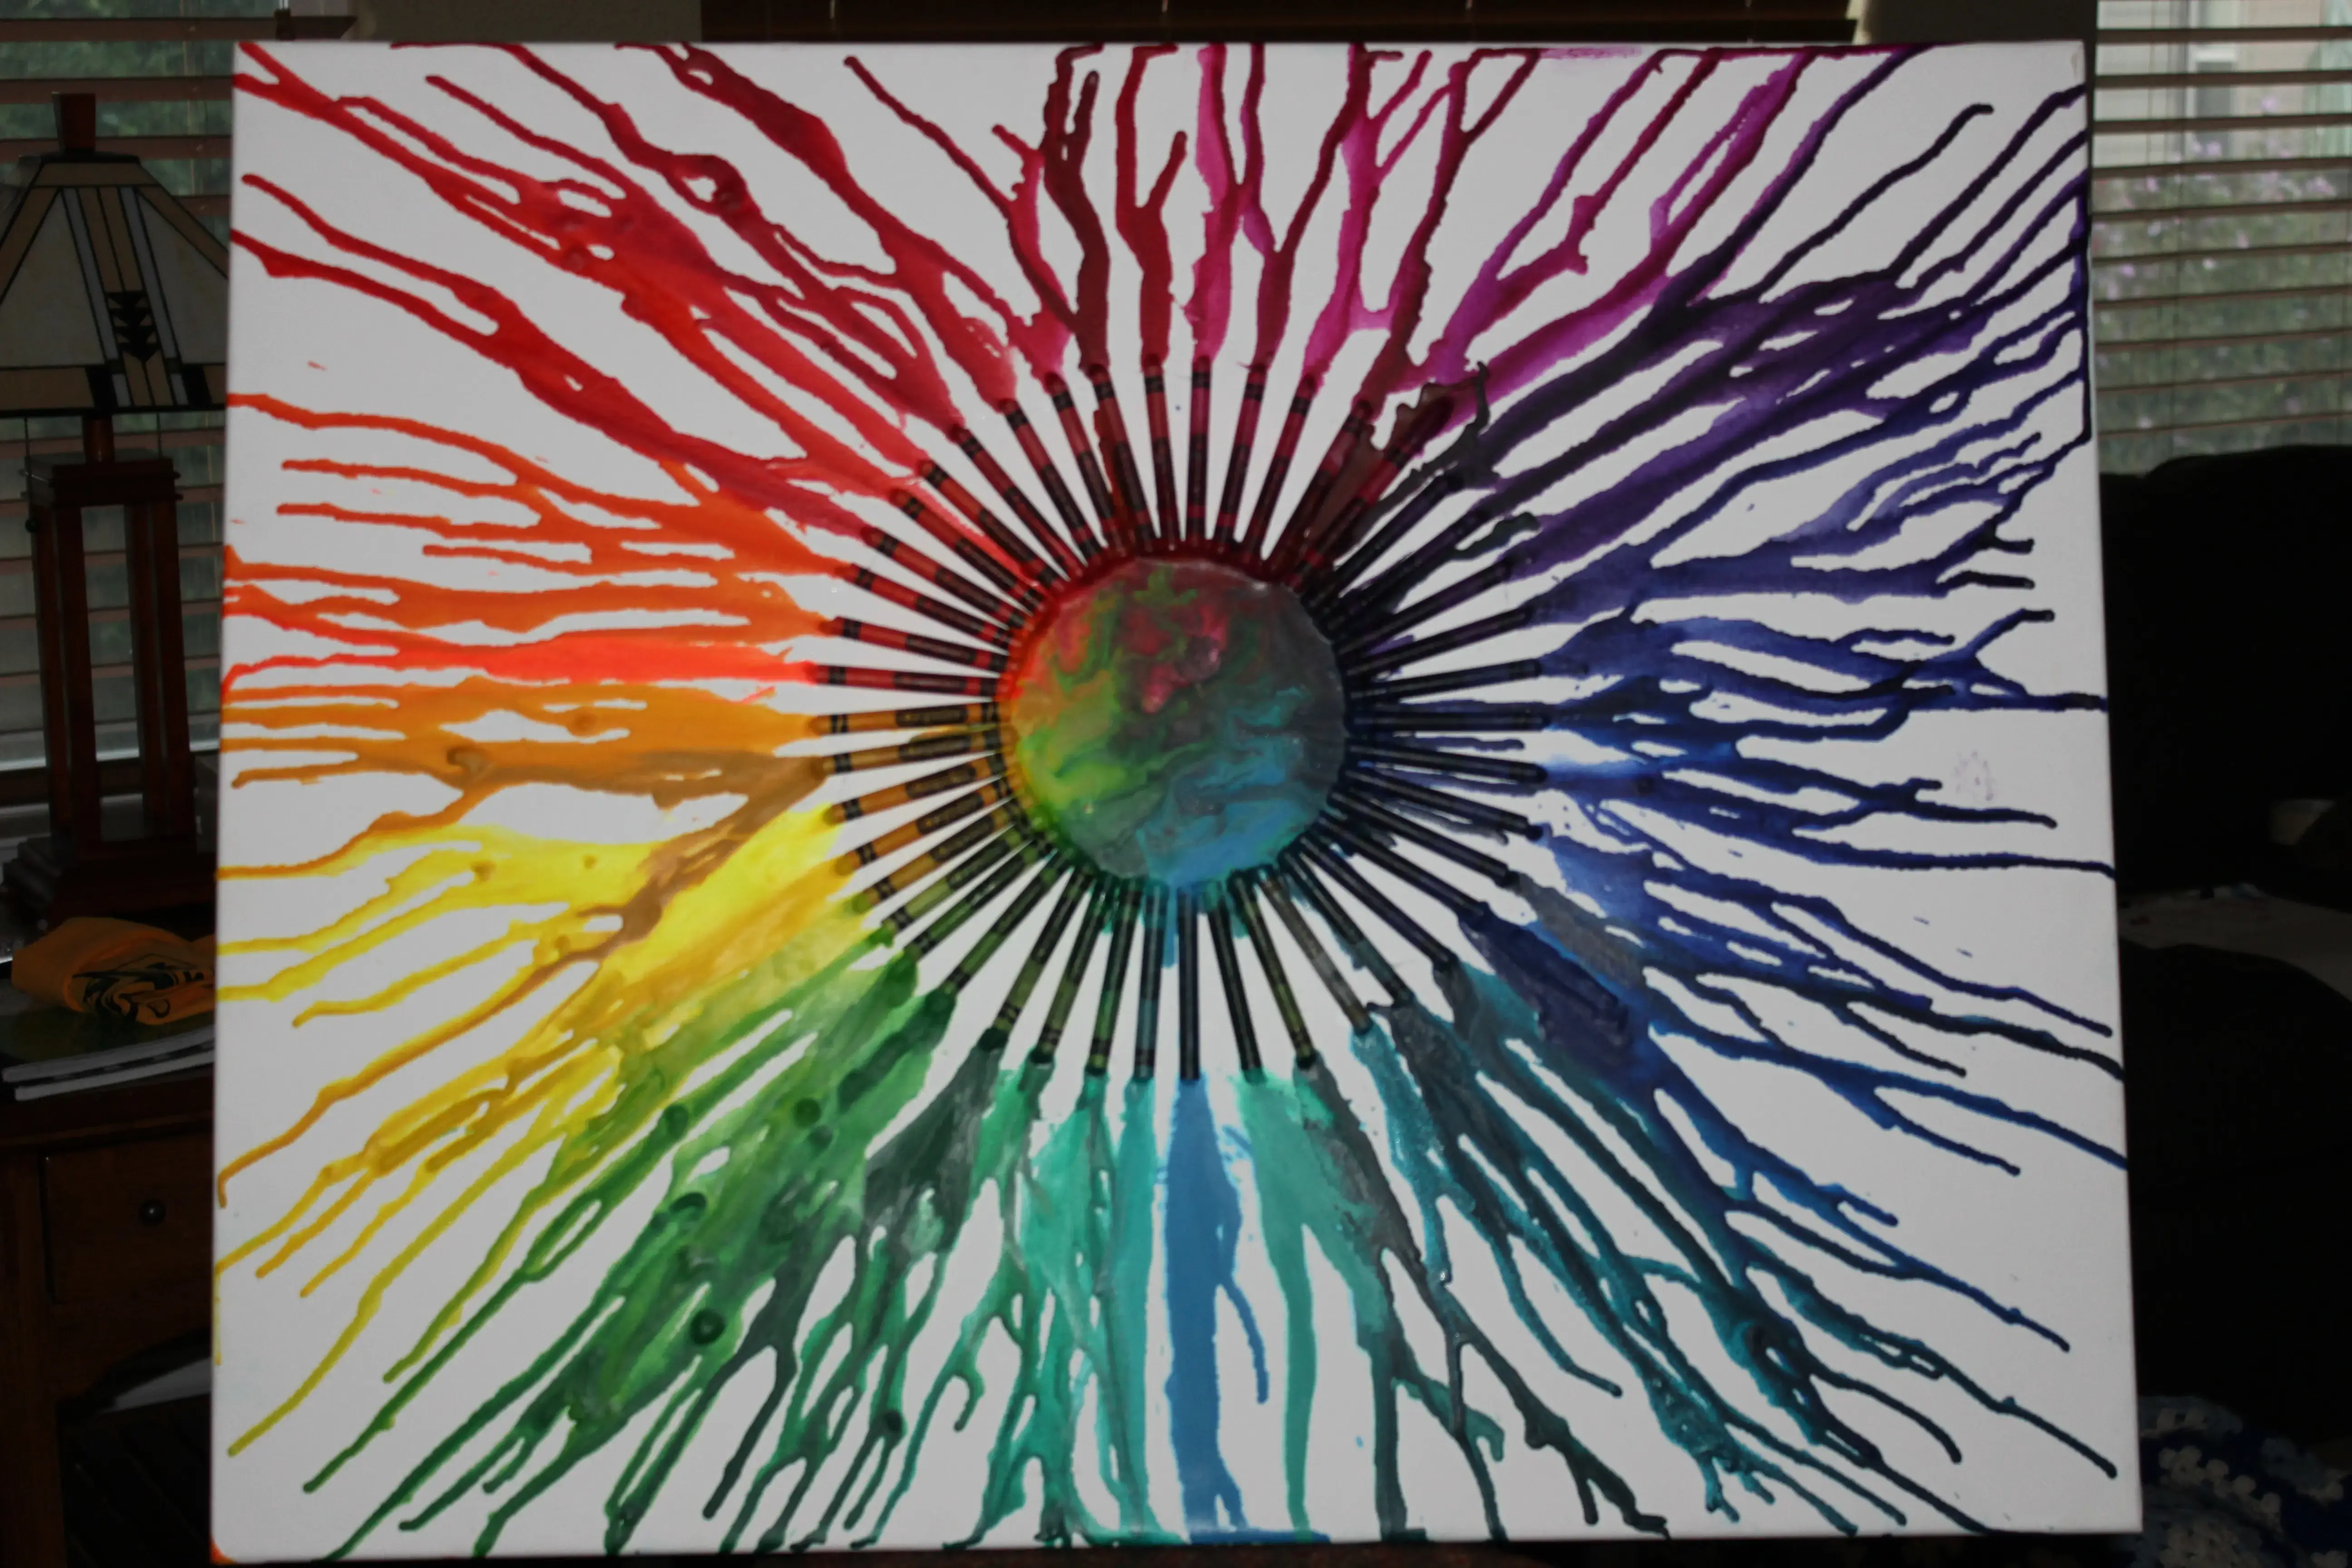
Setup: Place a canvas or a piece of thick paper on a protected surface. Arrange crayons in your desired pattern or design at the top.
Securing Crayons: Using a glue gun, adhere the crayons to the canvas. This prevents them from blowing away under the hair dryer’s airflow.
Melting Magic: Turn on your hair dryer to a medium or high setting, depending on how quickly you want the crayons to melt. Hold it at an angle, about 6-8 inches away from the crayons.
Controlling the Flow: Tilt the canvas to guide the melting crayons, creating unique patterns and designs as the wax flows.
Finishing Touches: Once you’ve achieved your desired effect, let the canvas cool and the wax harden. Your melted crayon art is now ready to showcase!
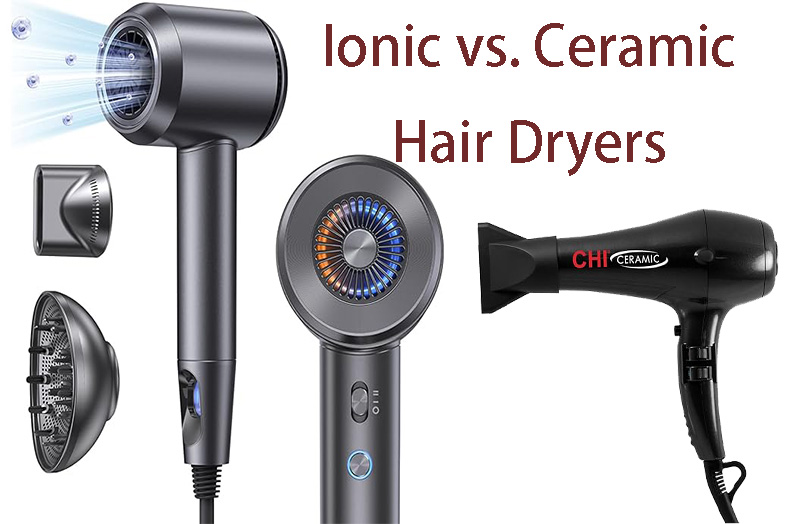
maxodo High-Speed Brushless Hair Dryer
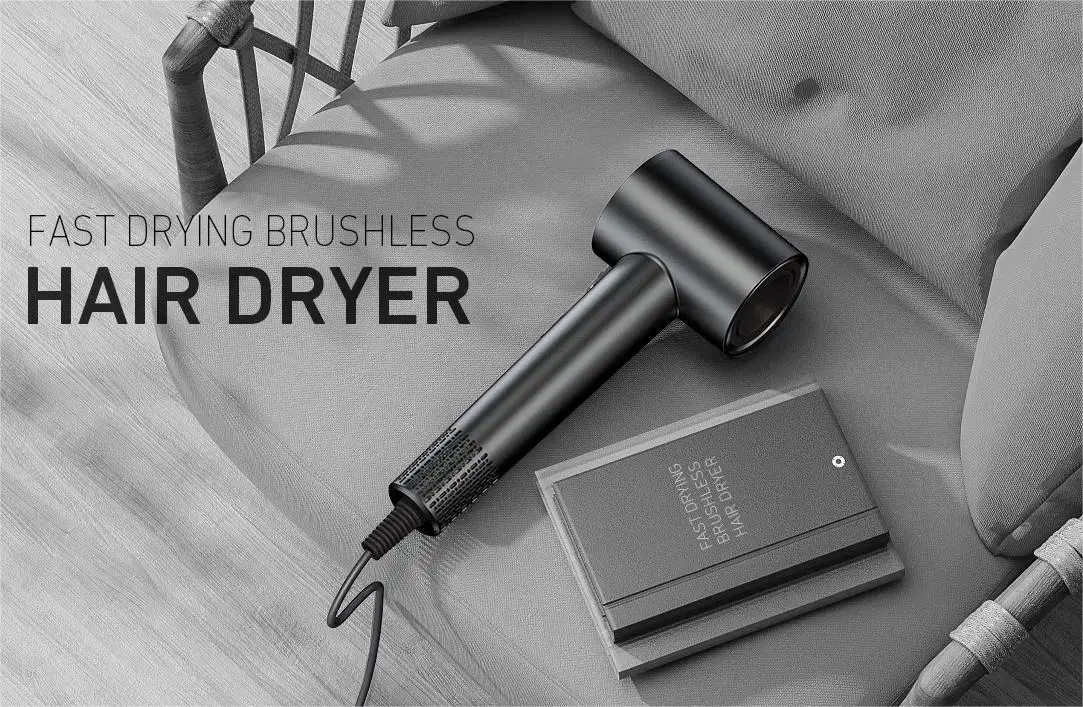
In exploring the myriad uses of hair dryers, it’s essential to mention the maxodo high-speed brushless hair dryer. This state-of-the-art dryer exemplifies efficiency with its brushless motor, offering unparalleled drying speed and a significant reduction in noise. Its advanced ionic technology not only ensures fast styling but also minimizes heat damage, making it ideal for both hair care and the inventive hacks we’re discussing. Its ergonomic design and lightweight feel enhance user comfort, allowing for prolonged use without fatigue — perfect for those creative projects that require a bit more time and precision.
Conclusion
In this blog, we’ve explored some innovative and practical ways to use a hair dryer beyond the confines of hair styling. From removing moisture from window panes to opening envelopes, smoothing out shoe creases, and even artistic crayon melting, the versatility of this common household item is truly astounding.
But the potential doesn’t end there. Think about other creative uses, like quick-drying hand-painted ornaments, softening adhesive labels for easy removal, or even accelerating the drying process of glue in craft projects. The hair dryer, in its simplicity, holds a world of possibilities for both practical solutions and creative endeavors.
As we’ve seen, with a bit of creativity, even the most mundane objects can have multiple, innovative uses. So next time you pick up a hair dryer, remember, it’s not just a tool for hair – it’s an instrument of creativity and practicality.