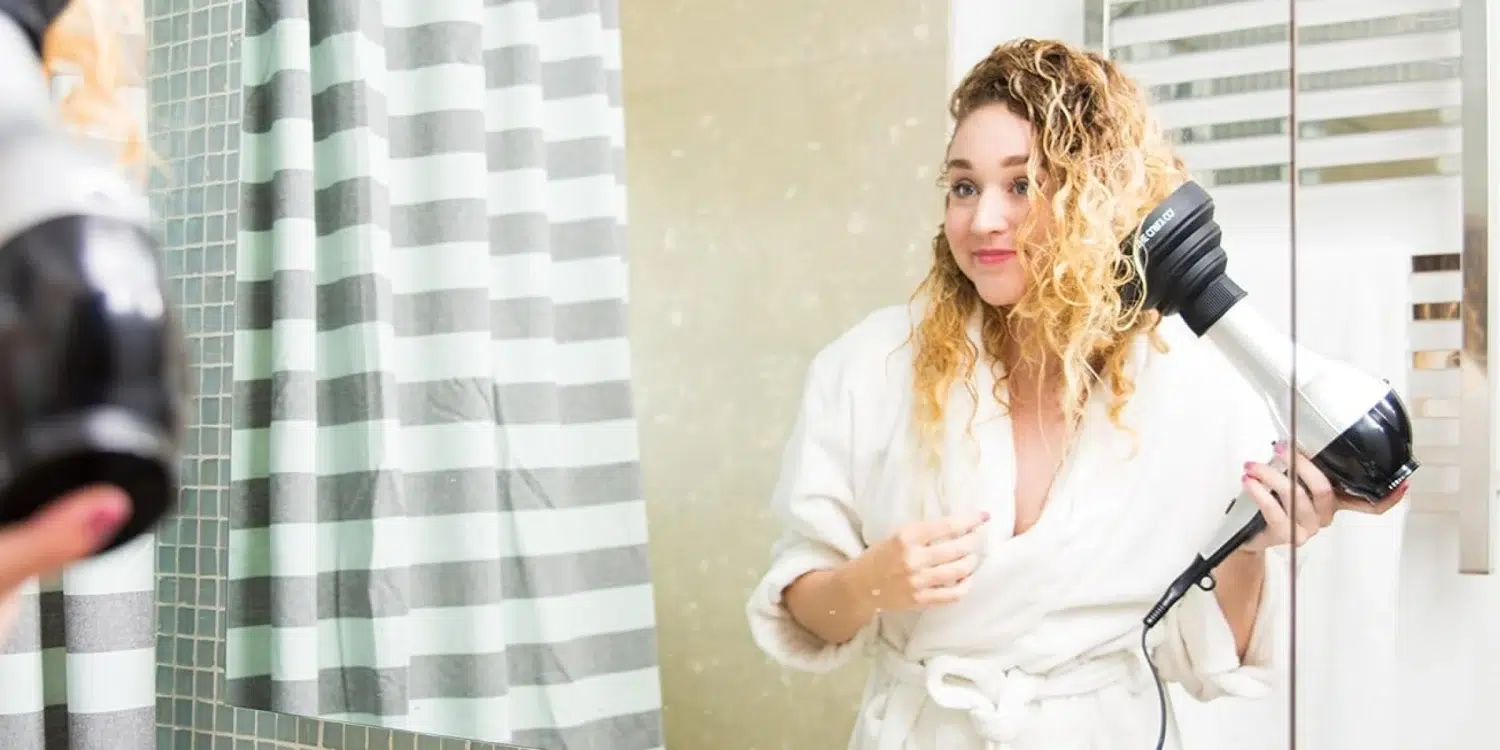
Welcome to “Blow Dry Like a Pro: Tips for Perfect Hair Every Time,” your ultimate guide to mastering the art of the blow-dry. Achieving that salon-fresh look at home isn’t just about saving time and money; it’s about understanding your hair and treating it with the care it deserves. Whether you’re aiming for a sleek, smooth finish or a voluminous, bouncy style, the right blow-drying technique can make all the difference.
In this guide, we’ll walk you through every step of the blow-drying process, from identifying your hair type and selecting the right tools, to the finishing touches that will make your style last. Expect to learn how to choose and use a blow dryer, the importance of heat protectant, and advanced techniques to tailor your approach to your hair’s unique needs. Let’s embark on this journey to elevate your hair-styling skills and achieve perfect hair every time you blow-dry.
Understanding Your Hair Type
Identifying Different Hair Types
Hair comes in a diverse range of textures and densities, each with its own needs. Broadly, hair can be classified as fine, medium, or thick (dense), and straight, wavy, curly, or coily. Fine hair tends to dry quickly but can be easily damaged; thick hair is resilient but often takes longer to dry, while curly and coily hair types require techniques that maintain their natural pattern without causing frizz.

How Your Hair Type Affects Blow-Drying Techniques
Understanding your hair type is crucial for choosing the right blow-drying technique. For instance, fine hair benefits from a lower heat setting to prevent damage, while thick hair may require a higher heat setting and more time. Curly and coily hair types need diffusers to distribute heat evenly and maintain their natural texture. This section ensures that no matter your hair type, you’ll learn how to adjust your blow-drying method to suit your hair’s specific needs, resulting in healthier, more beautiful hair.
The Right Tools for the Job
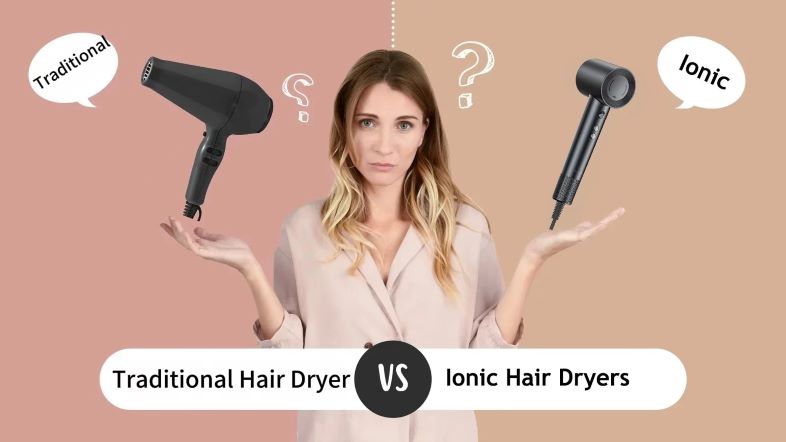
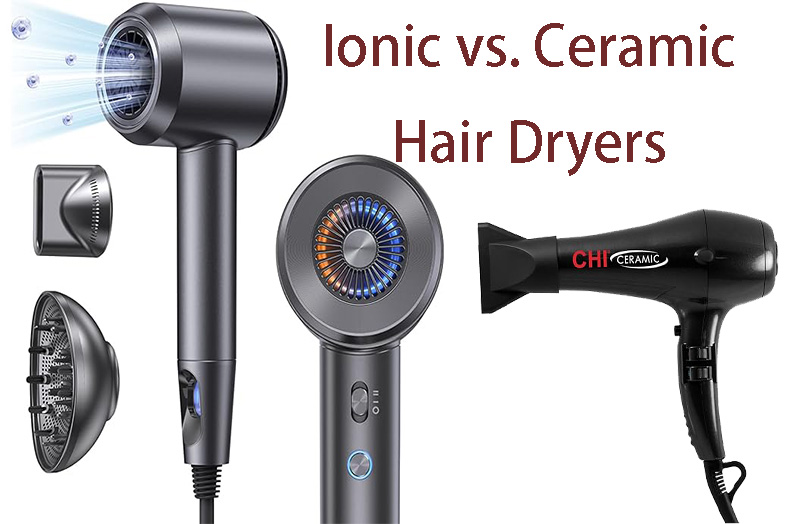
Choosing the Best Blow Dryer for Your Hair Type

The market is flooded with blow dryers, each boasting different features and benefits. For fine hair, a dryer with variable heat and speed settings is essential to prevent damage. Thick hair will benefit from a more powerful motor that can provide stronger airflow, reducing drying time and minimizing heat damage. For curly hair, a dryer with a diffuser attachment helps lift and separate hair for volume while encouraging the natural curl pattern.
Essential Accessories: Diffusers, Concentrators, and More
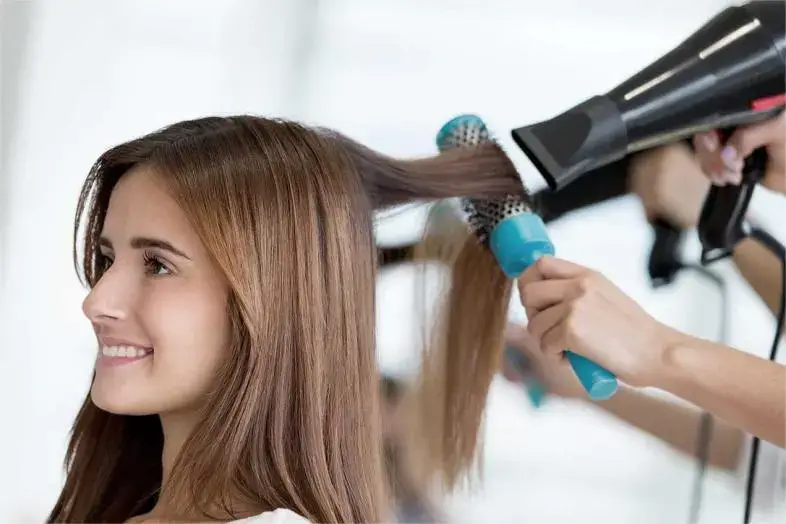
A diffuser is essential for curly and coily hair types, helping to distribute the airflow and reduce frizz. A concentrator nozzle is excellent for straight styles, focusing the airflow for precision drying and styling. Other useful accessories might include a round brush for creating volume and a paddle brush for sleek, straight looks.
Protective Gear: Heat Protectant Sprays and Gloves
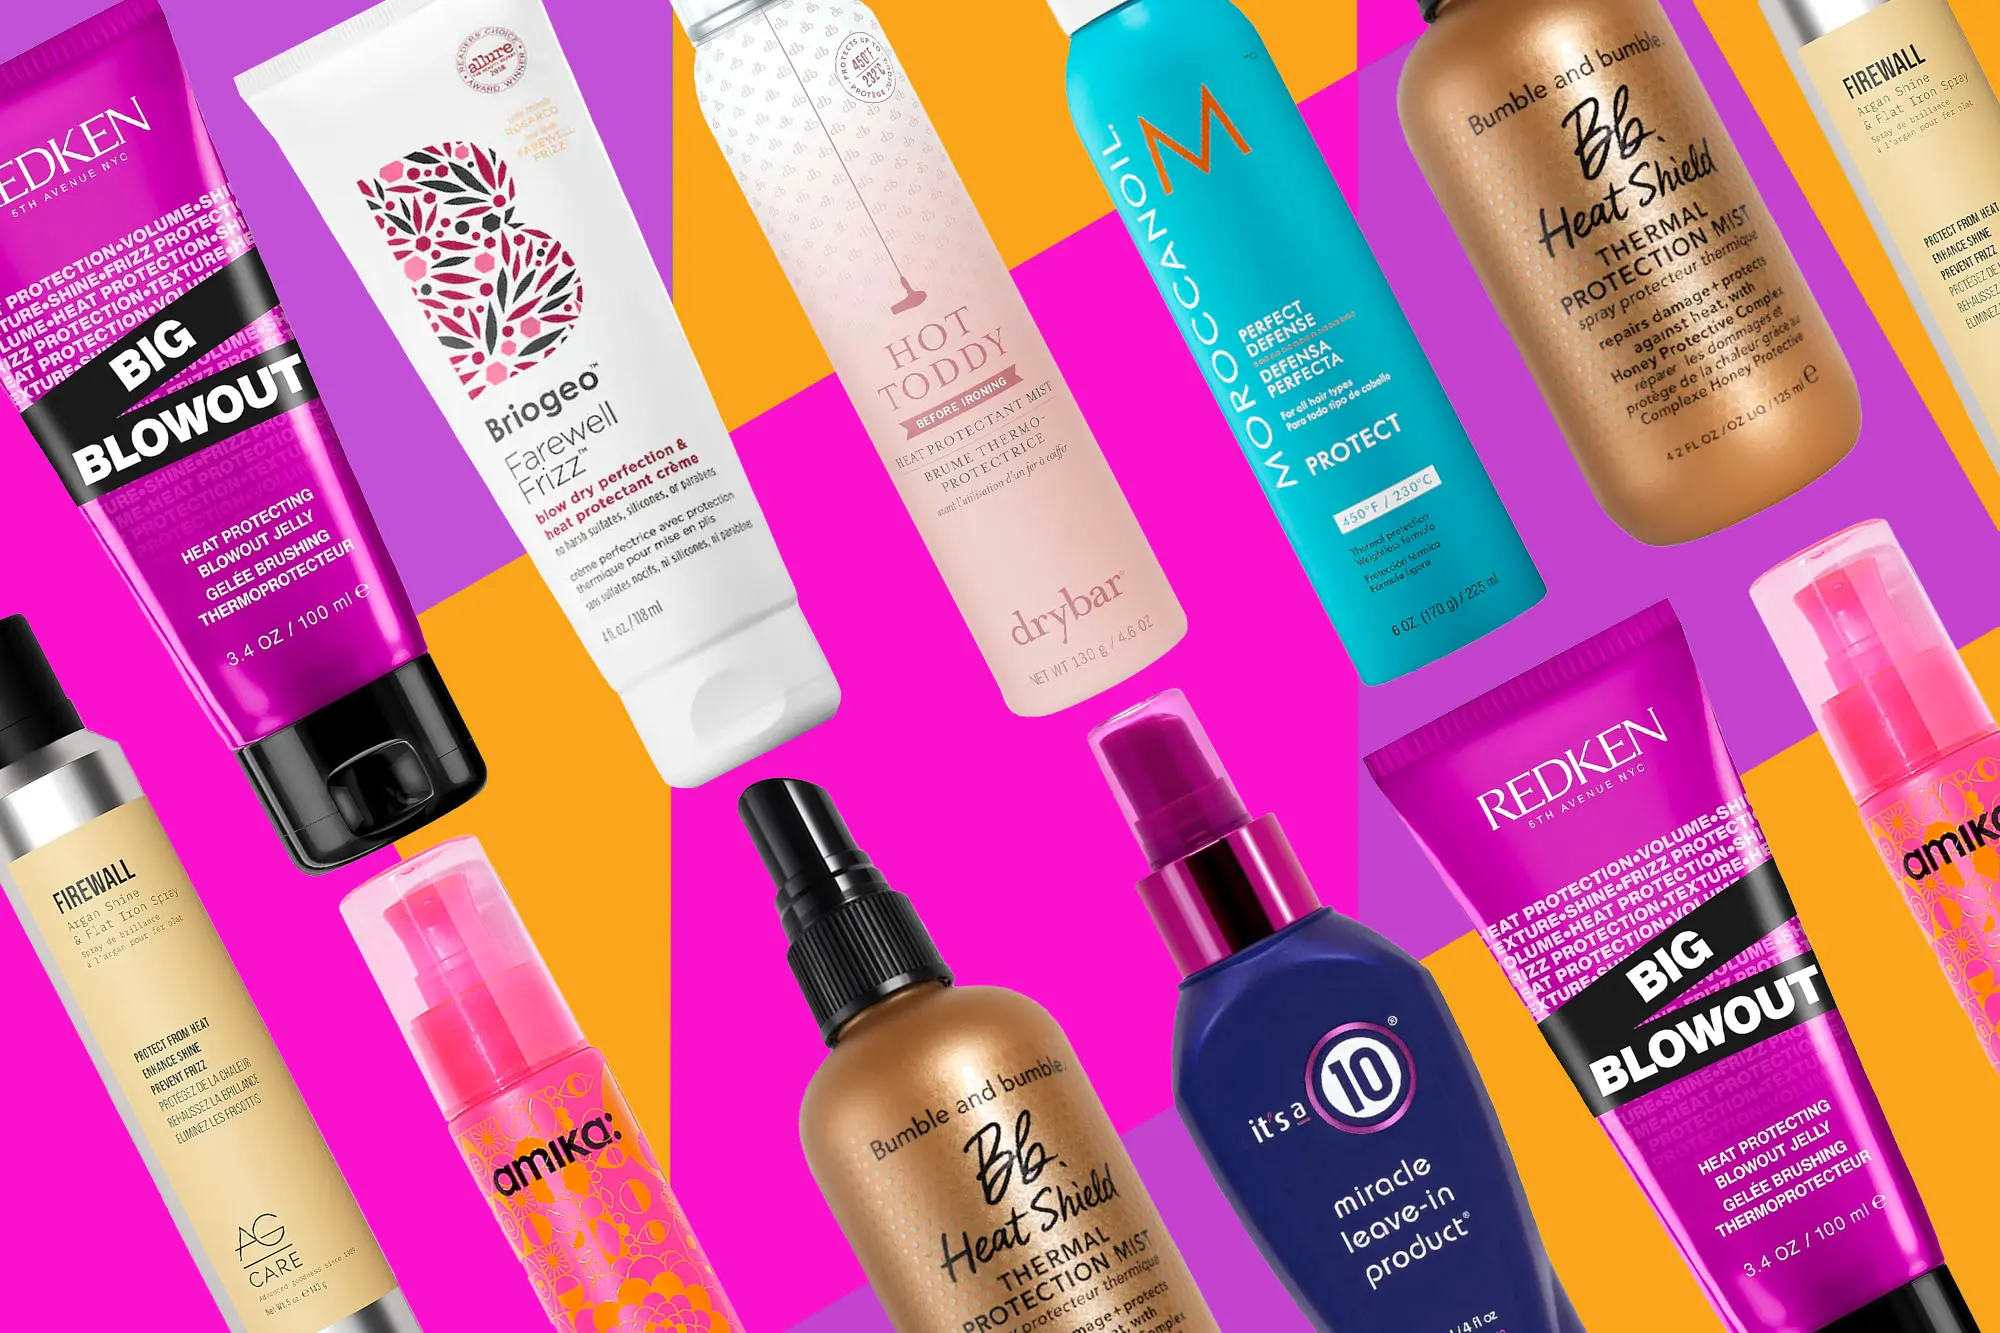
Never underestimate the importance of protection. Heat protectant sprays shield your hair from the high temperatures of blow-drying, reducing damage and keeping your hair healthy. For those who find their hands getting too hot while holding the dryer or diffuser, heat-resistant gloves can be a game-changer.
Prep Work: Before You Blow Dry
Washing and Conditioning for Optimal Results
Starting with clean, conditioned hair is fundamental. Use a shampoo and conditioner suited to your hair type for the best results. Conditioning helps detangle and smooth your hair, preparing it for a smoother blow-dry process.
Towel-Drying Techniques to Protect Your Hair
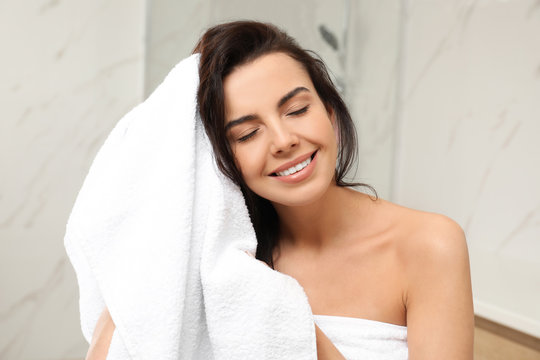
After washing, avoid rubbing your hair vigorously with a towel, as this can cause damage and frizz. Instead, gently squeeze out the excess water or wrap your hair in a microfiber towel or cotton t-shirt to absorb moisture without harming your hair’s cuticles.
Applying Heat Protectant: Why and How
Before you pick up your blow dryer, applying a heat protectant is a critical step. This creates a barrier between your hair and the heat, minimizing damage. Ensure even coverage by spraying the protectant onto damp hair, then gently comb through to distribute the product from roots to ends.
Blow-Drying Techniques 101
Sectioning Your Hair for Easy Management
Sectioning is crucial for an efficient and effective blow-dry process. Start by dividing your hair into manageable sections. Use clips to hold each section in place. Typically, four to six sections should suffice, depending on your hair’s thickness and length. Sectioning allows for focused drying and styling, ensuring no strand is left damp or unstyled.
The Importance of Nozzle Direction and Air Flow
The direction in which you point the blow dryer’s nozzle can dramatically affect the outcome of your blow-dry. Always aim the nozzle downward, from the roots to the ends, to smooth the hair’s cuticle and enhance shine. This technique also prevents frizz. The airflow should be consistent and evenly distributed across each section to ensure uniform drying.
Adjusting Heat Settings for Different Hair Types
Understanding your hair type is key to selecting the right heat setting. Fine or damaged hair requires a lower heat to prevent further damage, while thicker hair may need a higher setting to effectively dry the strands. Regardless of your hair type, it’s advisable to start with a lower heat setting and gradually increase if necessary. Always finish with a cool shot to seal the cuticle and lock in your style.
Advanced Blow-Drying Techniques
Creating Volume and Body
For added volume, focus on the roots. While drying, lift each section away from your scalp with a round brush, directing hot air at the roots for several seconds. Then, move the dryer along the length of your hair. A cool shot directed at the roots can help set the volume for longer-lasting lift.
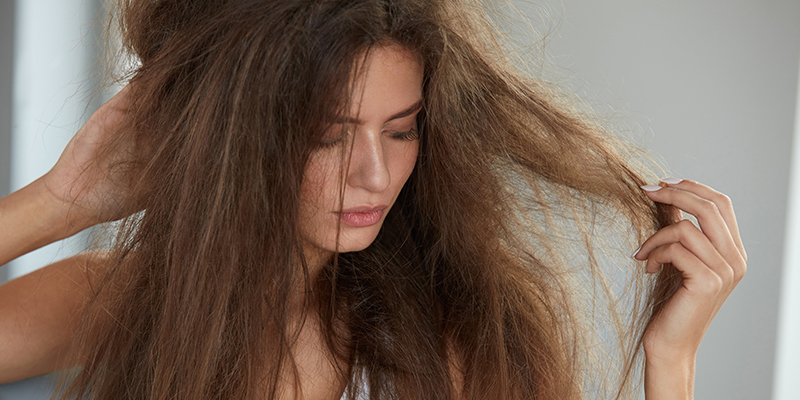
Smoothing Frizz and Flyaways
To combat frizz, use a concentrator nozzle for more directed airflow and utilize a smoothing brush or comb. Keep the dryer’s airflow pointed down the hair shaft to smooth cuticles. Applying a lightweight, anti-frizz product before drying can also help tame flyaways.
Techniques for Curly and Textured Hair
Curly and textured hair benefits from diffused drying to maintain natural patterns without causing frizz. Attach a diffuser to your dryer, set it to a lower heat, and gently cradle sections of your hair, moving the diffuser close to the scalp. This method encourages natural curl patterns and volume without disrupting the hair’s texture.
Styling and Finishing Touches
Using Brushes and Combs for Styling While Blow-Drying
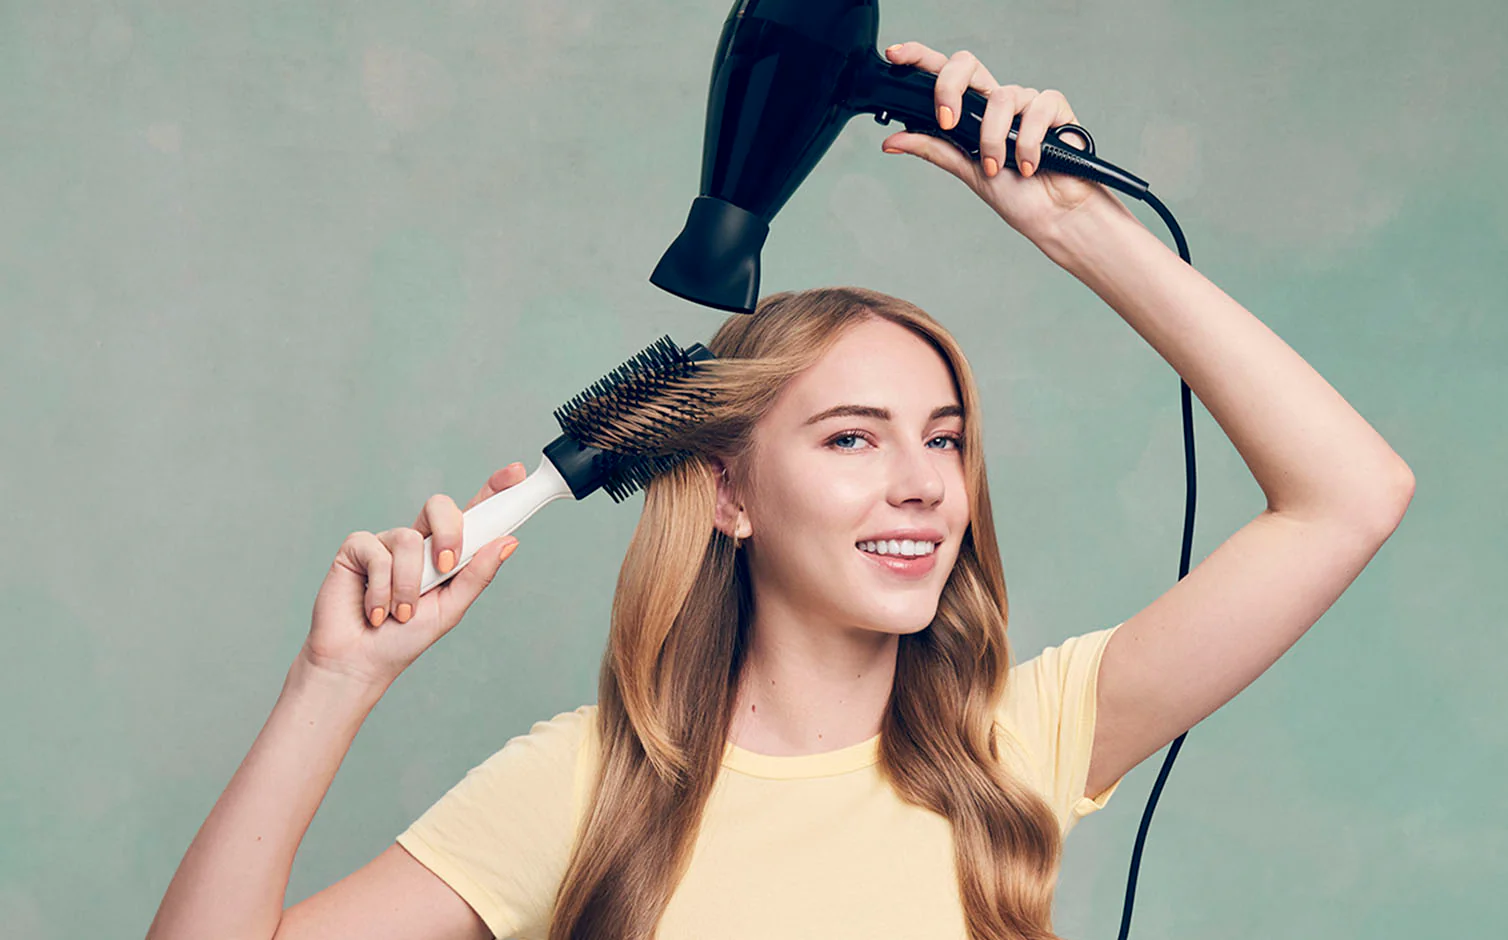
A round brush can create smoothness and volume, while a paddle brush is ideal for straight styles. Use the brush to gently pull the hair taut as you dry, rolling it towards or away from your face to create different styles. Combs are great for detangling and maintaining sleek, straight looks.
Setting Your Style: Cool Air Blasts and Styling Products
To set your style, finish with a blast of cool air from your dryer. This helps close the hair’s cuticle and set the shape created by your brush or fingers. Use a light hold spray or serum to add shine and hold your style in place. Avoid heavy products that can weigh down your hair.
Tips for Maintaining Your Blowout
To prolong your blowout, use dry shampoo at the roots as needed to absorb oil and maintain volume. Sleep with your hair in a loose bun on top of your head or use a silk pillowcase to minimize frizz and tangles. Avoid moisture and humidity, and use a shower cap when showering.
Common Mistakes to Avoid
Overheating and Damaging Your Hair
One of the most frequent mistakes in blow-drying is using excessive heat, which can lead to hair damage like split ends, breakage, and loss of natural moisture, leading to brittle hair. To avoid overheating, always start with a lower heat setting and gradually increase as needed, based on your hair type. Thick or coarse hair may require more heat, while fine or damaged hair should be styled at lower temperatures. Additionally, keep the dryer moving constantly and avoid focusing the hot air on one area for too long.
Missing Sections and Uneven Drying
Uneven drying can leave you with a frizzy look or sections of hair that are not fully styled. To prevent this, section your hair before you begin drying. Use clips to separate your hair into manageable sections, and work through each one systematically, ensuring each part is fully dry and styled before moving on to the next. This methodical approach helps achieve a uniform, polished look.
Tips for Troubleshooting Common Issues
If you find your hair becoming frizzy despite careful blow-drying, consider applying a smoothing serum or using an ionic dryer that helps reduce static electricity. For those struggling with flat, lifeless hair after drying, try flipping your head upside down while drying the roots to add volume. If your hair still feels damp in places, touch up each section with a focused blast of warm air, ensuring you don’t overdo it to avoid damage.
Maintaining Your Blow Dryer
Cleaning and Maintenance Tips to Prolong the Life of Your Blow Dryer
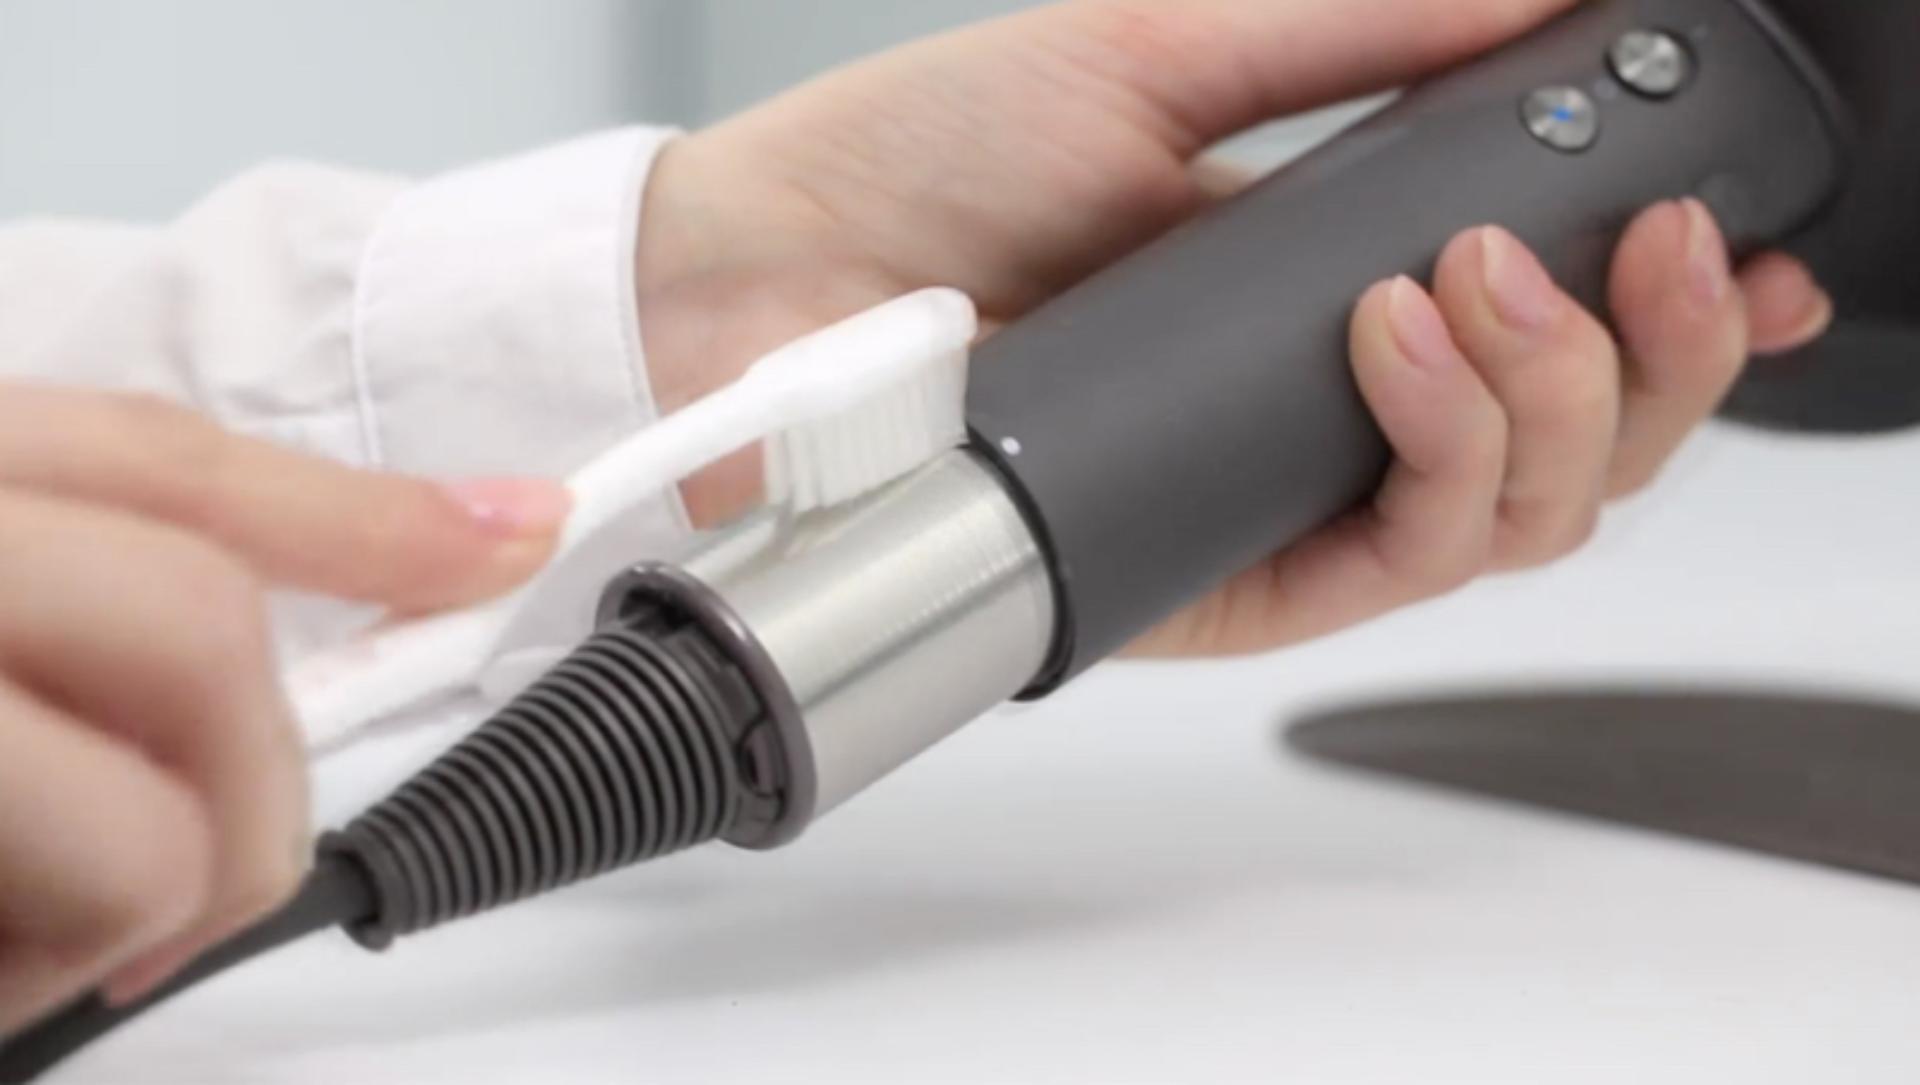
Regular cleaning is essential for keeping your blow dryer in top condition. Remove lint and debris from the air intake filter at the back of the dryer; a clogged filter can reduce performance and potentially cause overheating. Most dryers have a removable filter for easy cleaning. Additionally, gently wipe down the body of the dryer and the attachments with a damp cloth to keep them free from product buildup.
When to Replace Your Blow Dryer
Even with good care, blow dryers have a limited lifespan. Signs that it’s time for a replacement include noticeable drops in performance, strange noises, or if it starts emitting a burning smell during use. Generally, a quality blow dryer can last between 4 to 5 years with regular use. Upgrading your dryer can also provide benefits if newer models offer advanced features that better suit your hair type and styling needs.
Conclusion
Recap of Key Points
Achieving the perfect blow-dry at home is about understanding your hair type, choosing the right tools, and applying the proper techniques. Remember to avoid common mistakes such as using excessive heat, missing sections, or unevenly drying your hair. Regular maintenance of your blow dryer ensures that it remains an effective styling tool.
Encouragement to Practice and Experiment
Mastering the art of the blow-dry takes patience and practice. Don’t be discouraged by setbacks; each attempt is a learning experience. Feel free to experiment with different heat settings, nozzles, and techniques to discover what works best for your hair. Over time, you’ll develop a personalized routine that leaves your hair looking salon-fresh every day. Remember, the goal is not just to look your best, but also to keep your hair healthy and vibrant in the process.